
We are into our 6th week already and our activities for this week are not only going to look pretty, but smell pretty too! So let’s take this time to ‘Stop and Smell the Flowers’. Its Summer and flowers are everywhere here. Take your basket and go on a walk to pick some fresh flowers or just grab them from a florist.
Activity 1: Thread it!
Best for (1.5 years and up) fine motor skills
Material Needed: Paper Plate or Bowl, Paint, Paint Brush, Thick Paper or Cardboard, Scissor, Glue, Toothpick (or anything sharp) and Flowers.
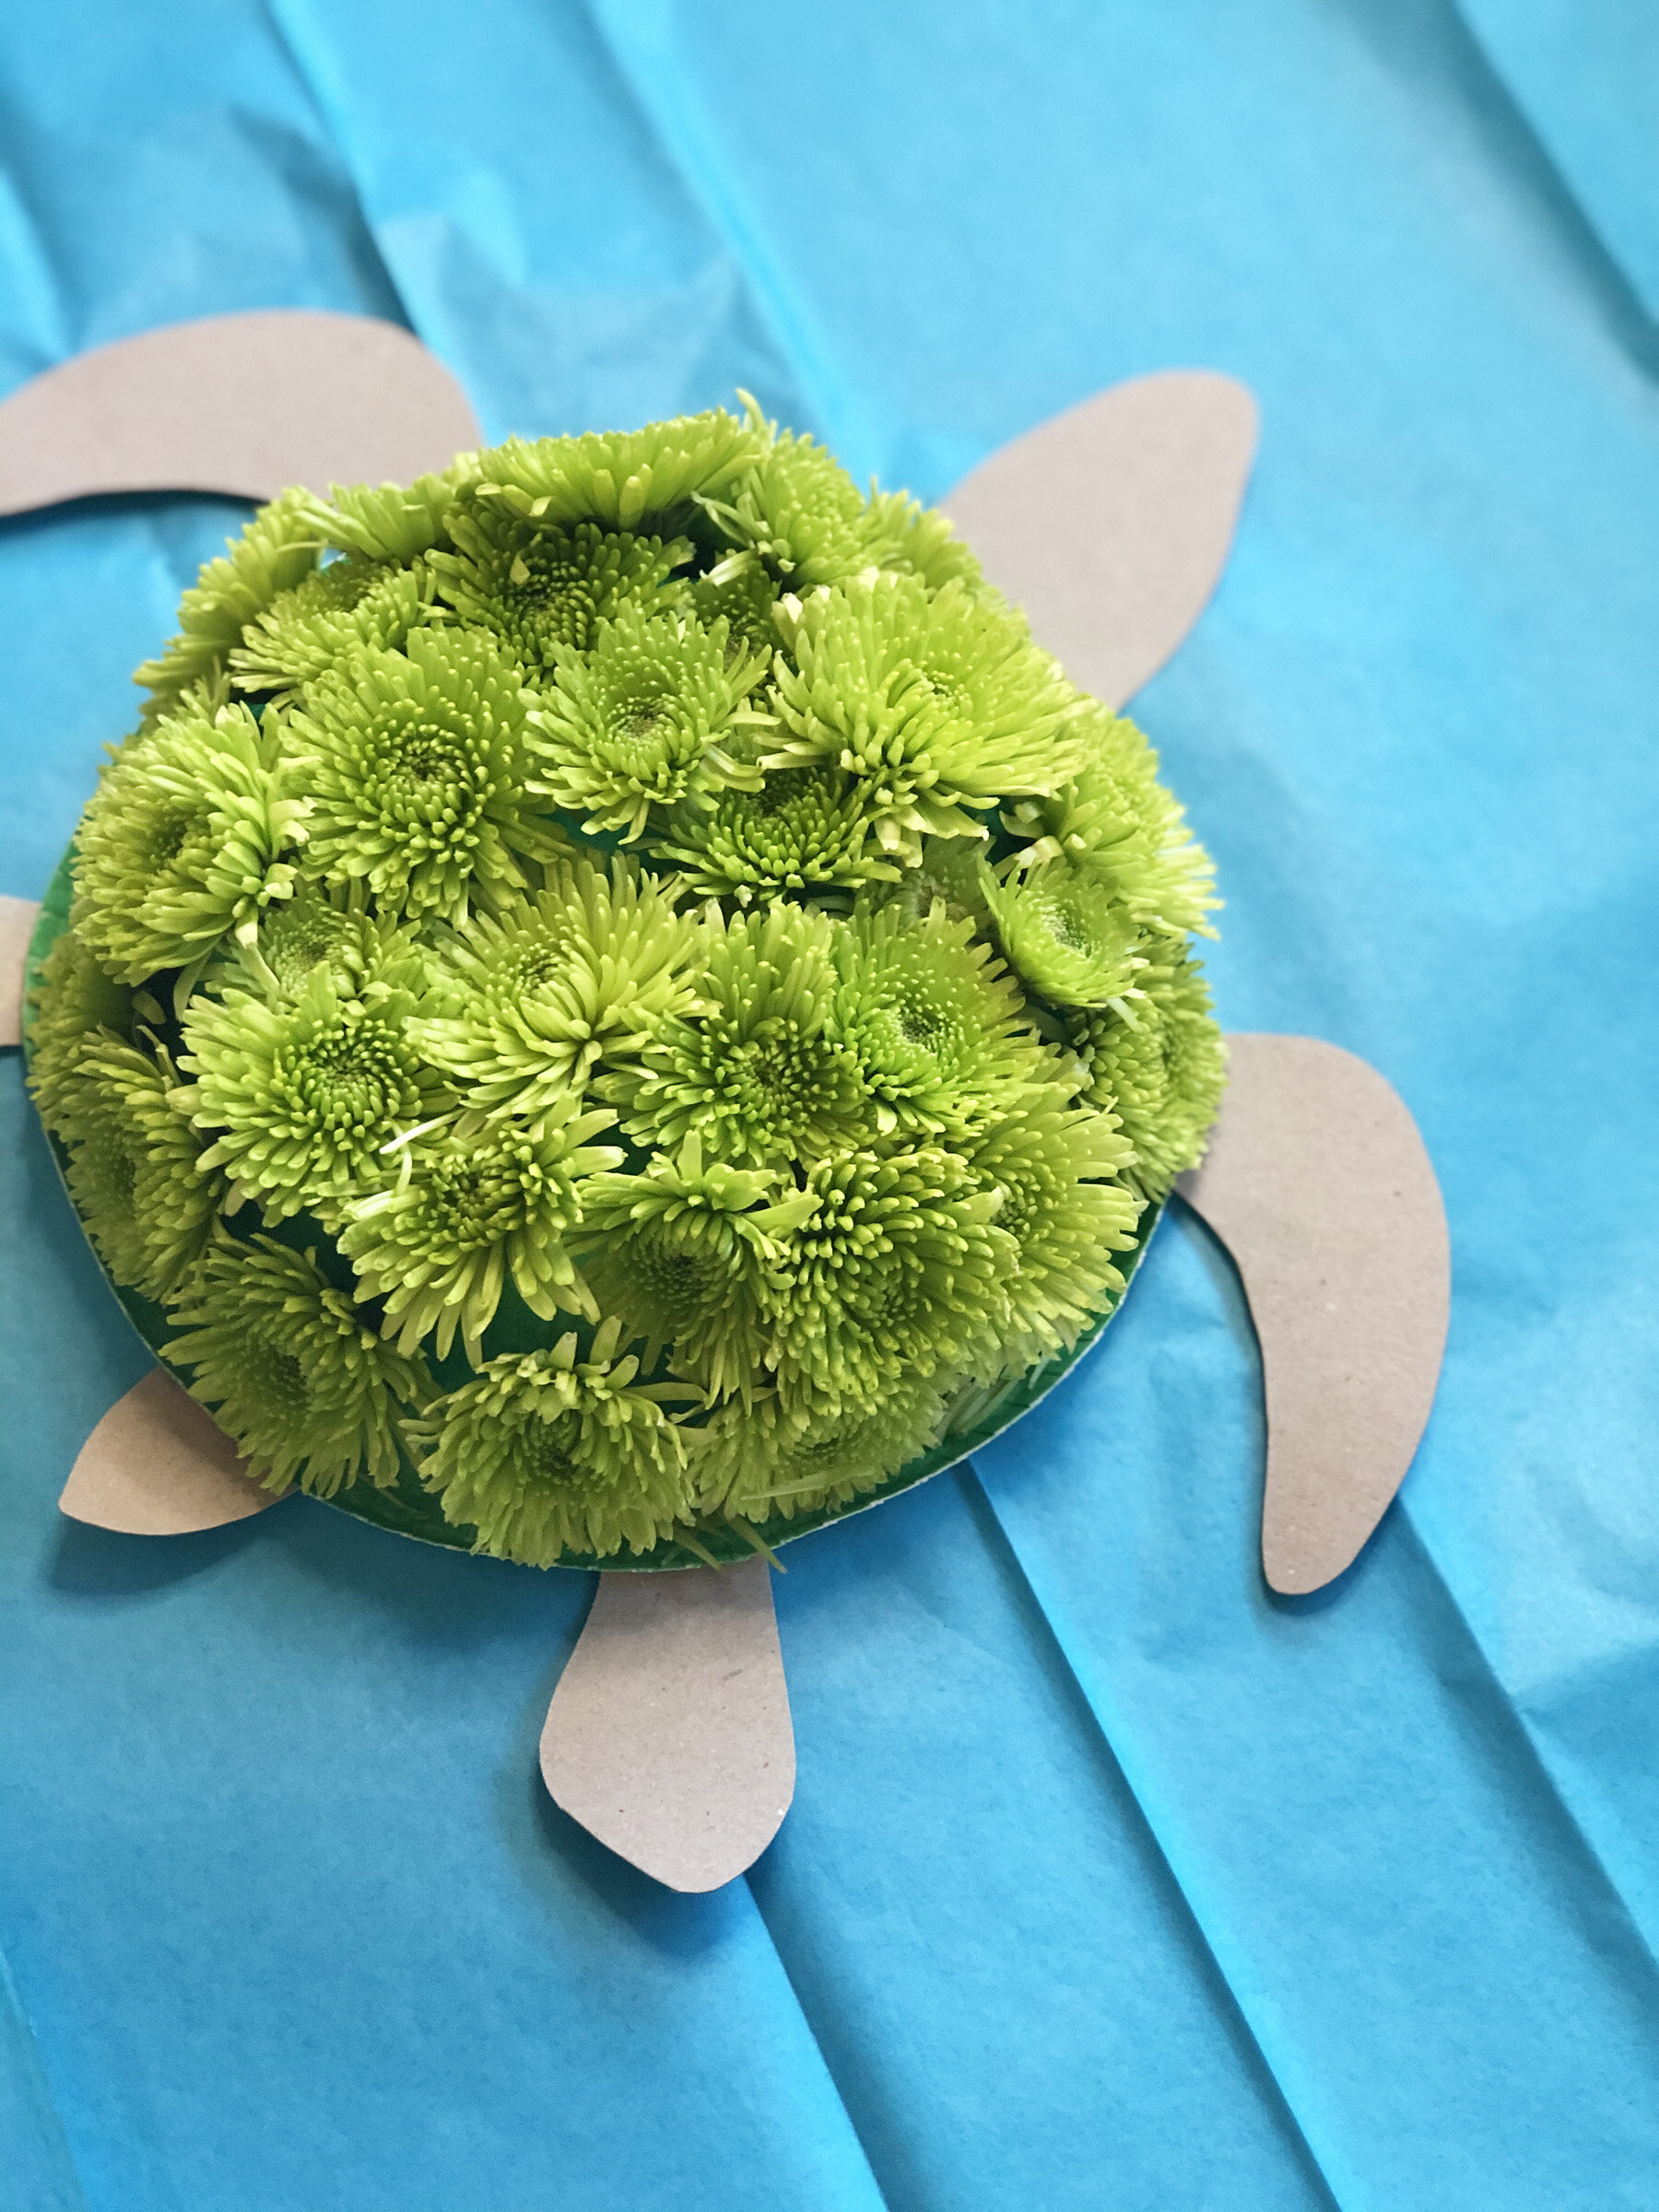
It’s World Ocean Day on June 8th and we couldn’t miss this opportunity to do a Turtle craft and also spread awareness on the endangered Sea Turtles. Sea Turtles are beautiful ocean animals that need protection. At the end of this post you will find a list of organizations that are doing their best to help protect marine animals like these. Volunteer, donate or spread awareness; let’s contribute in any way we can.
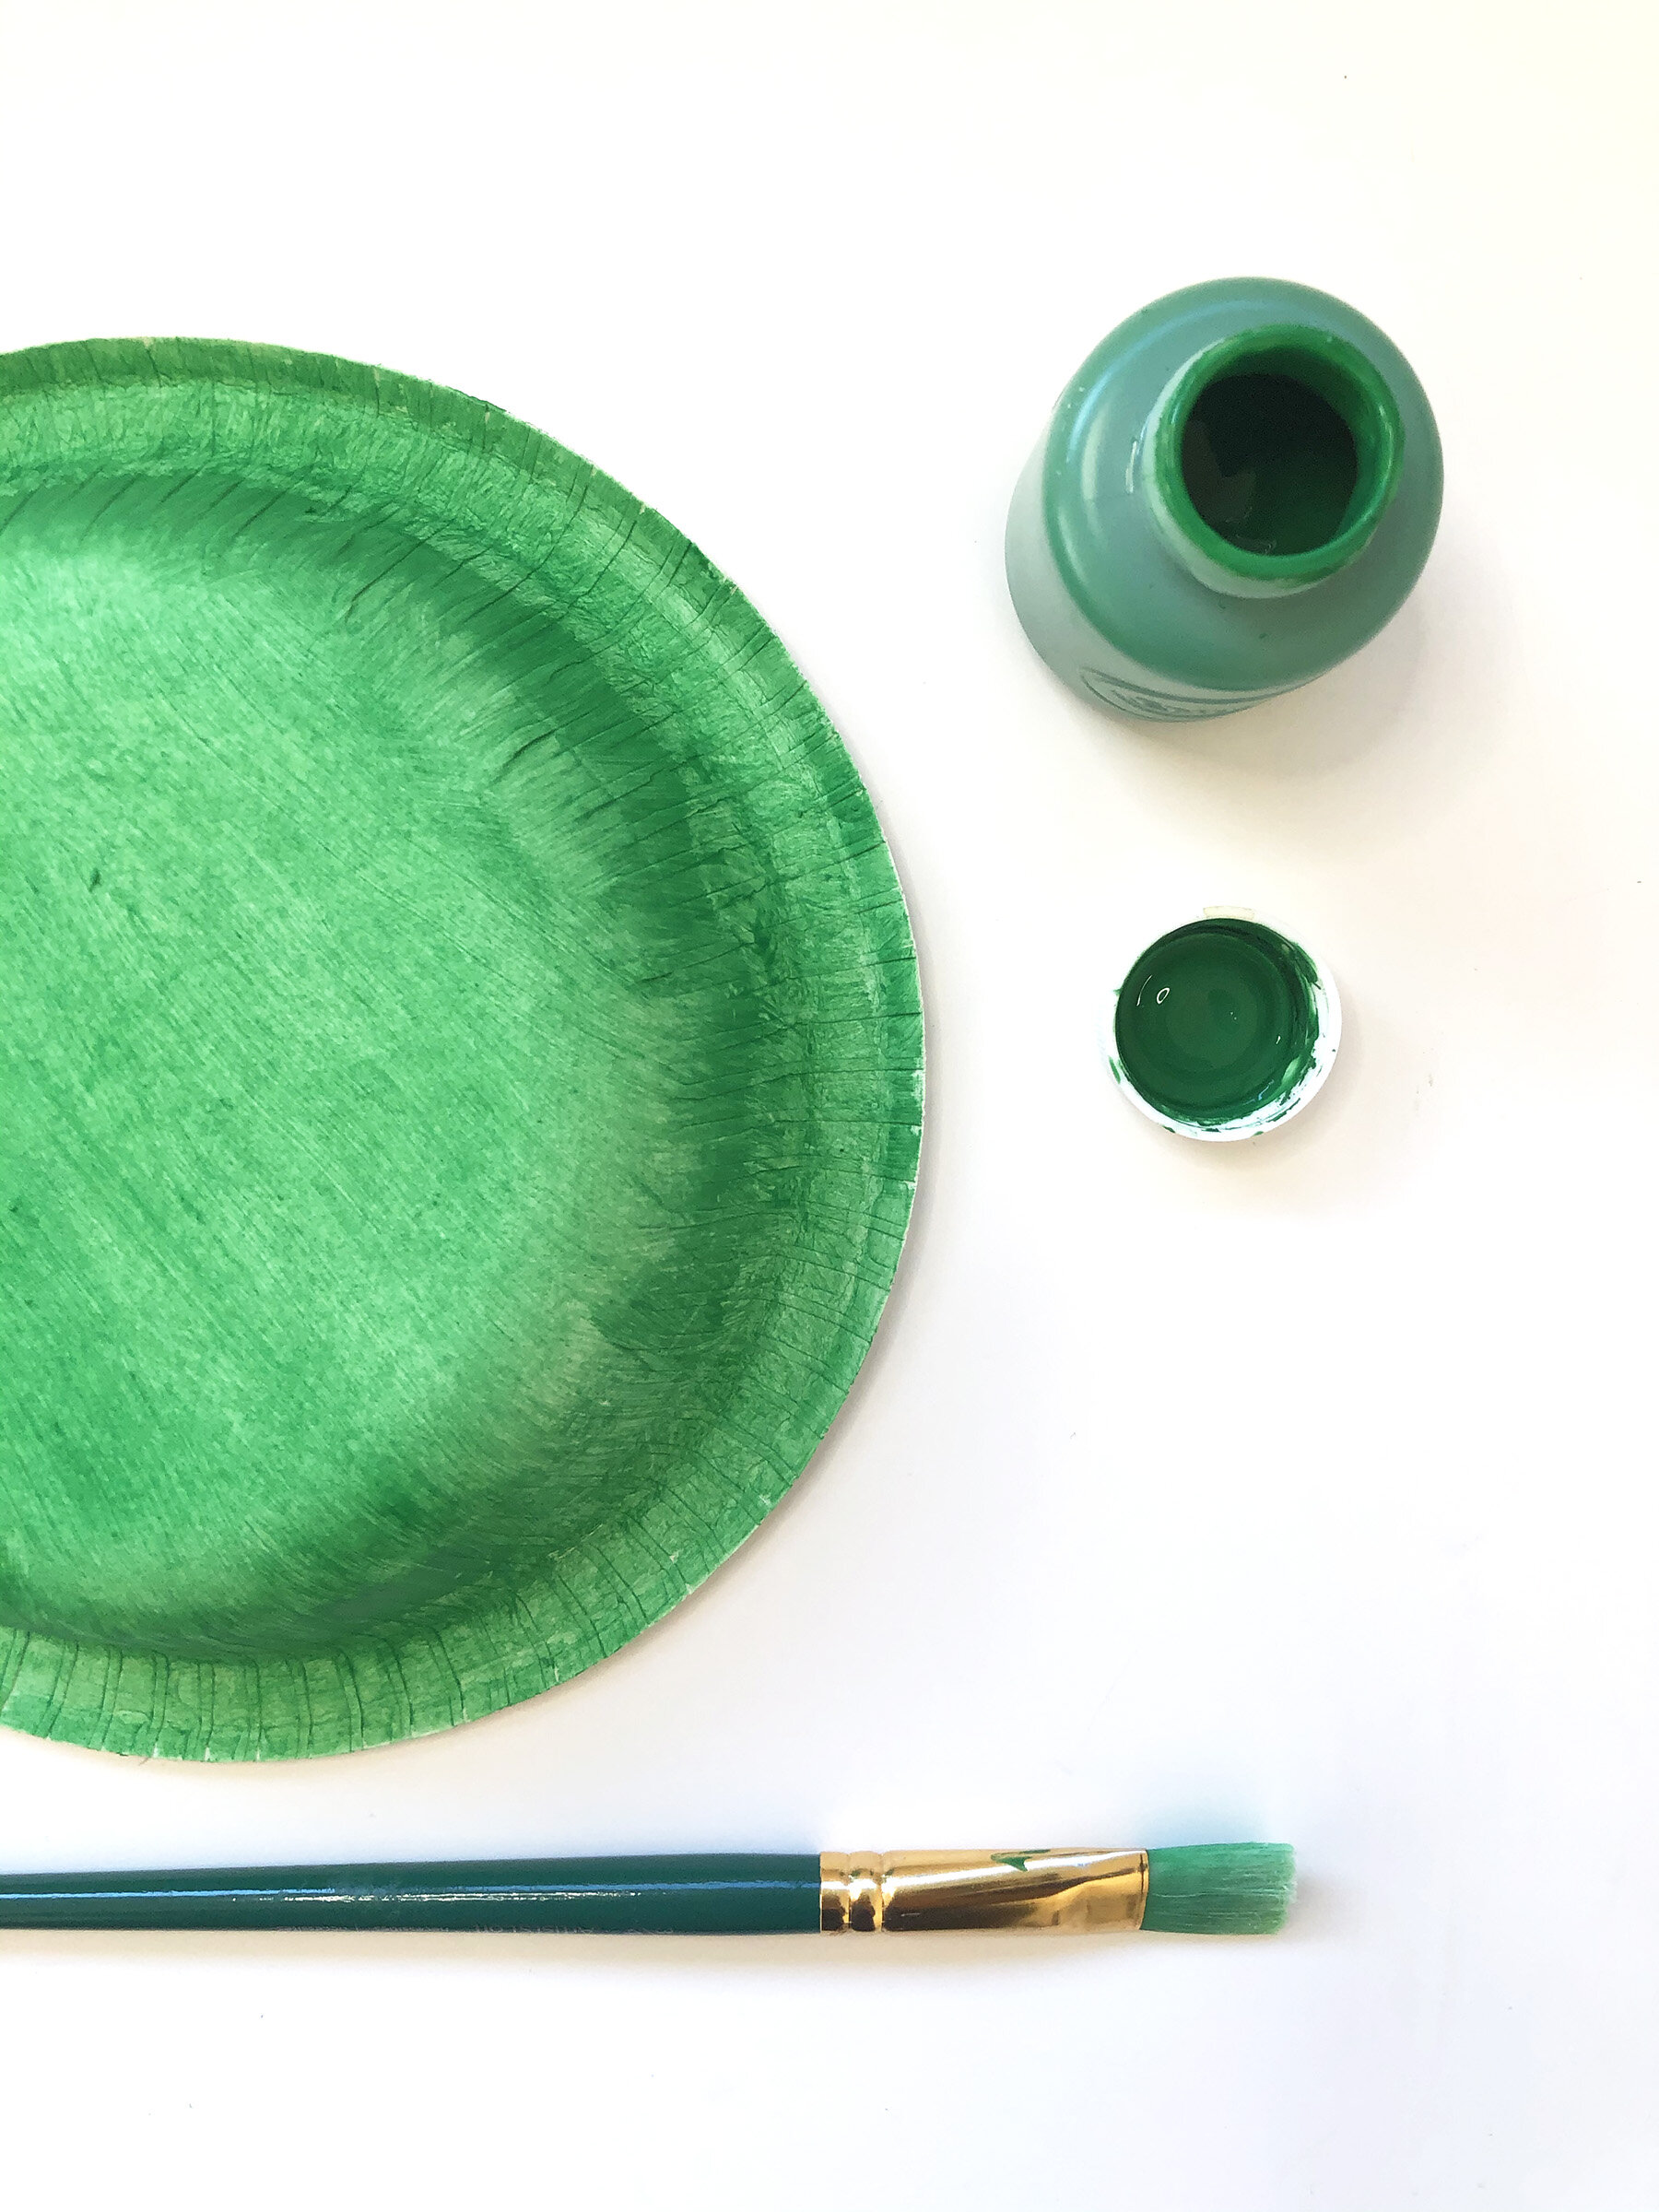
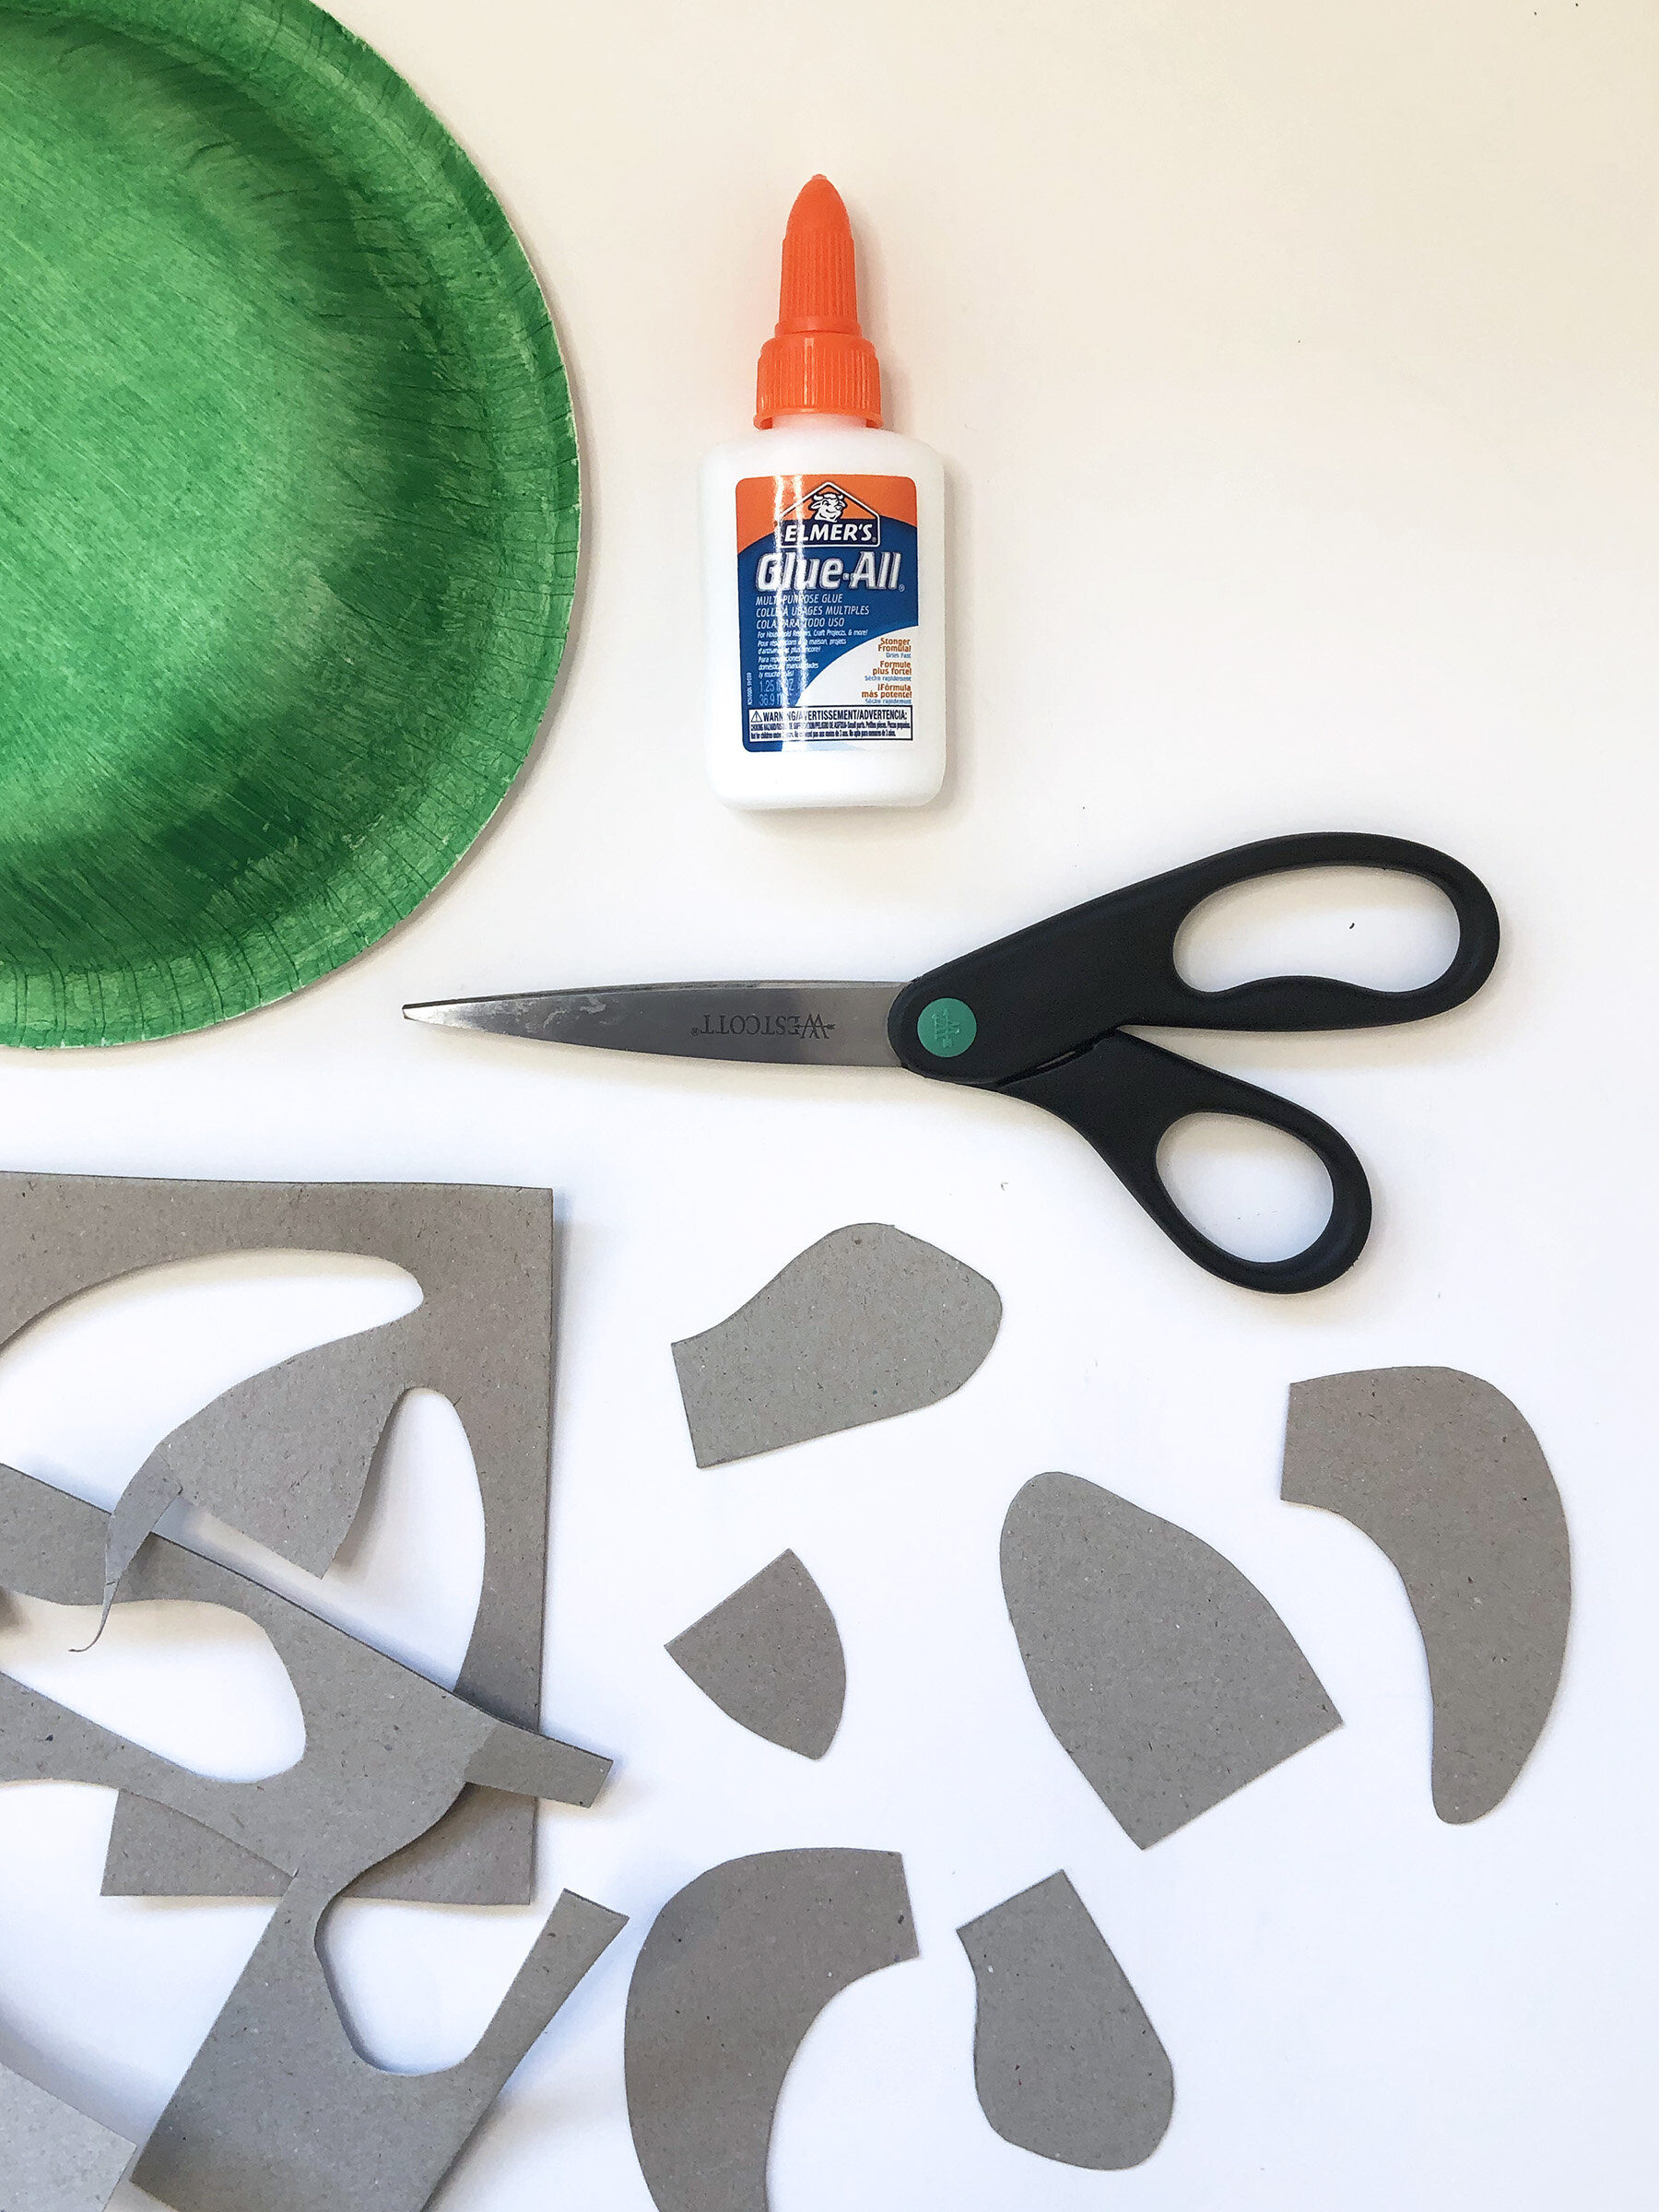
Coming to our activity; first paint the outside of your paper plate or bowl (this will be the shell of the turtle) the color of the flowers you got. We painted it green because we got green flowers. Yes there are green flowers and they are beautiful! They are actually called Pompons. While the paint dries, cut out the body parts of the turtle from the cardboard. You can find several templates online for this, like this Turtle Template.
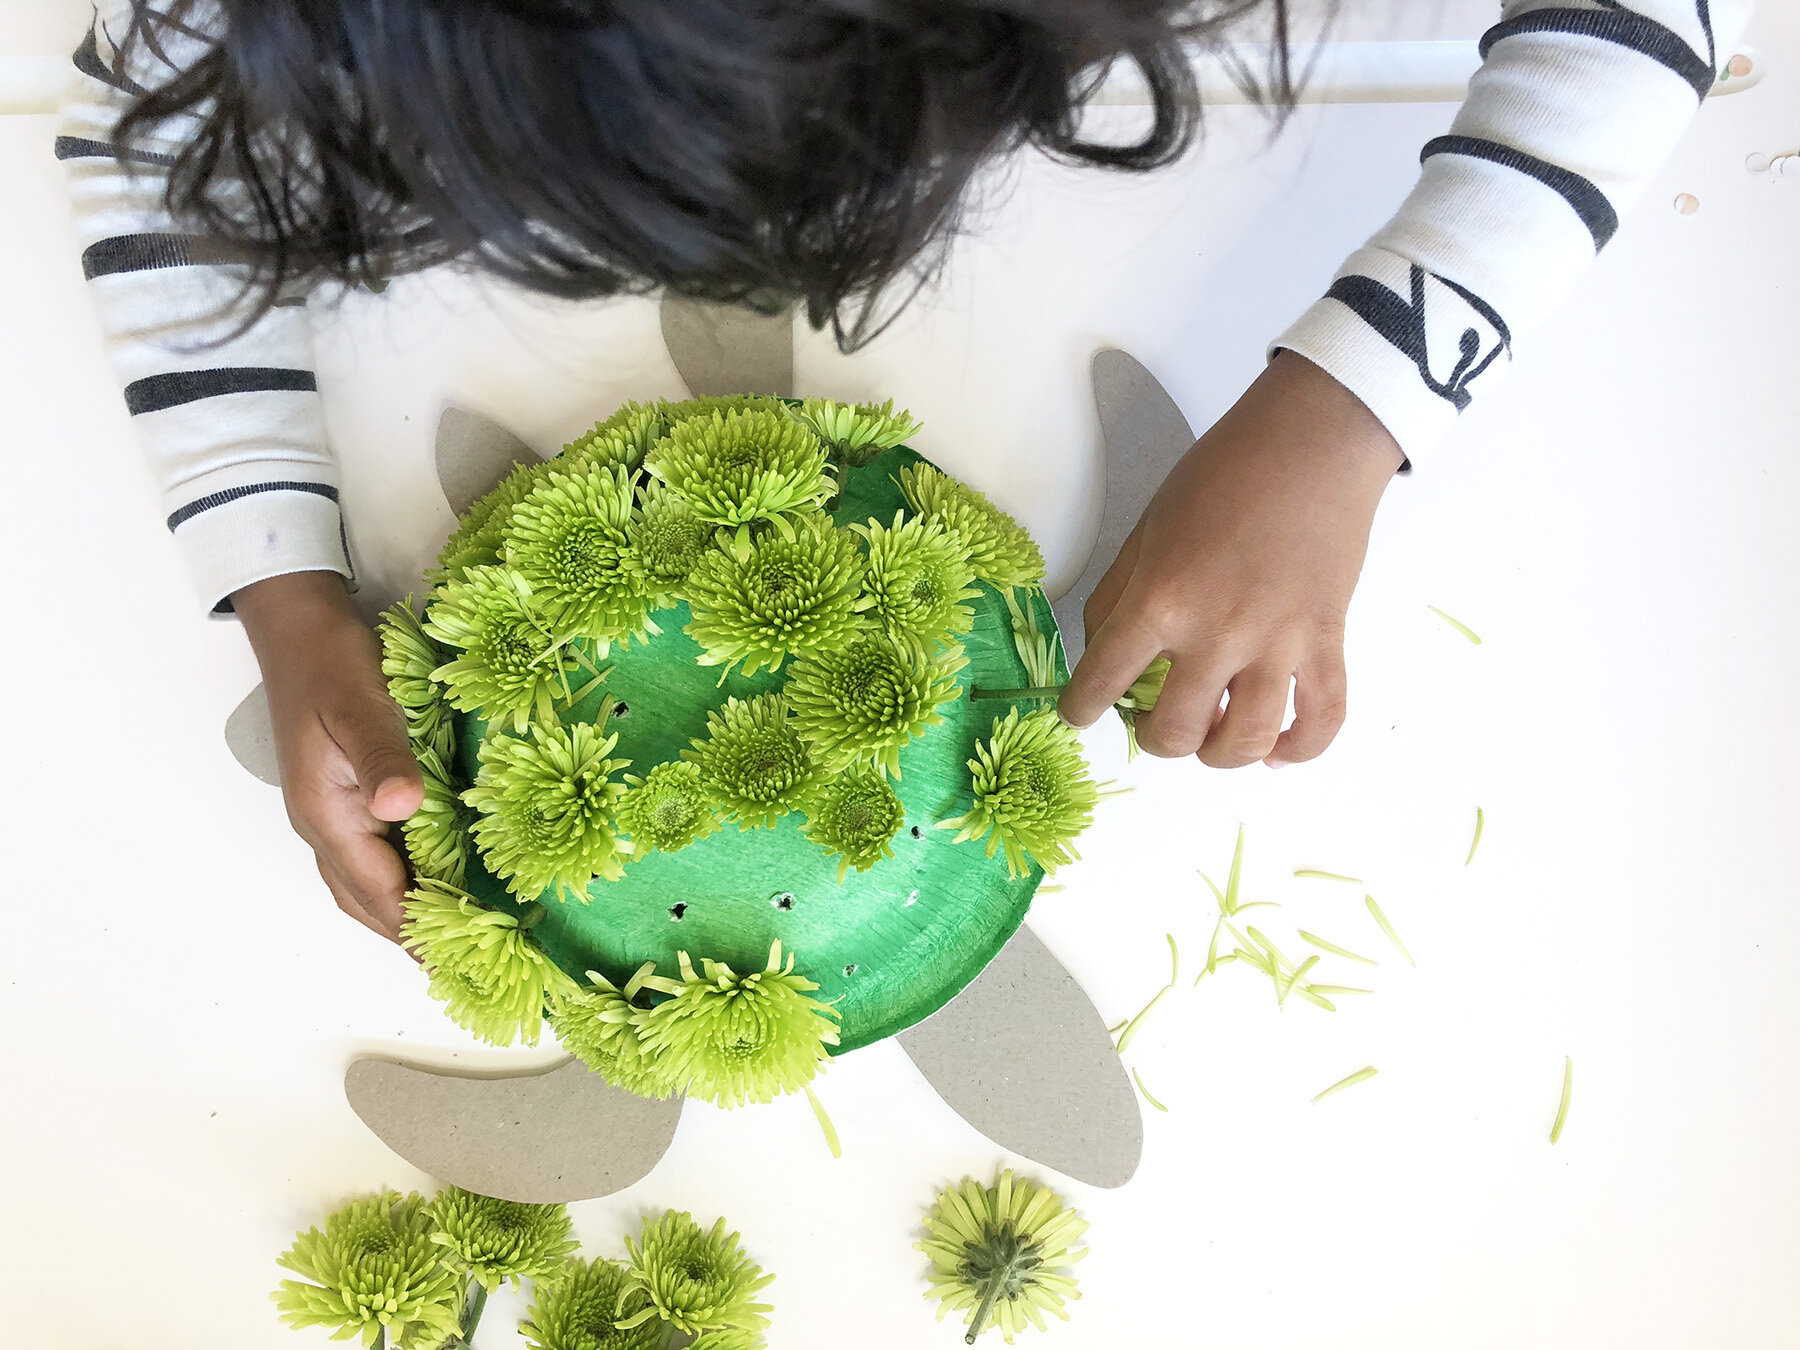
Stick the body parts to the underside of the shell. Now use your toothpick to poke holes in the paper plate/bowl. Depending on the thickness of the stems of the flowers, the holes can be bigger or smaller. Now cut the flower stems short (we kept 2” stem below the flower). Your turtle is ready for some threading practice. Let your kids exercise their fingers when trying to hold the stem and carefully pass them through the hole. Spray the flowers with a little water to keep them fresh for a couple days.

List of some International Organizations that work towards Marine Conservation and Research:
Your local aquarium also might be a good place to start (Like Monterey Bay Aquarium)!
Activity 2: Pound it!
Best for (2 years and up) fine motor skills, art.
Material Needed: Colored Flowers and Leaves, Paper or White Cloth, Butter Paper, Tape and something to Pound (should have a flat base).
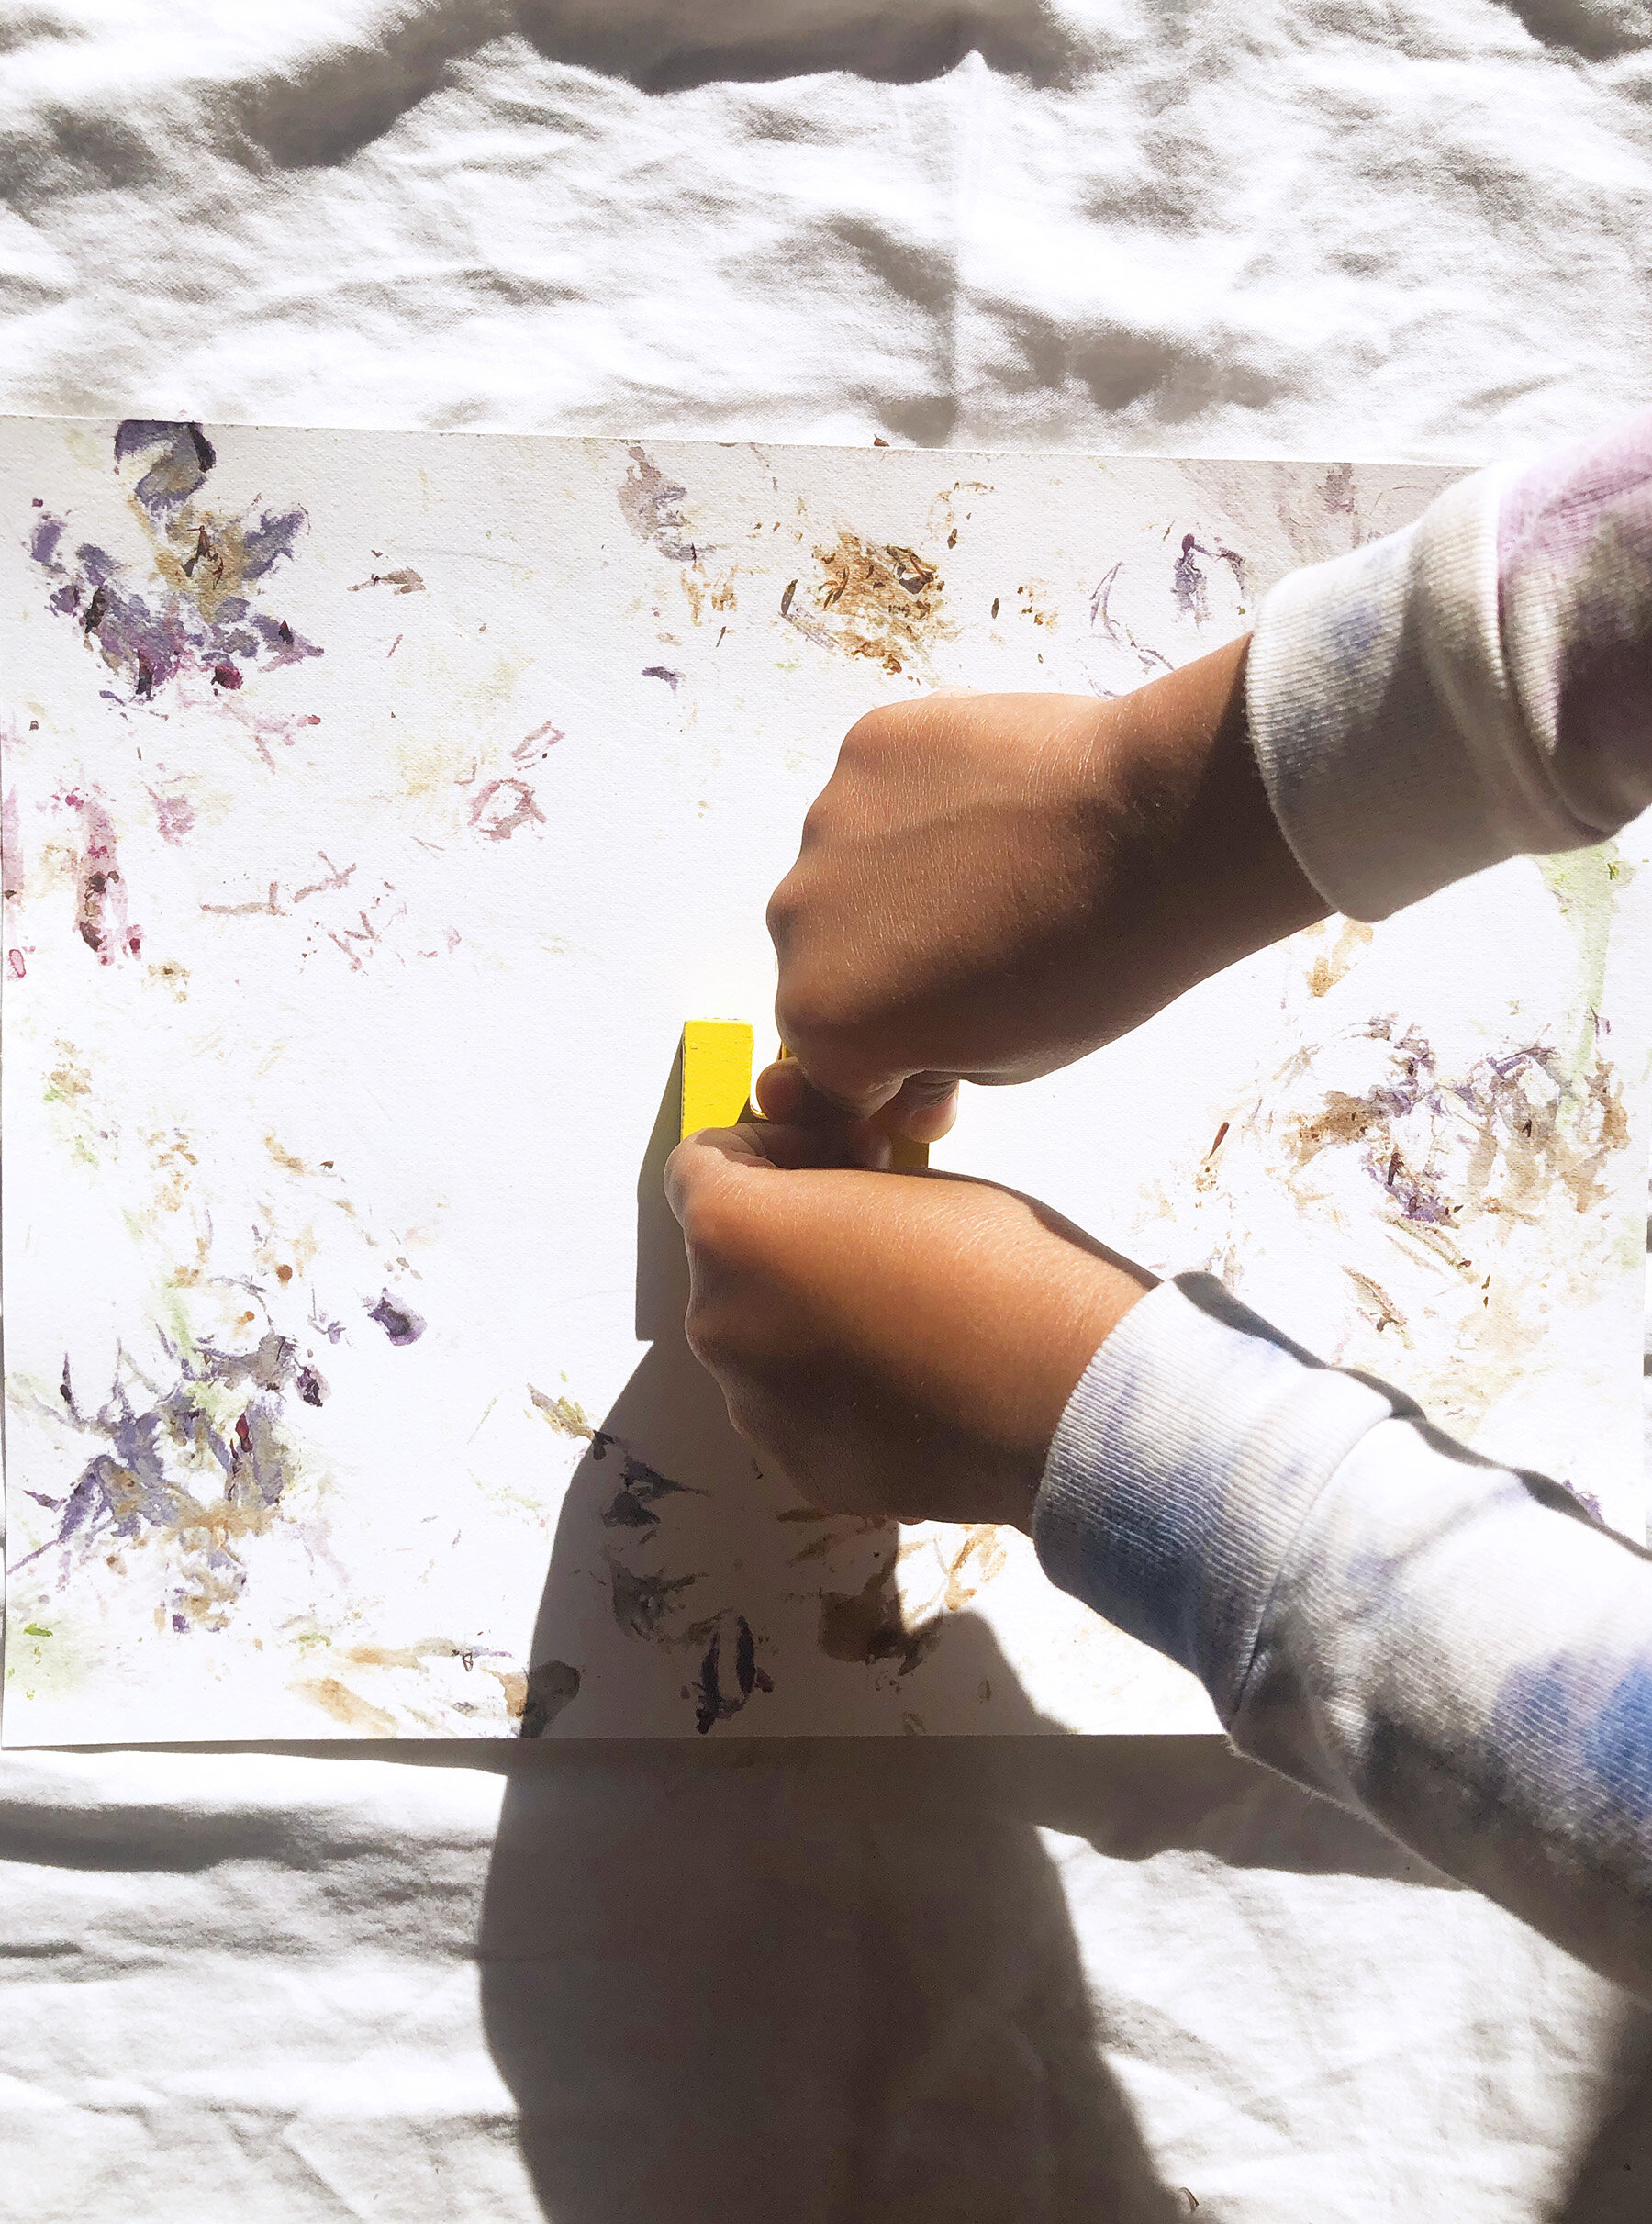
This activity is going to be so much fun for the kids. Which kid doesn’t love smashing, pounding and making loud noises? Oh forgot to mention that you might also need a pair of noise cancelling headphones. We are going to pound flowers and its going to get very loud!
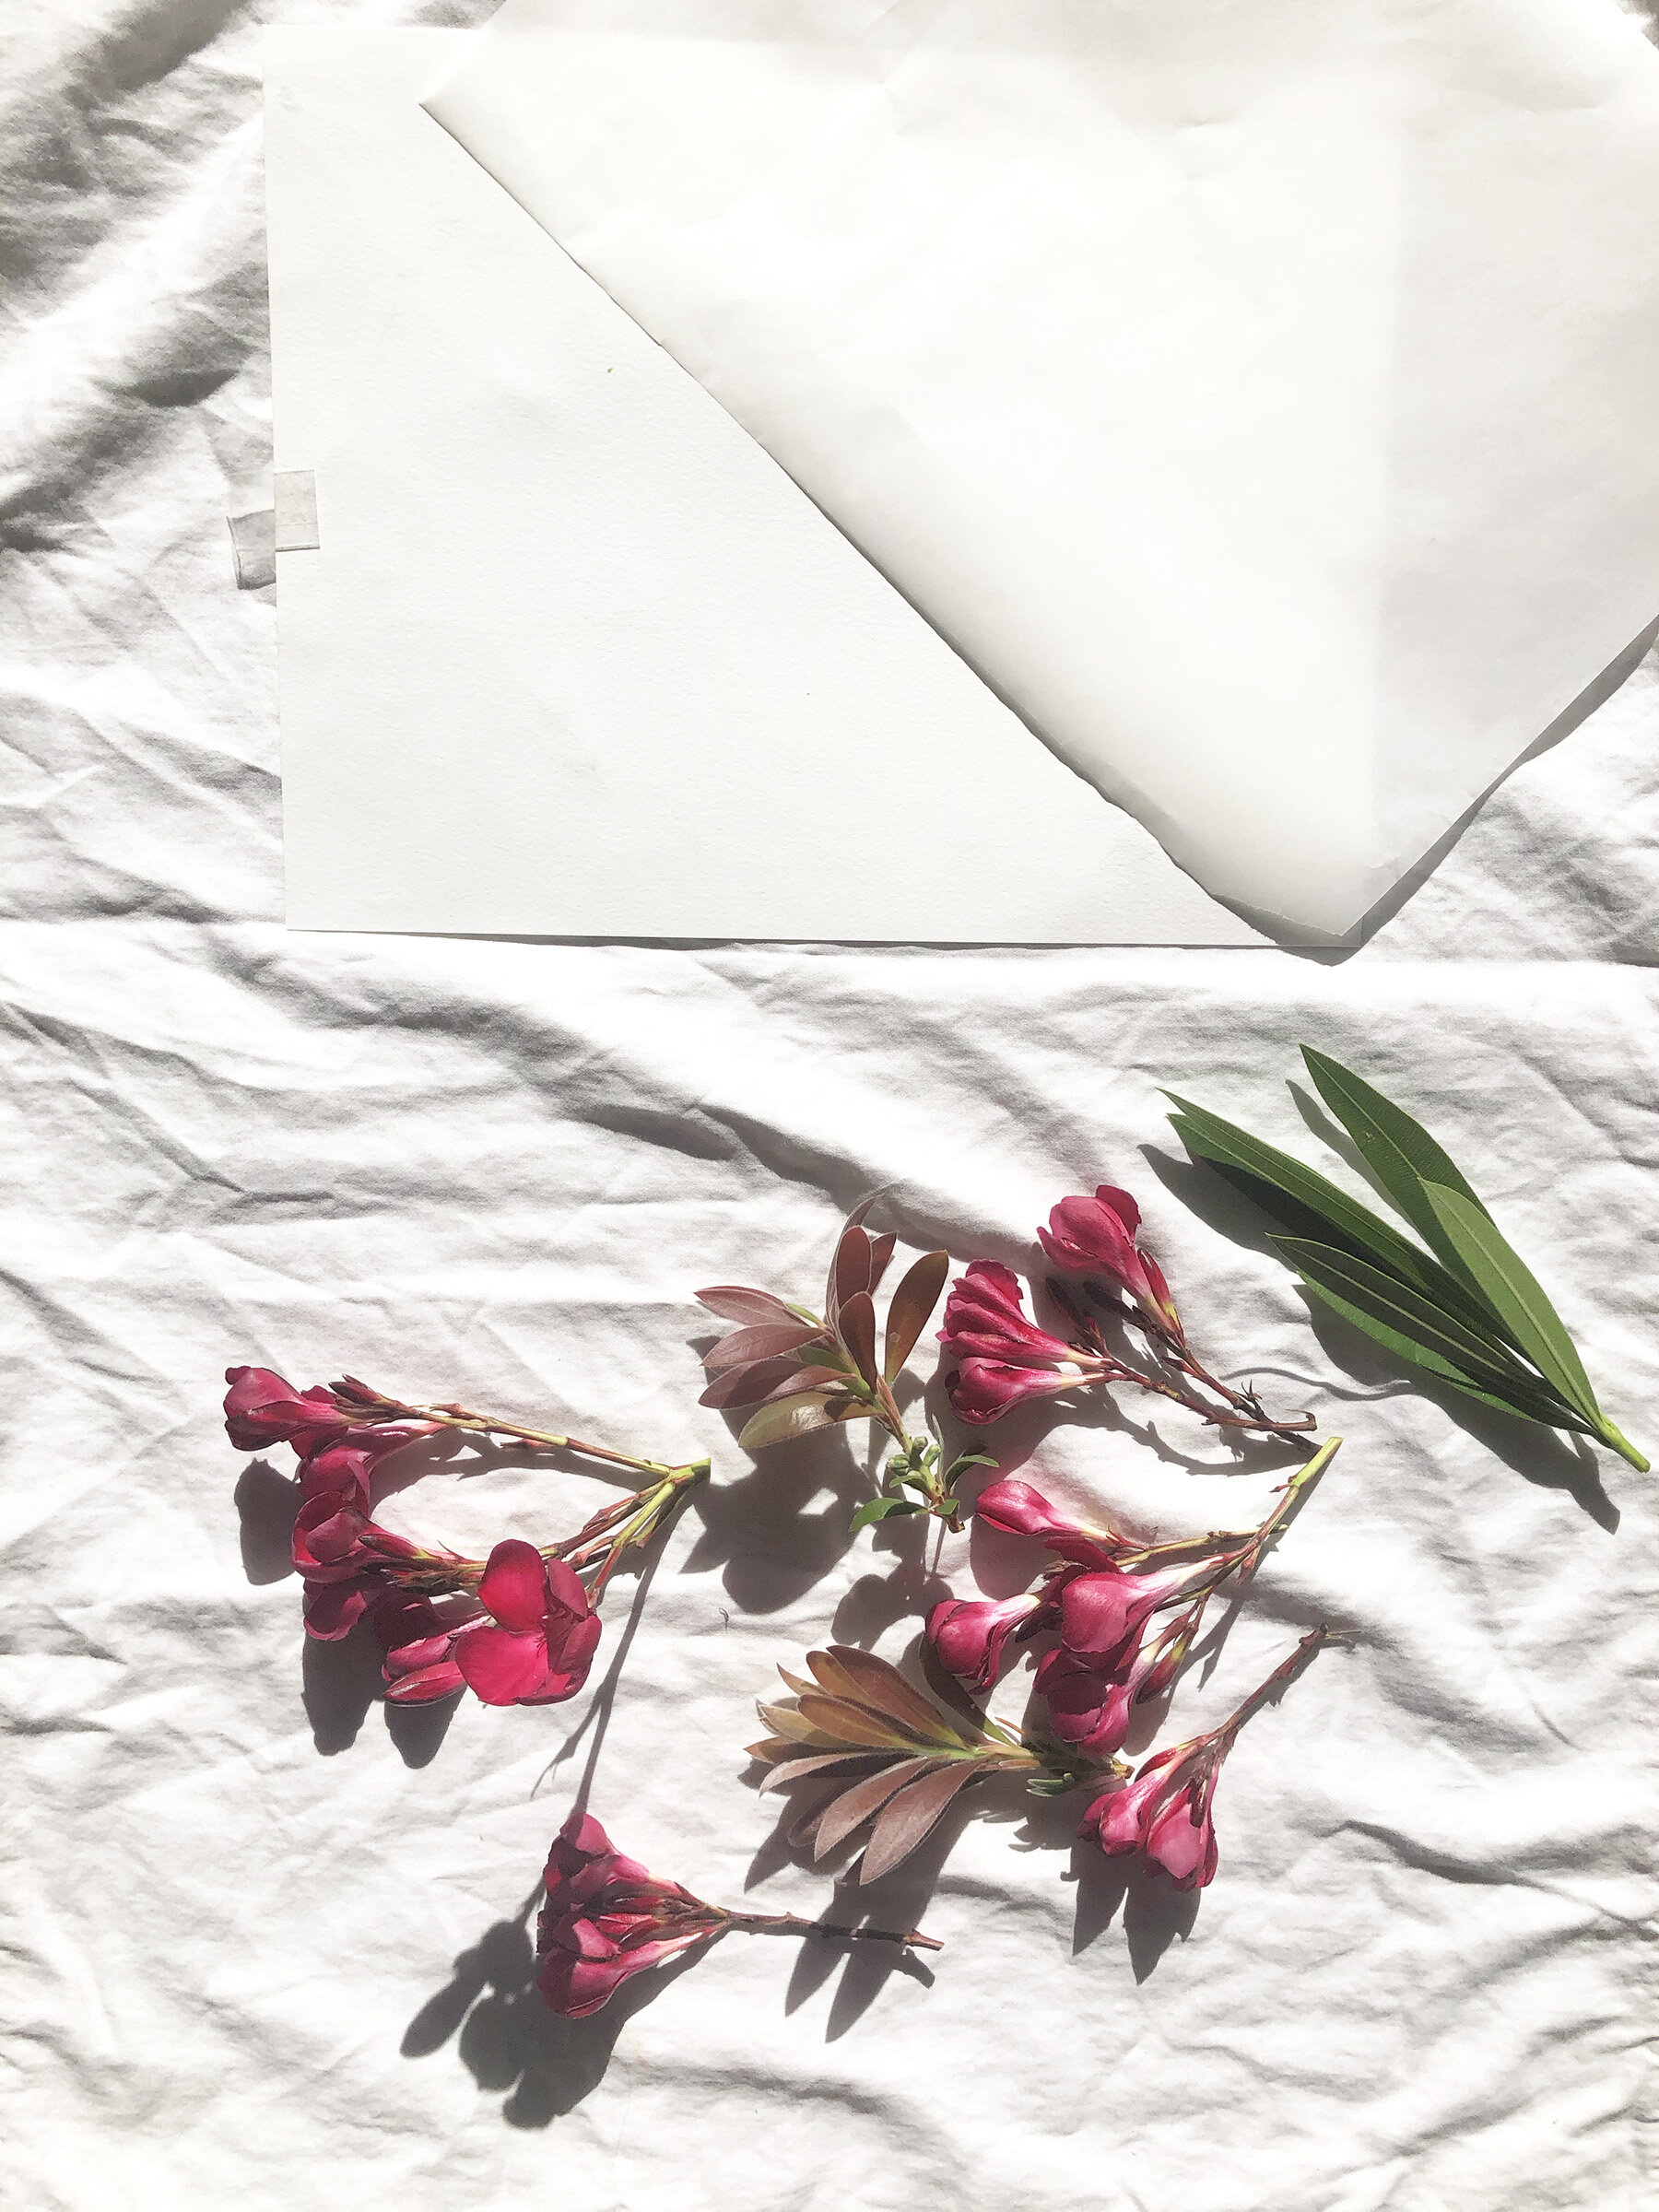


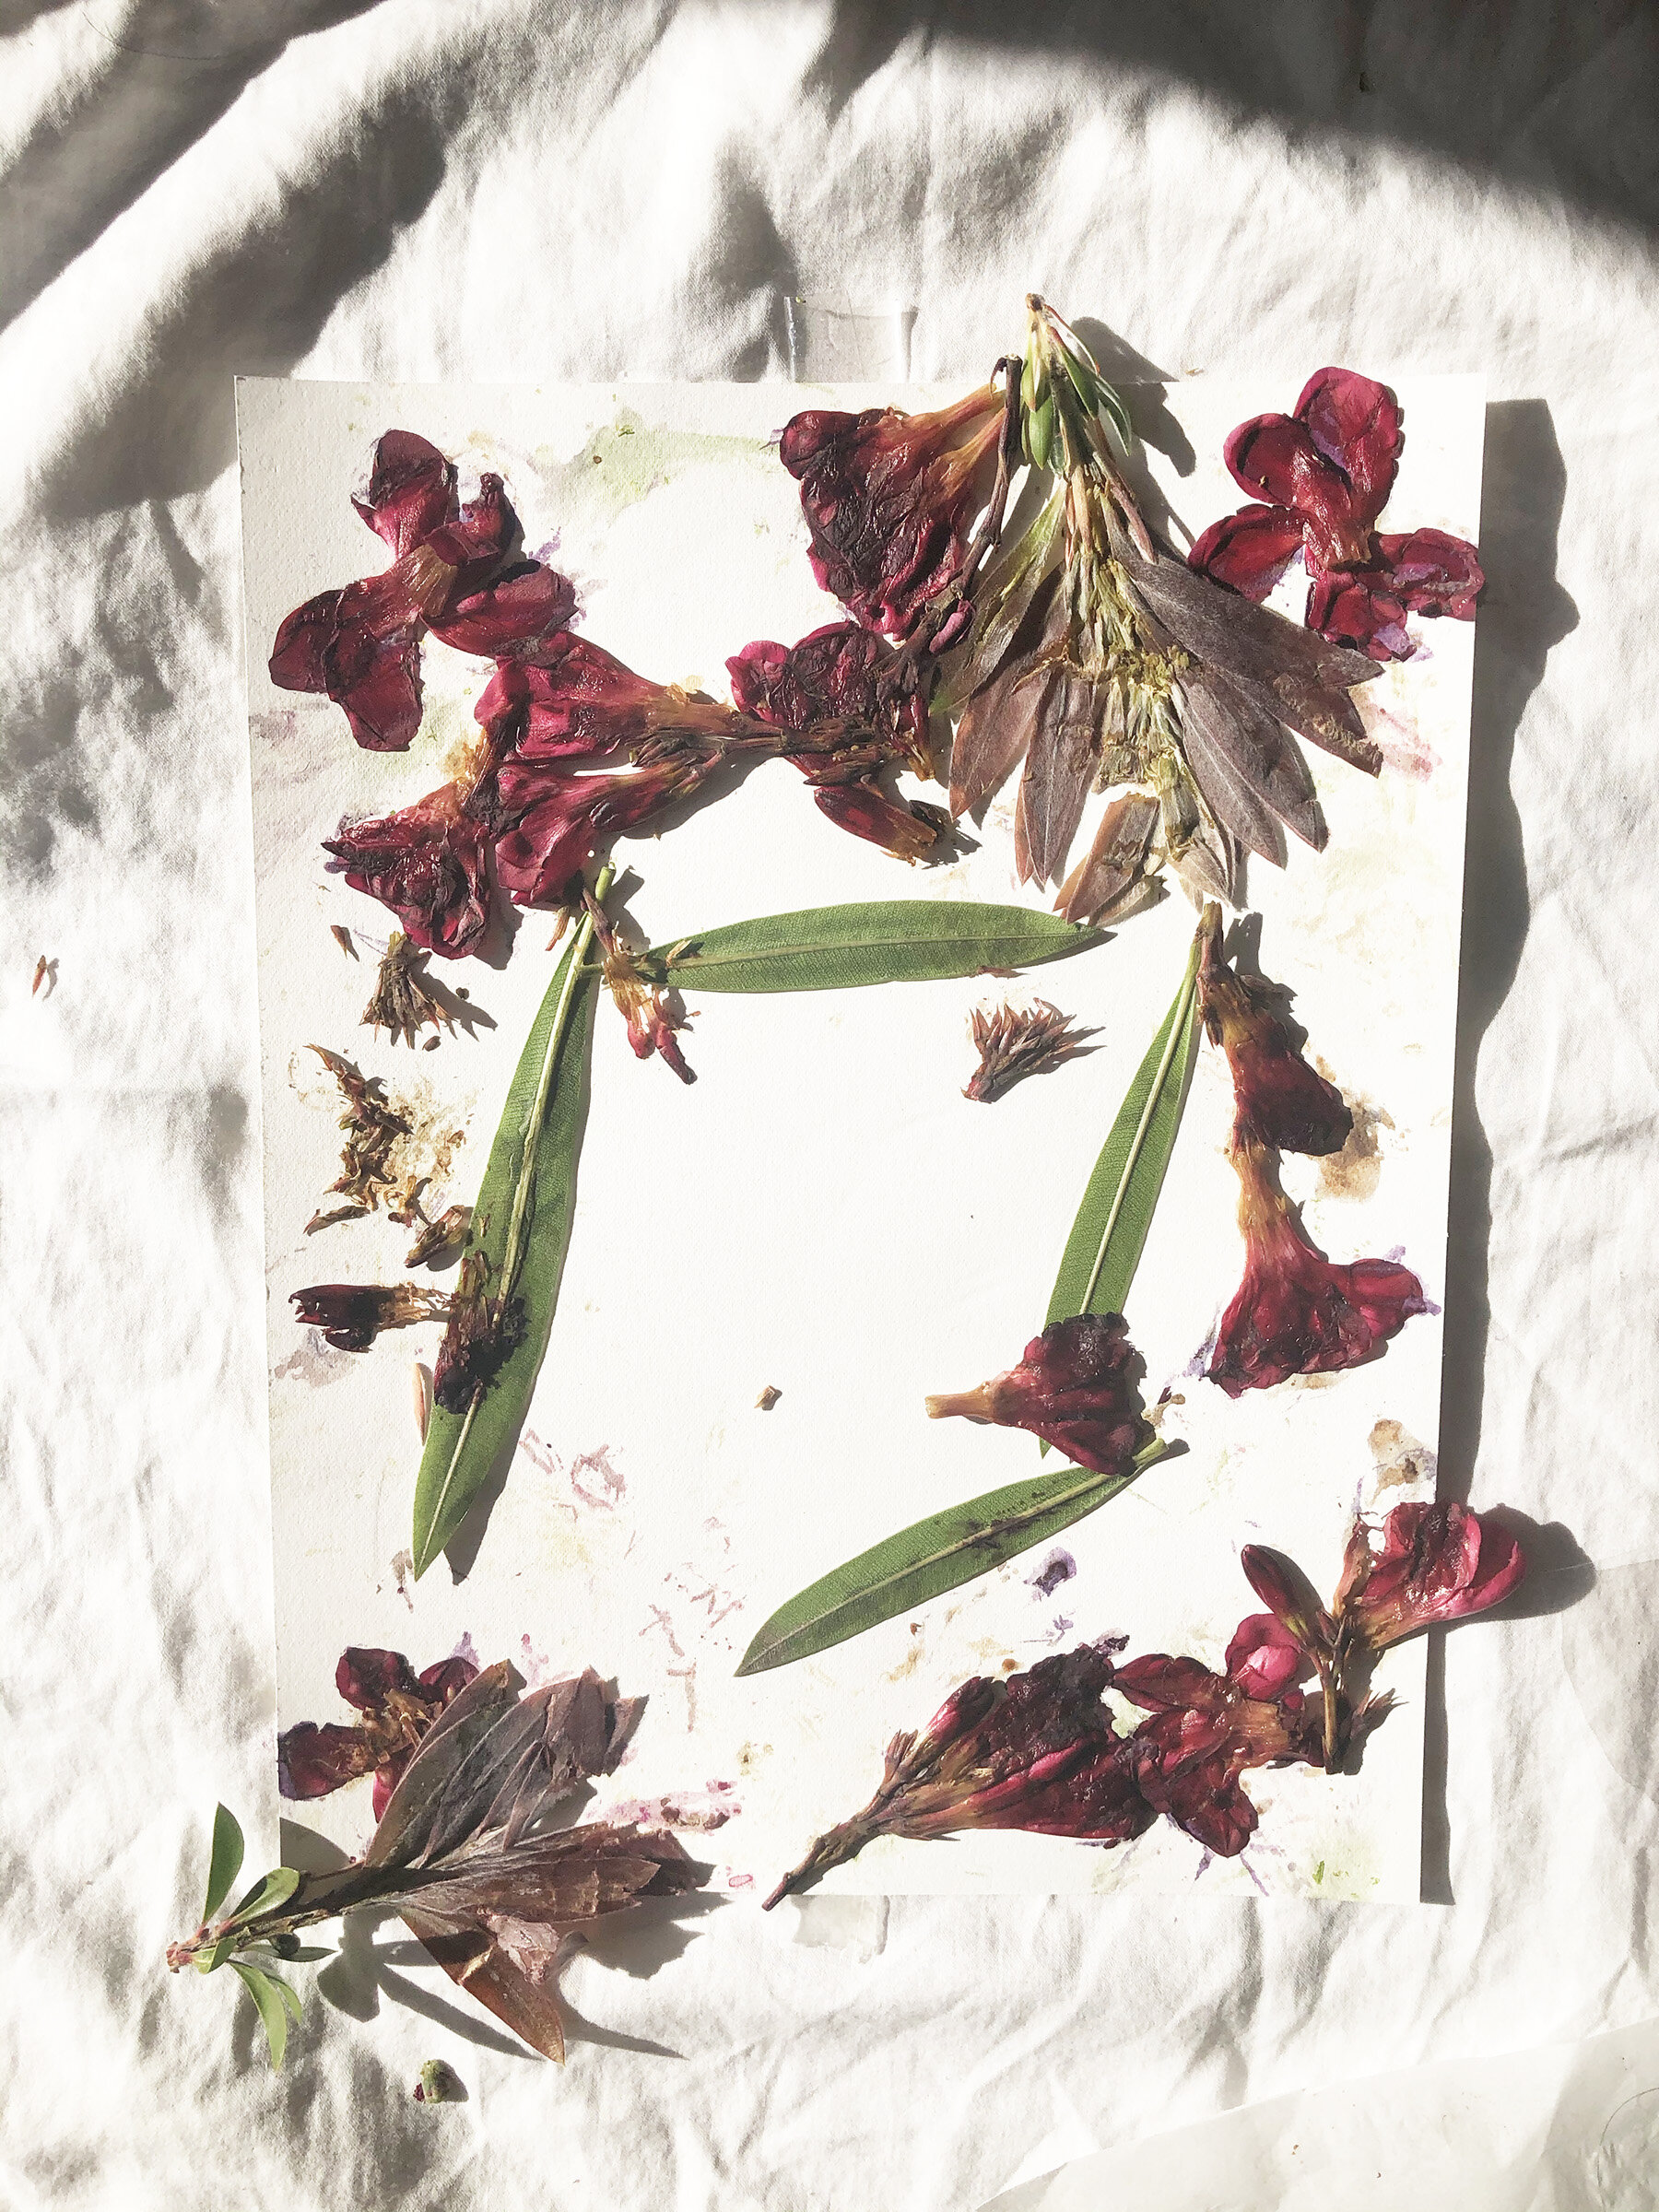
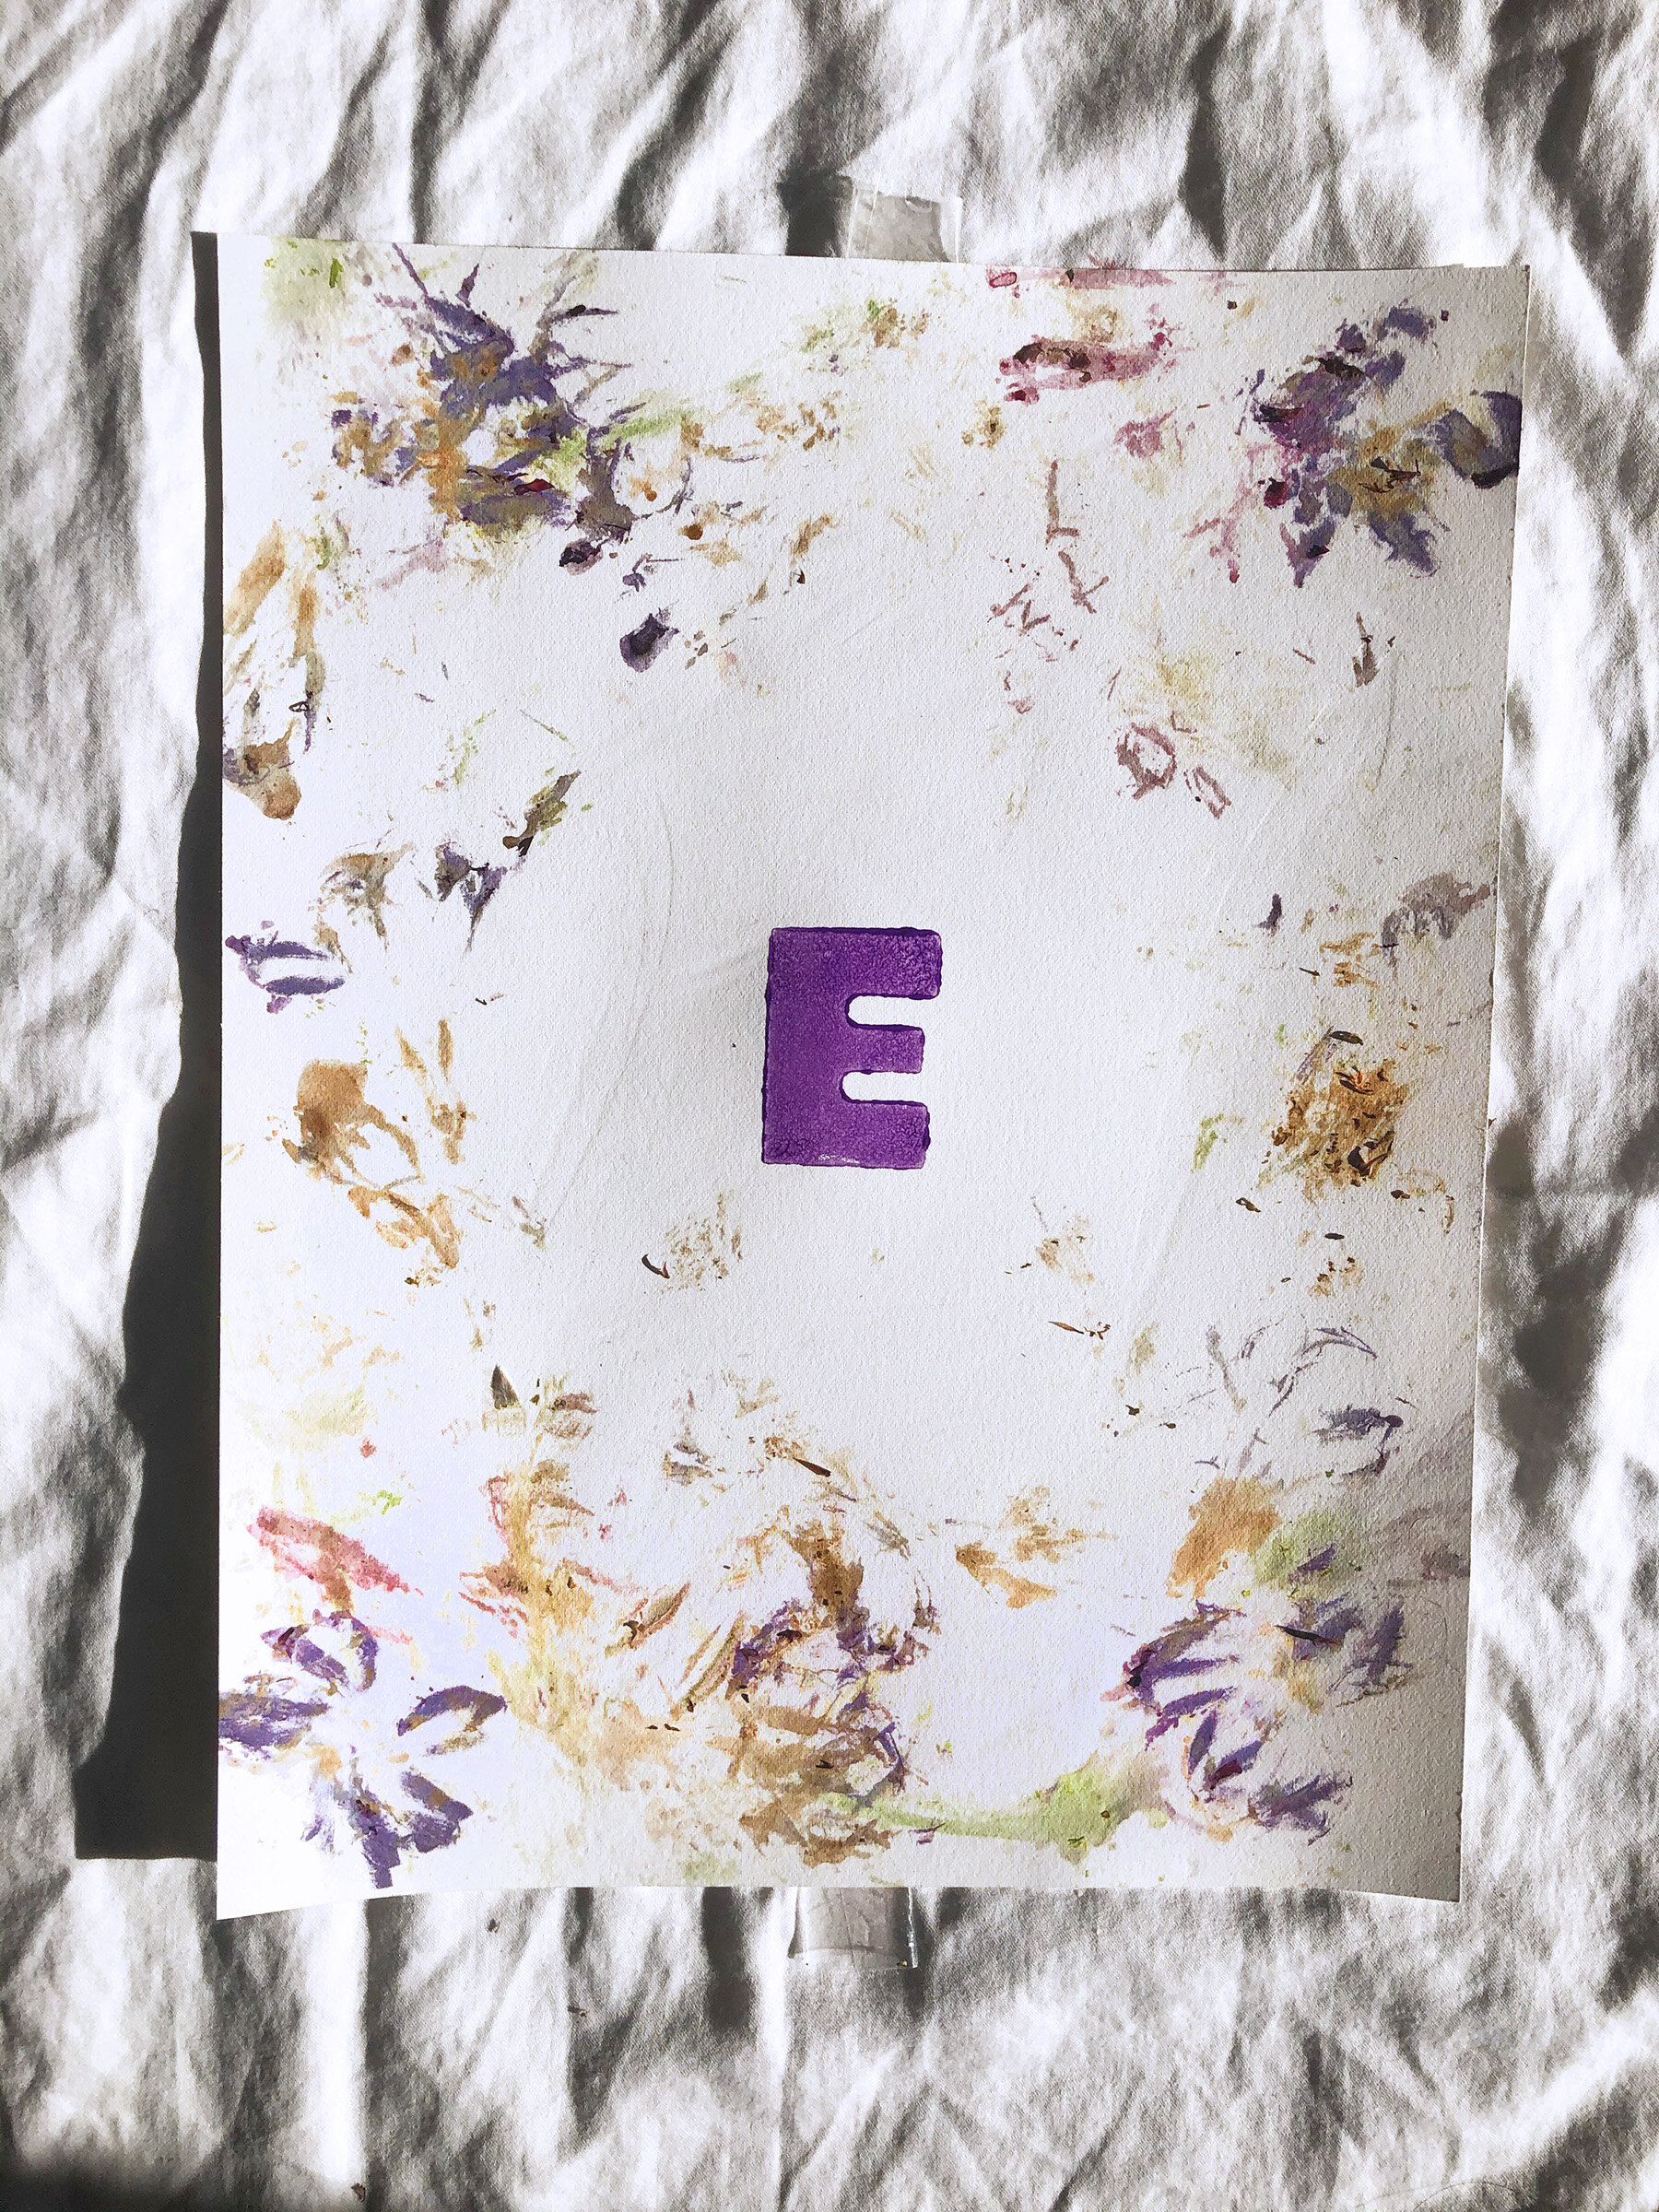
First gather all the material we need. Make sure the flowers you get are bright and fresh. I tried pastel yellow flowers and it did not work for me. We just went on a walk in our neighborhood to find our flowers and leaves. Spread out the flowers and leaves on a thick paper (try not to overlap). We wanted to frame our paper with it, so we laid out our flowers and leaves along the borders. Once you are satisfied with your layout, cover your paper with butter paper and tape it to the sides so that your flowers don’t move much.
It’s time to start pounding! My son loved this so much! I let him go all in and exhaust himself pounding the flowers. The flowers moved, but that is okay. When he was done, we slowly lifted the butter paper and then removed the smashed flowers from the paper. He was surprised to see colors on the paper. I told him the colors came from the flowers and that made him smile. He said it was beautiful and that made my day!
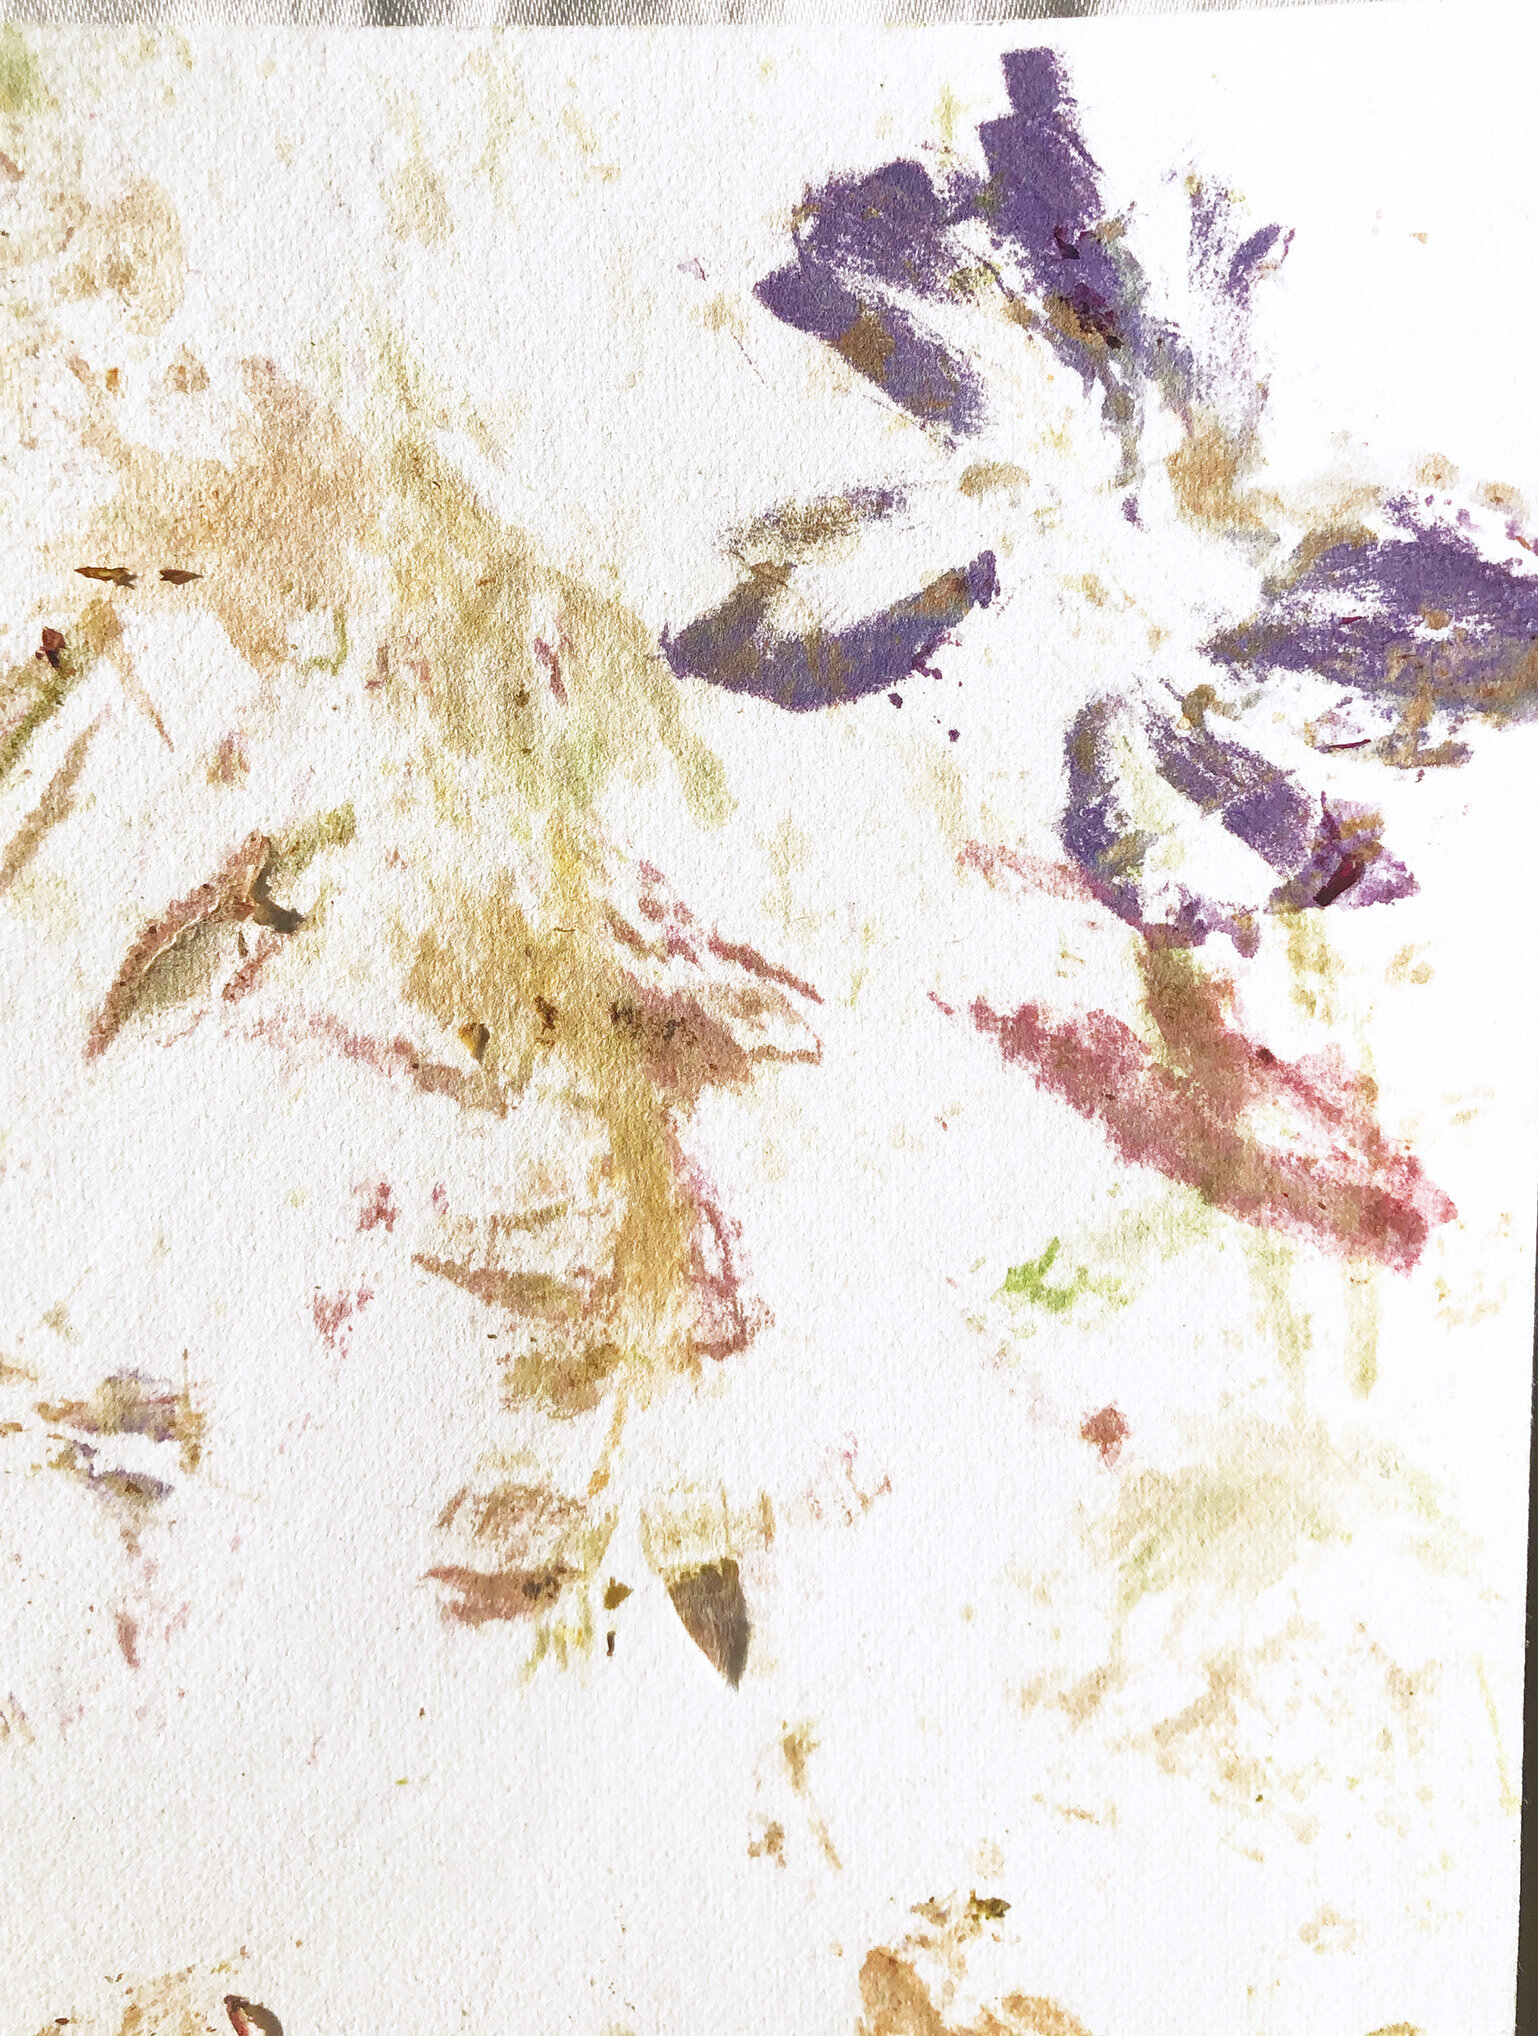

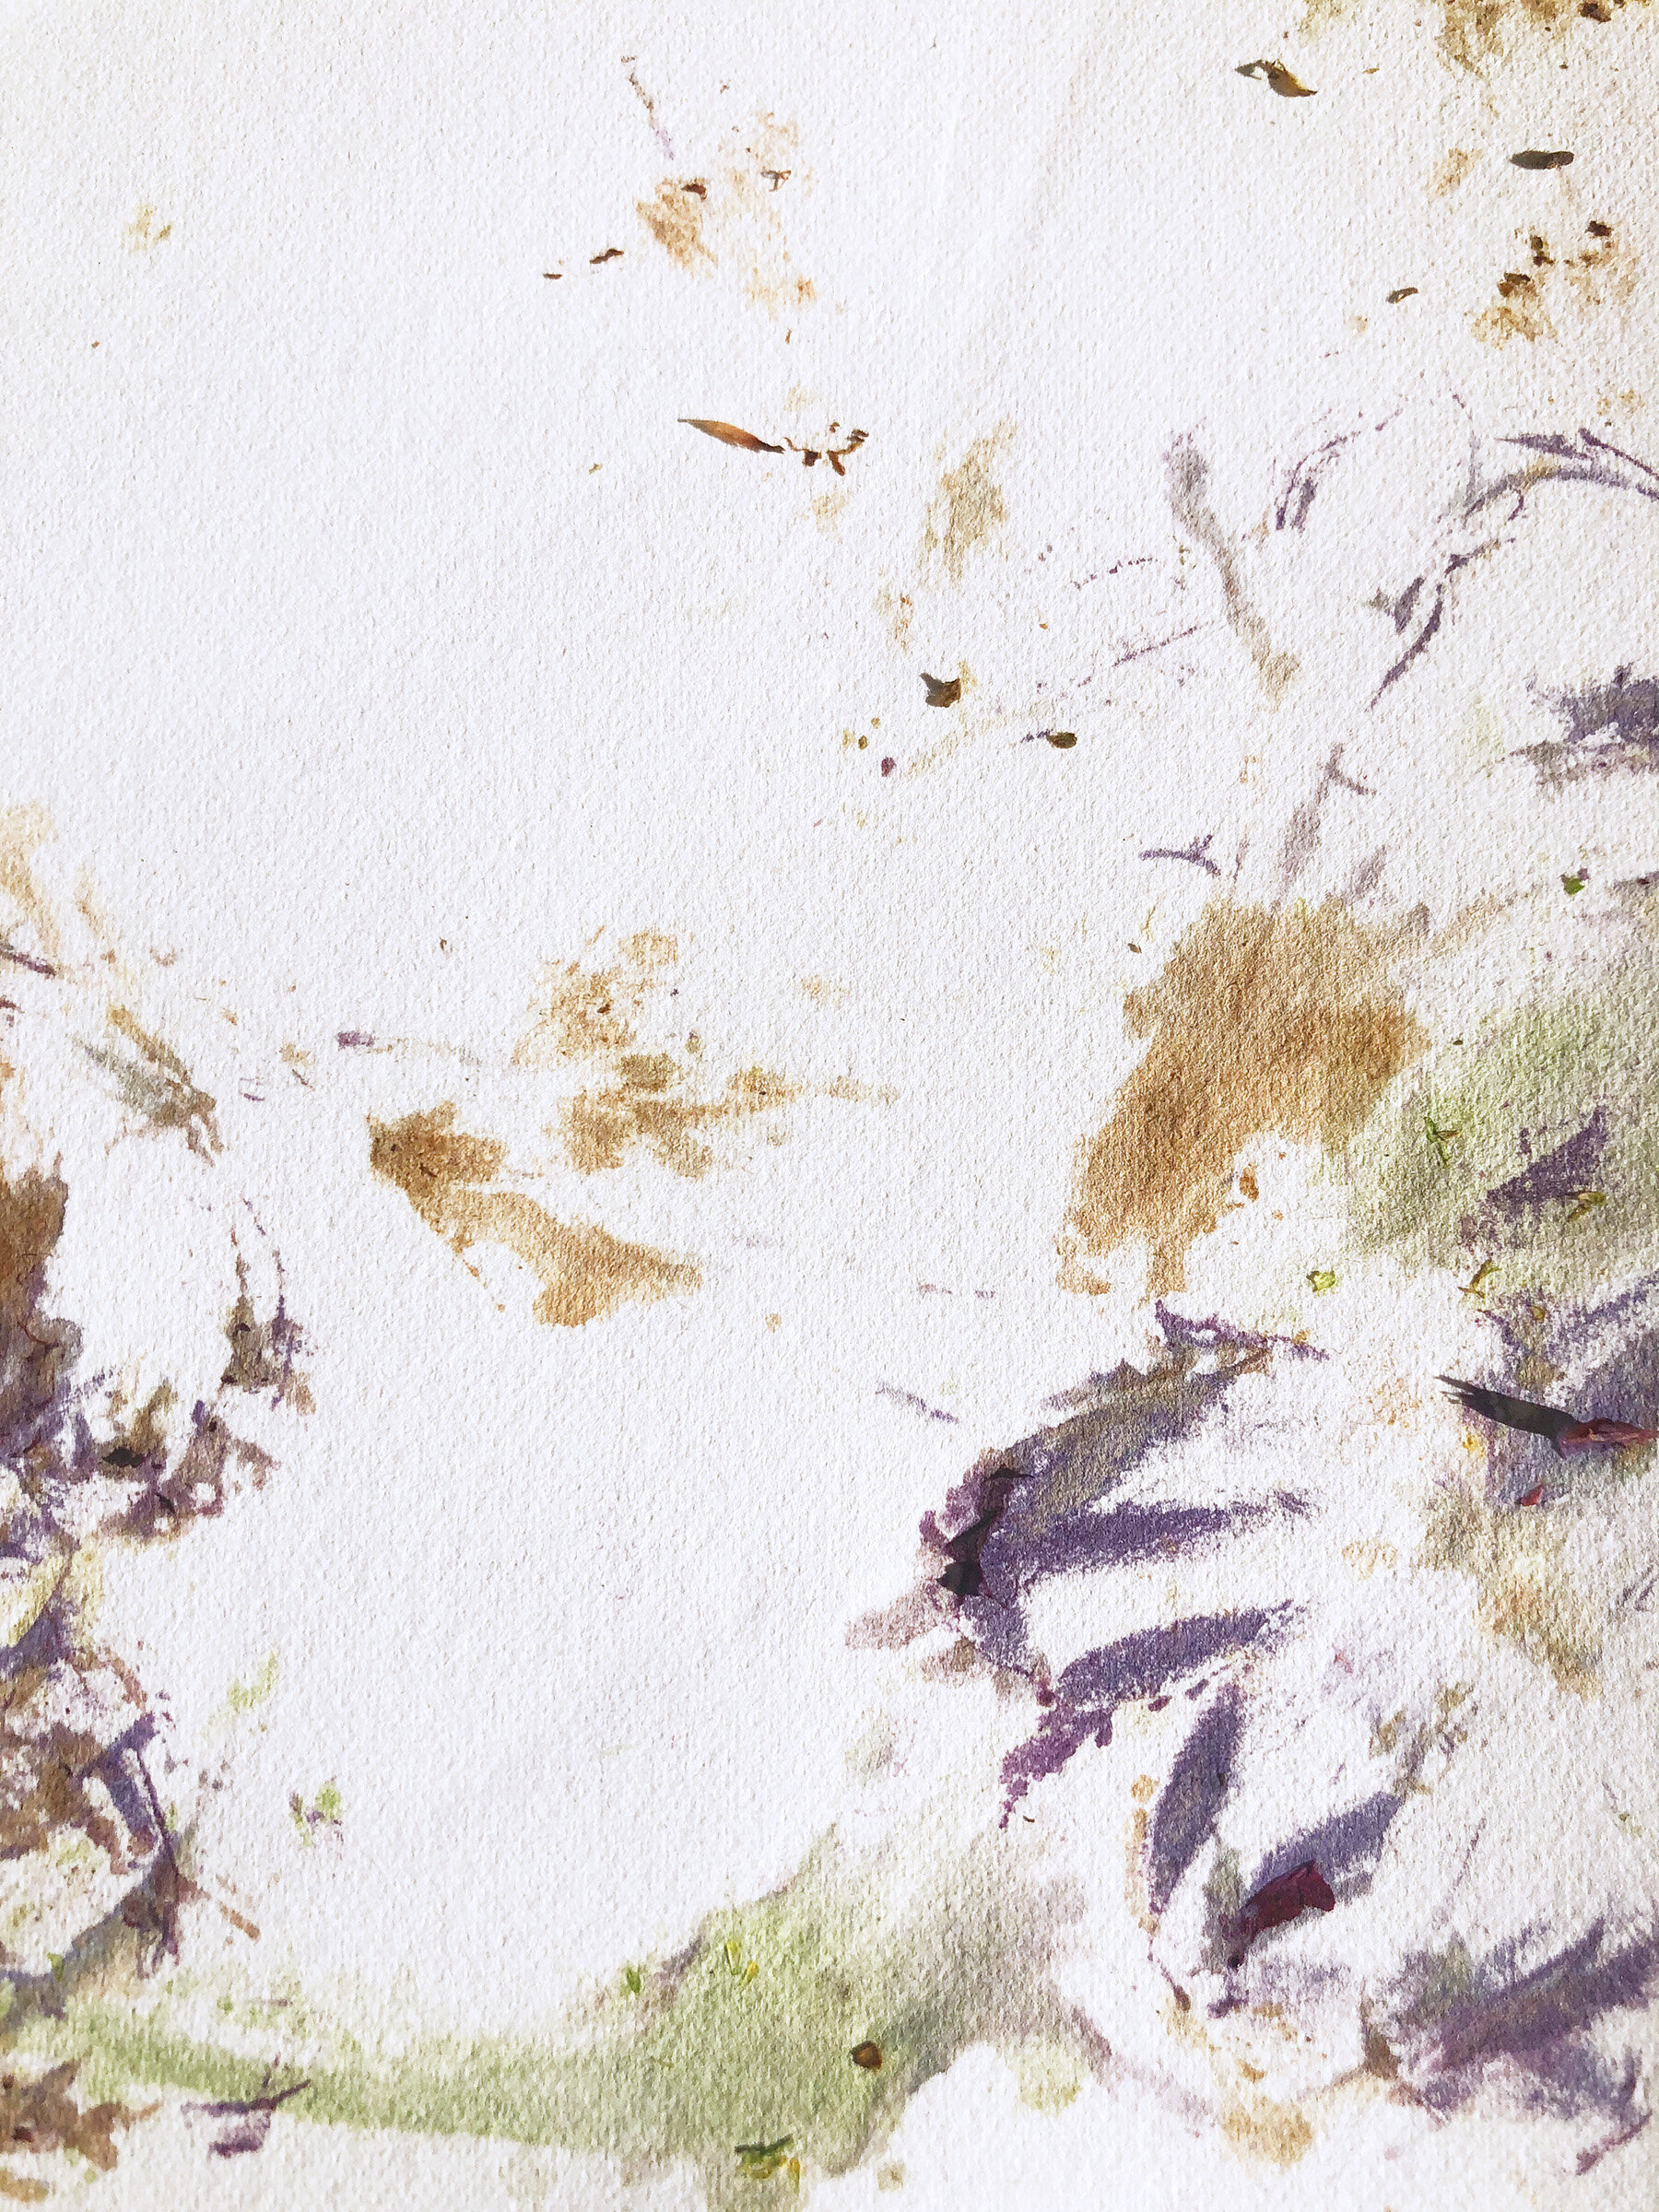
We even stamped his initial letter in the middle of the paper. You can make cards, bookmarks, frames and so much more. And it smells lovely too!
Activity 3: Press it!
Best for (3 years and up) fine motor skills, gross motor skills, art.
Material Needed: Air Dry Clay, Flowers and Leaves, Rolling Pin, Cookie Cutter (or anything to cut the shape in clay), Tiny Letter Stamps (optional) and Mod Podge.
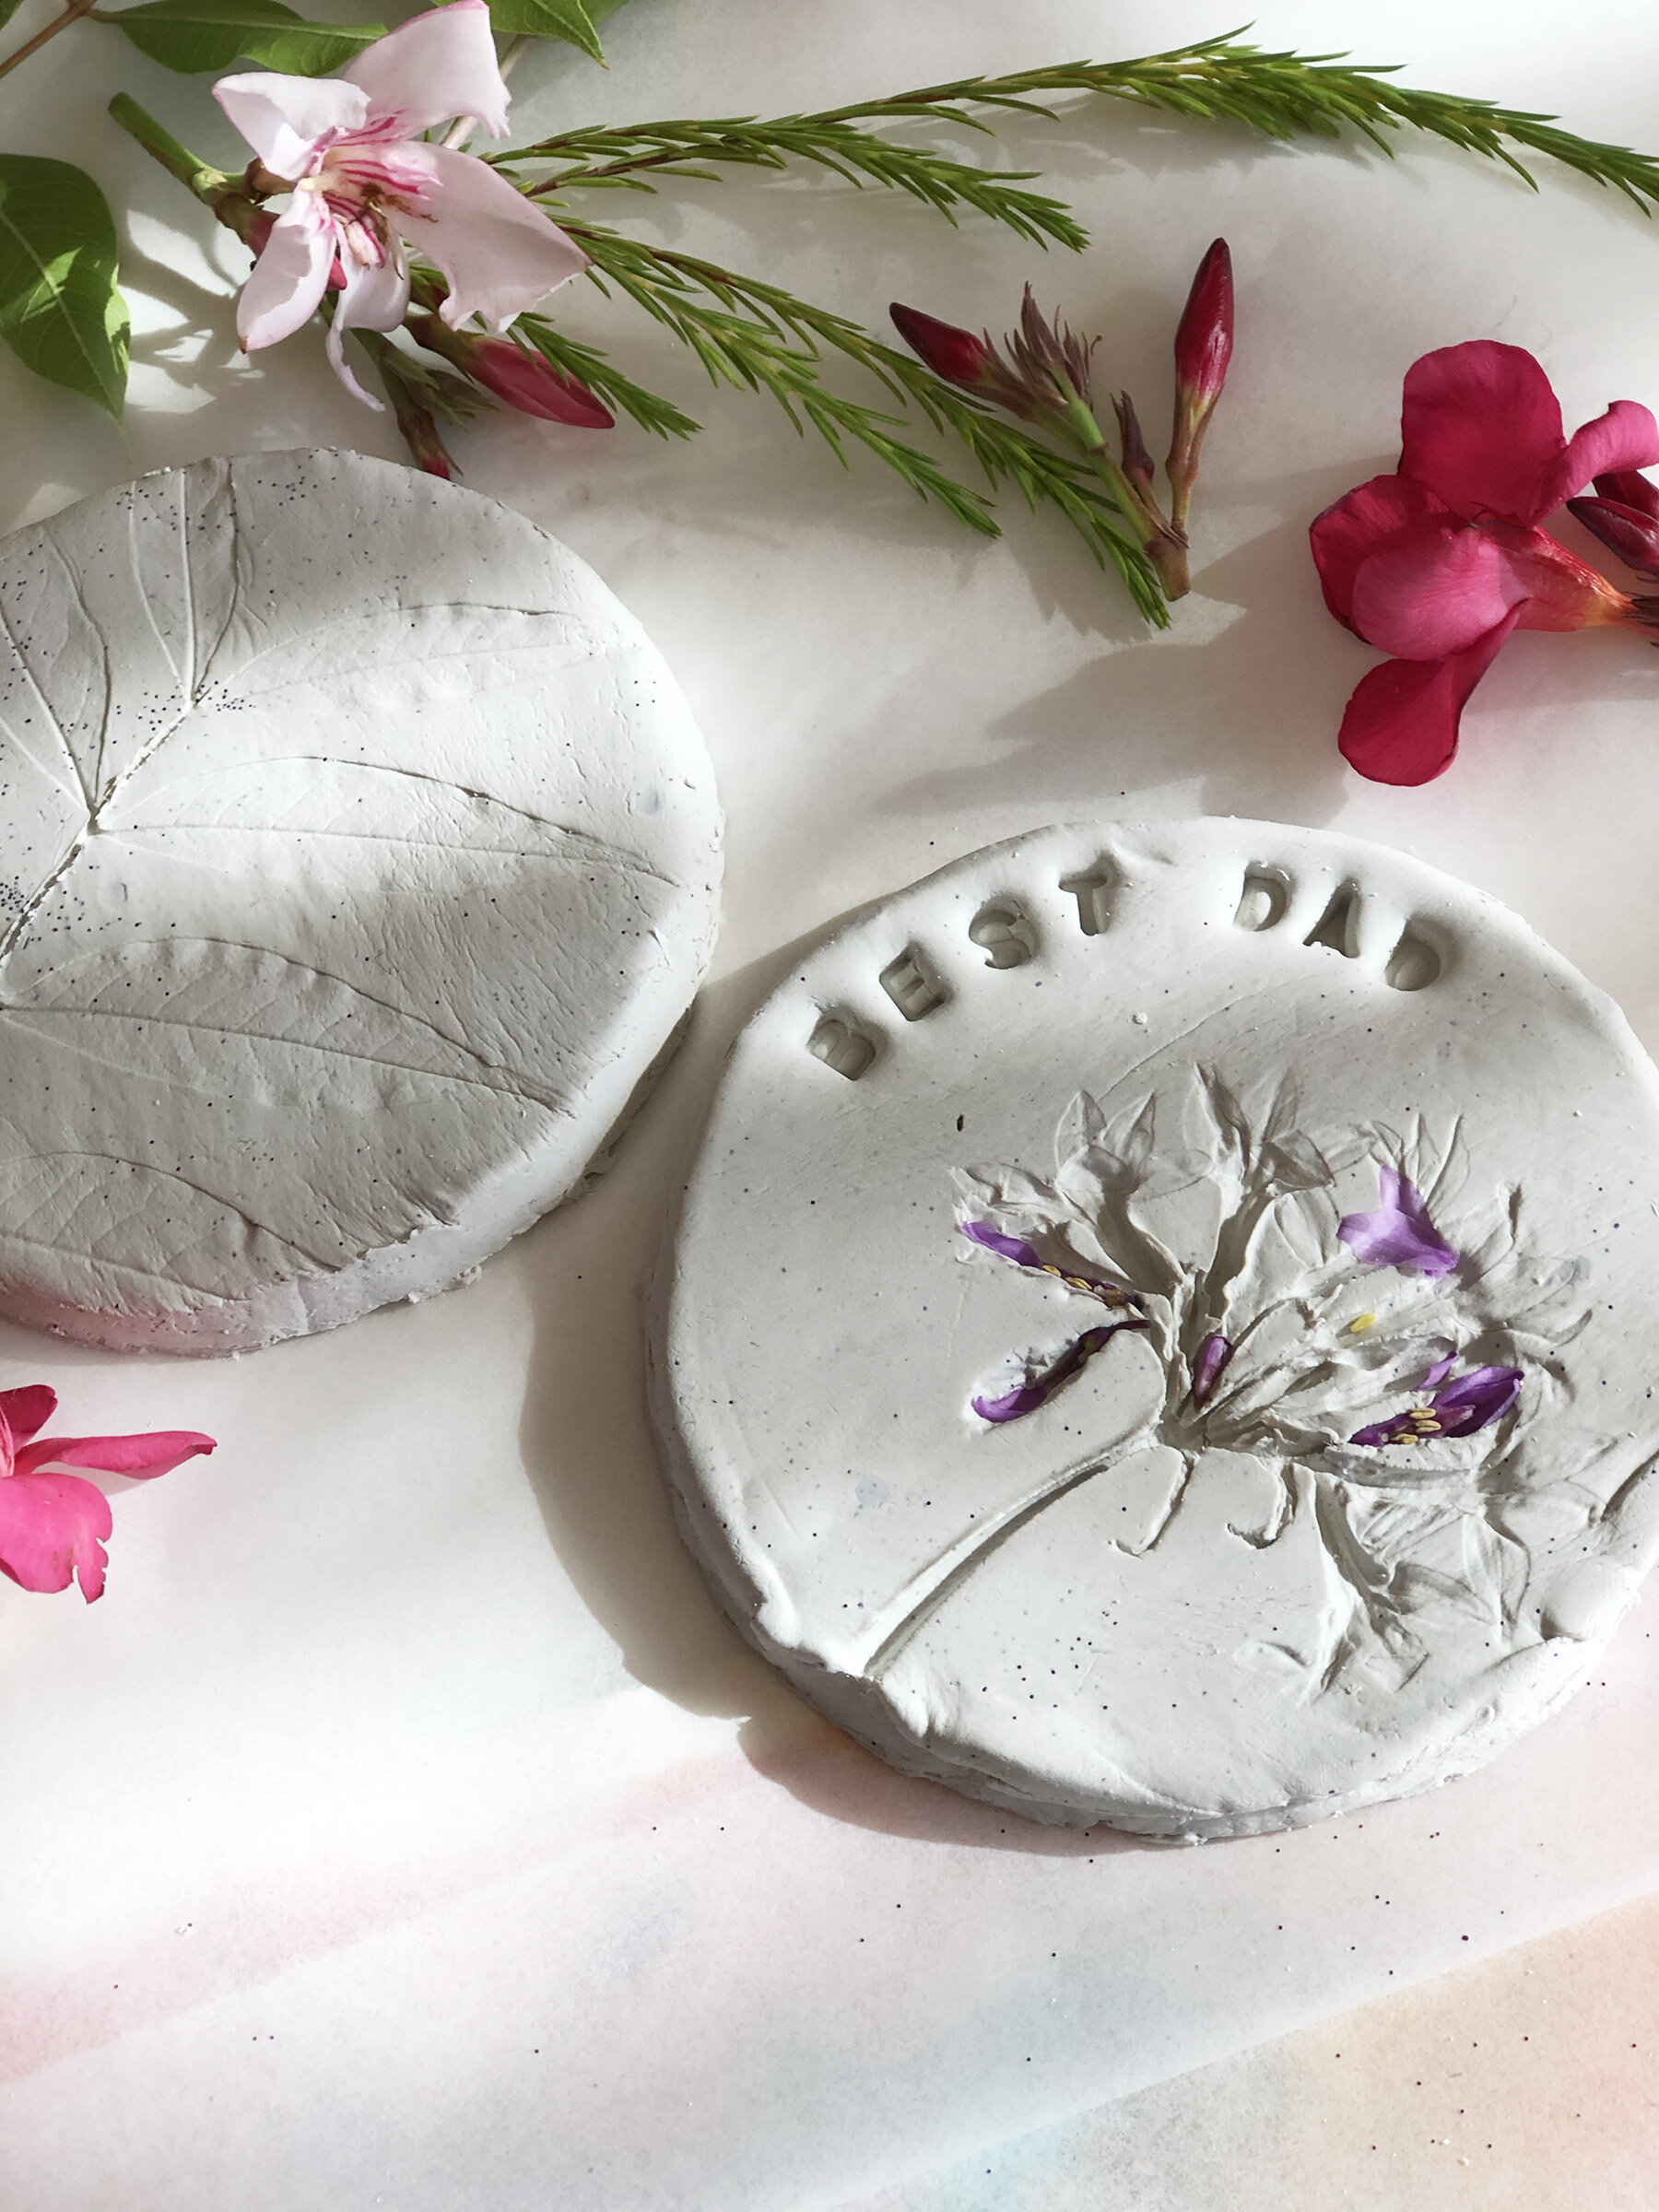
Air Dry Clay is very similar to regular kids clay in terms of texture and ease of use. Plus you get colorful options in Crayola for air dry clay. You can choose to use regular clay too. We just wanted to turn this activity into a Father’s Day gift, so we used Air Dry Clay. We made 4 natural clay beer coasters for Father’s Day. Once you make them you just leave them out to dry for 2 days.
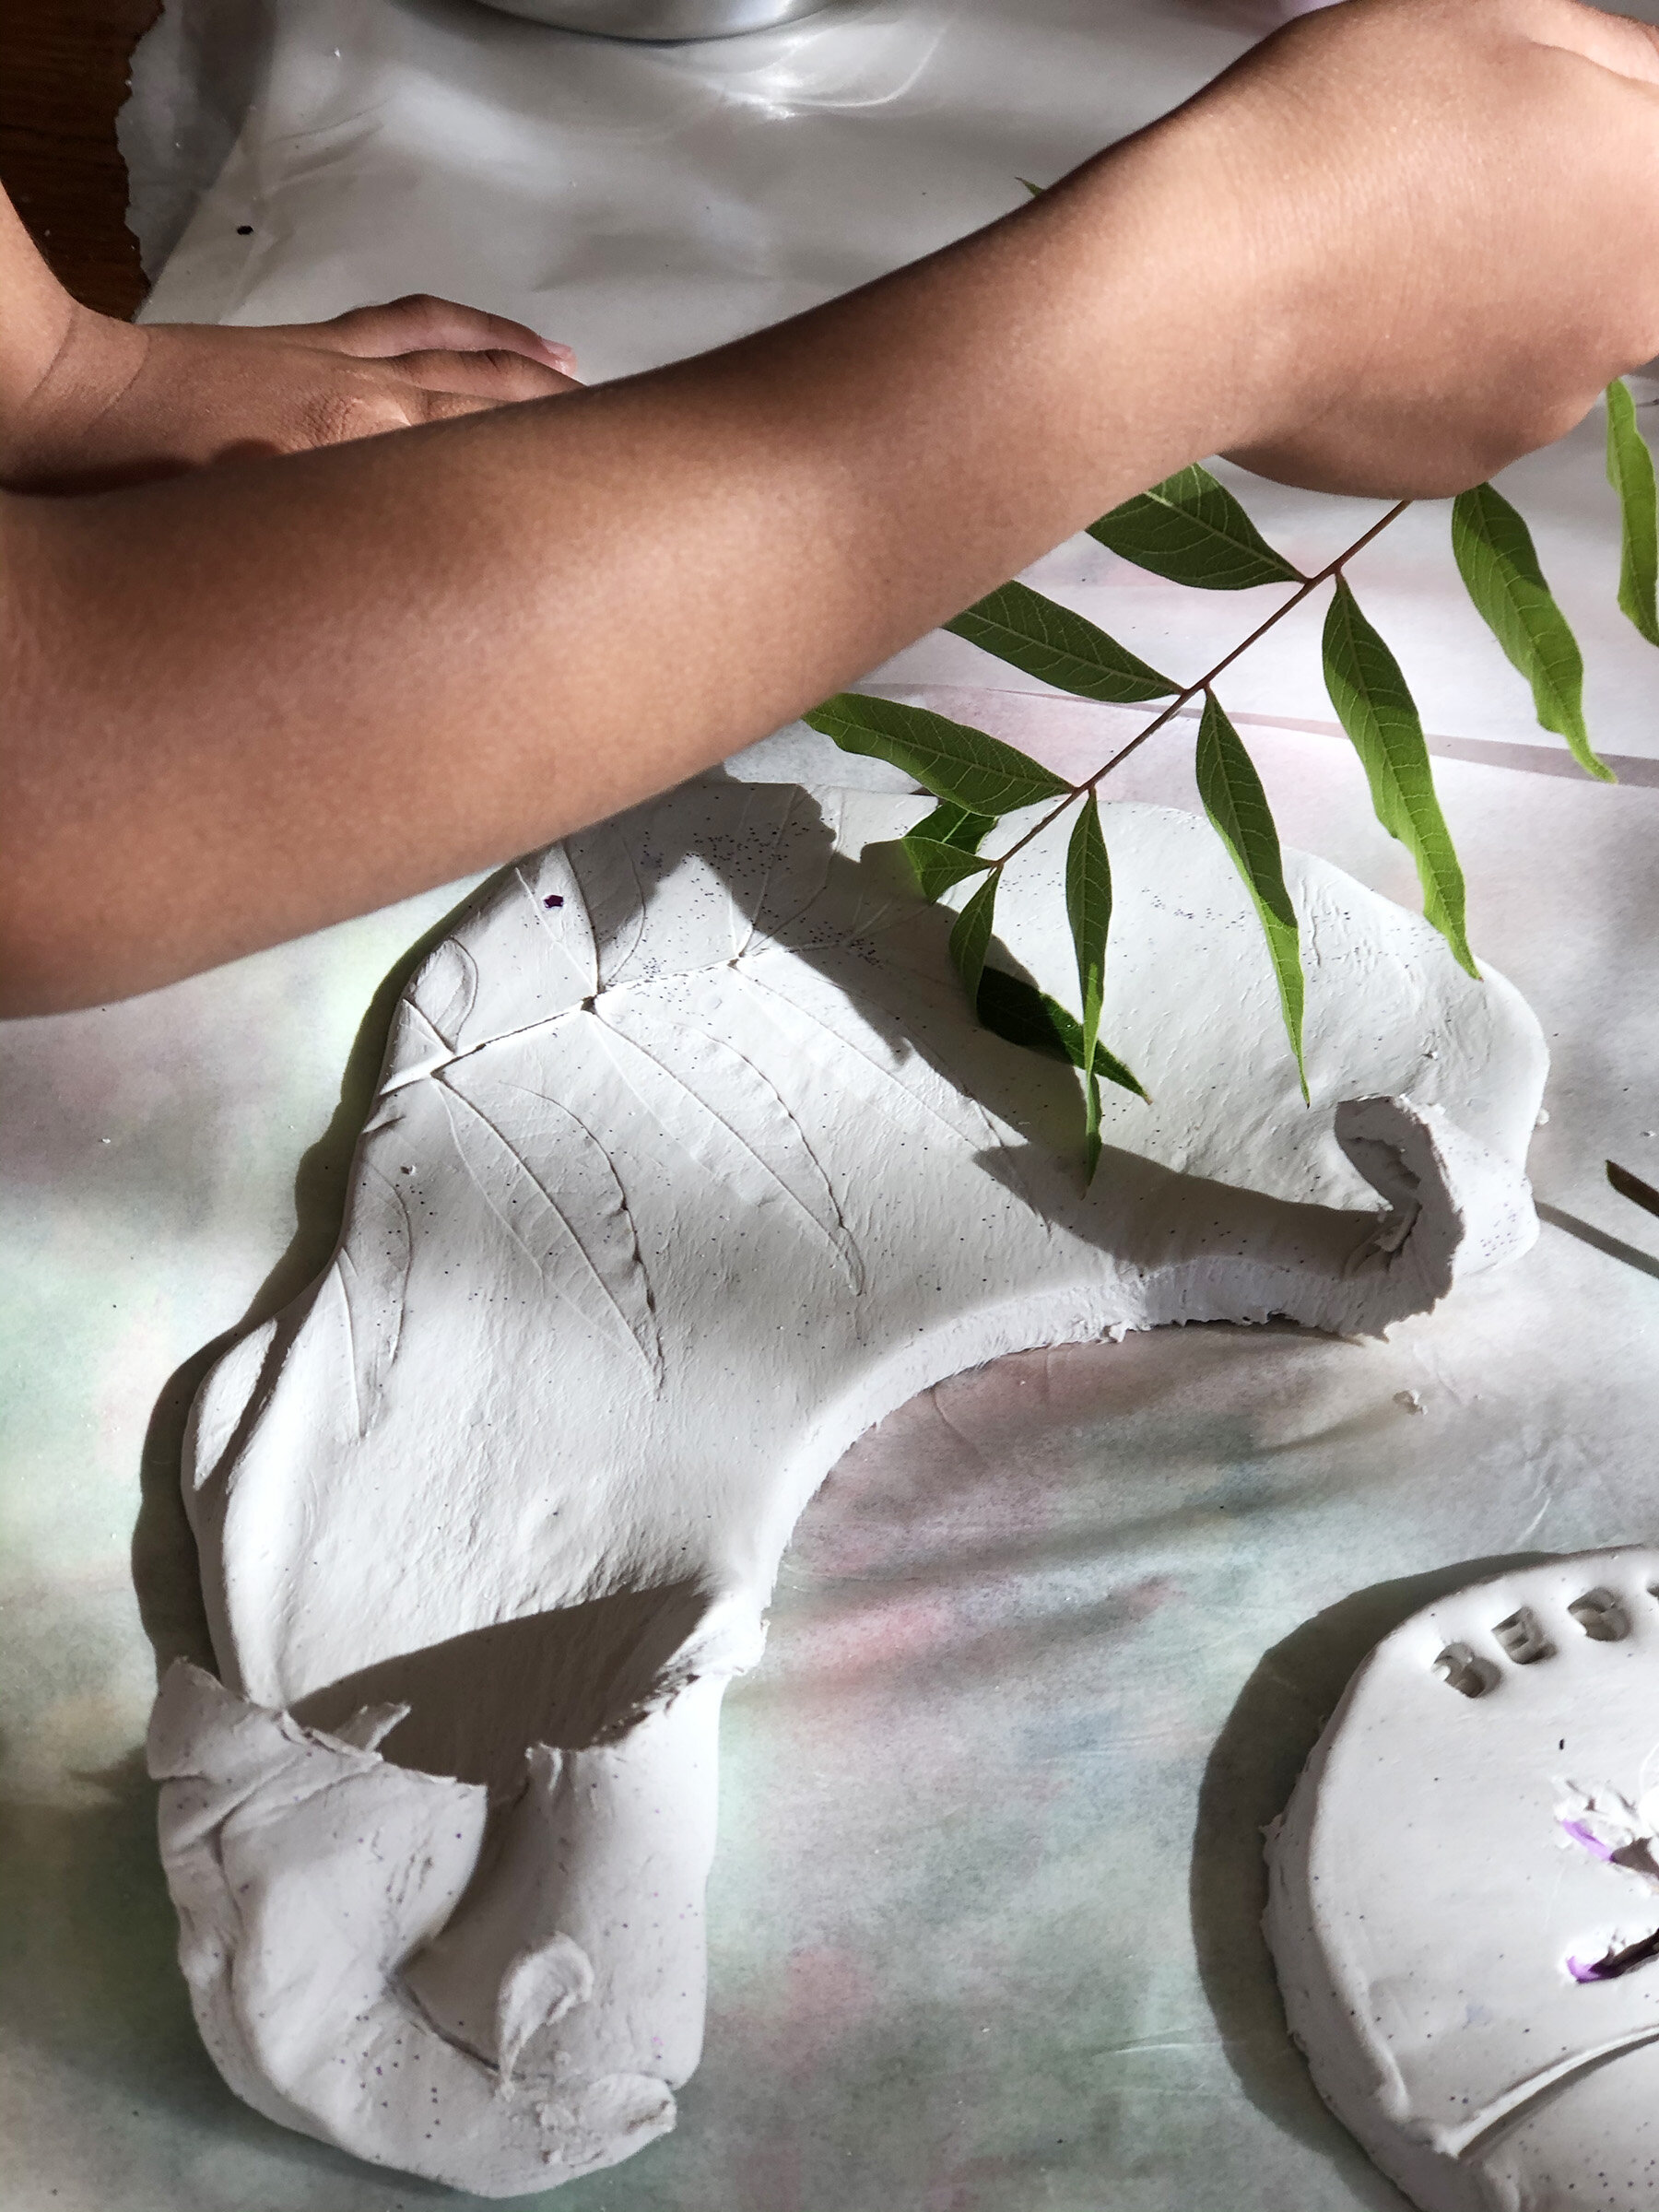
We had flowers and leaves collected from our previous activity and decided to just use them for this as well. Kneading the clay, using the rolling pin, applying pressure to flatten the clay, etc. requires a surprising amount of dexterity and control for a child. It is quite an engaging challenge to learn to place the correct amount of pressure to flatten the clay without making it wrap around the rolling pin.
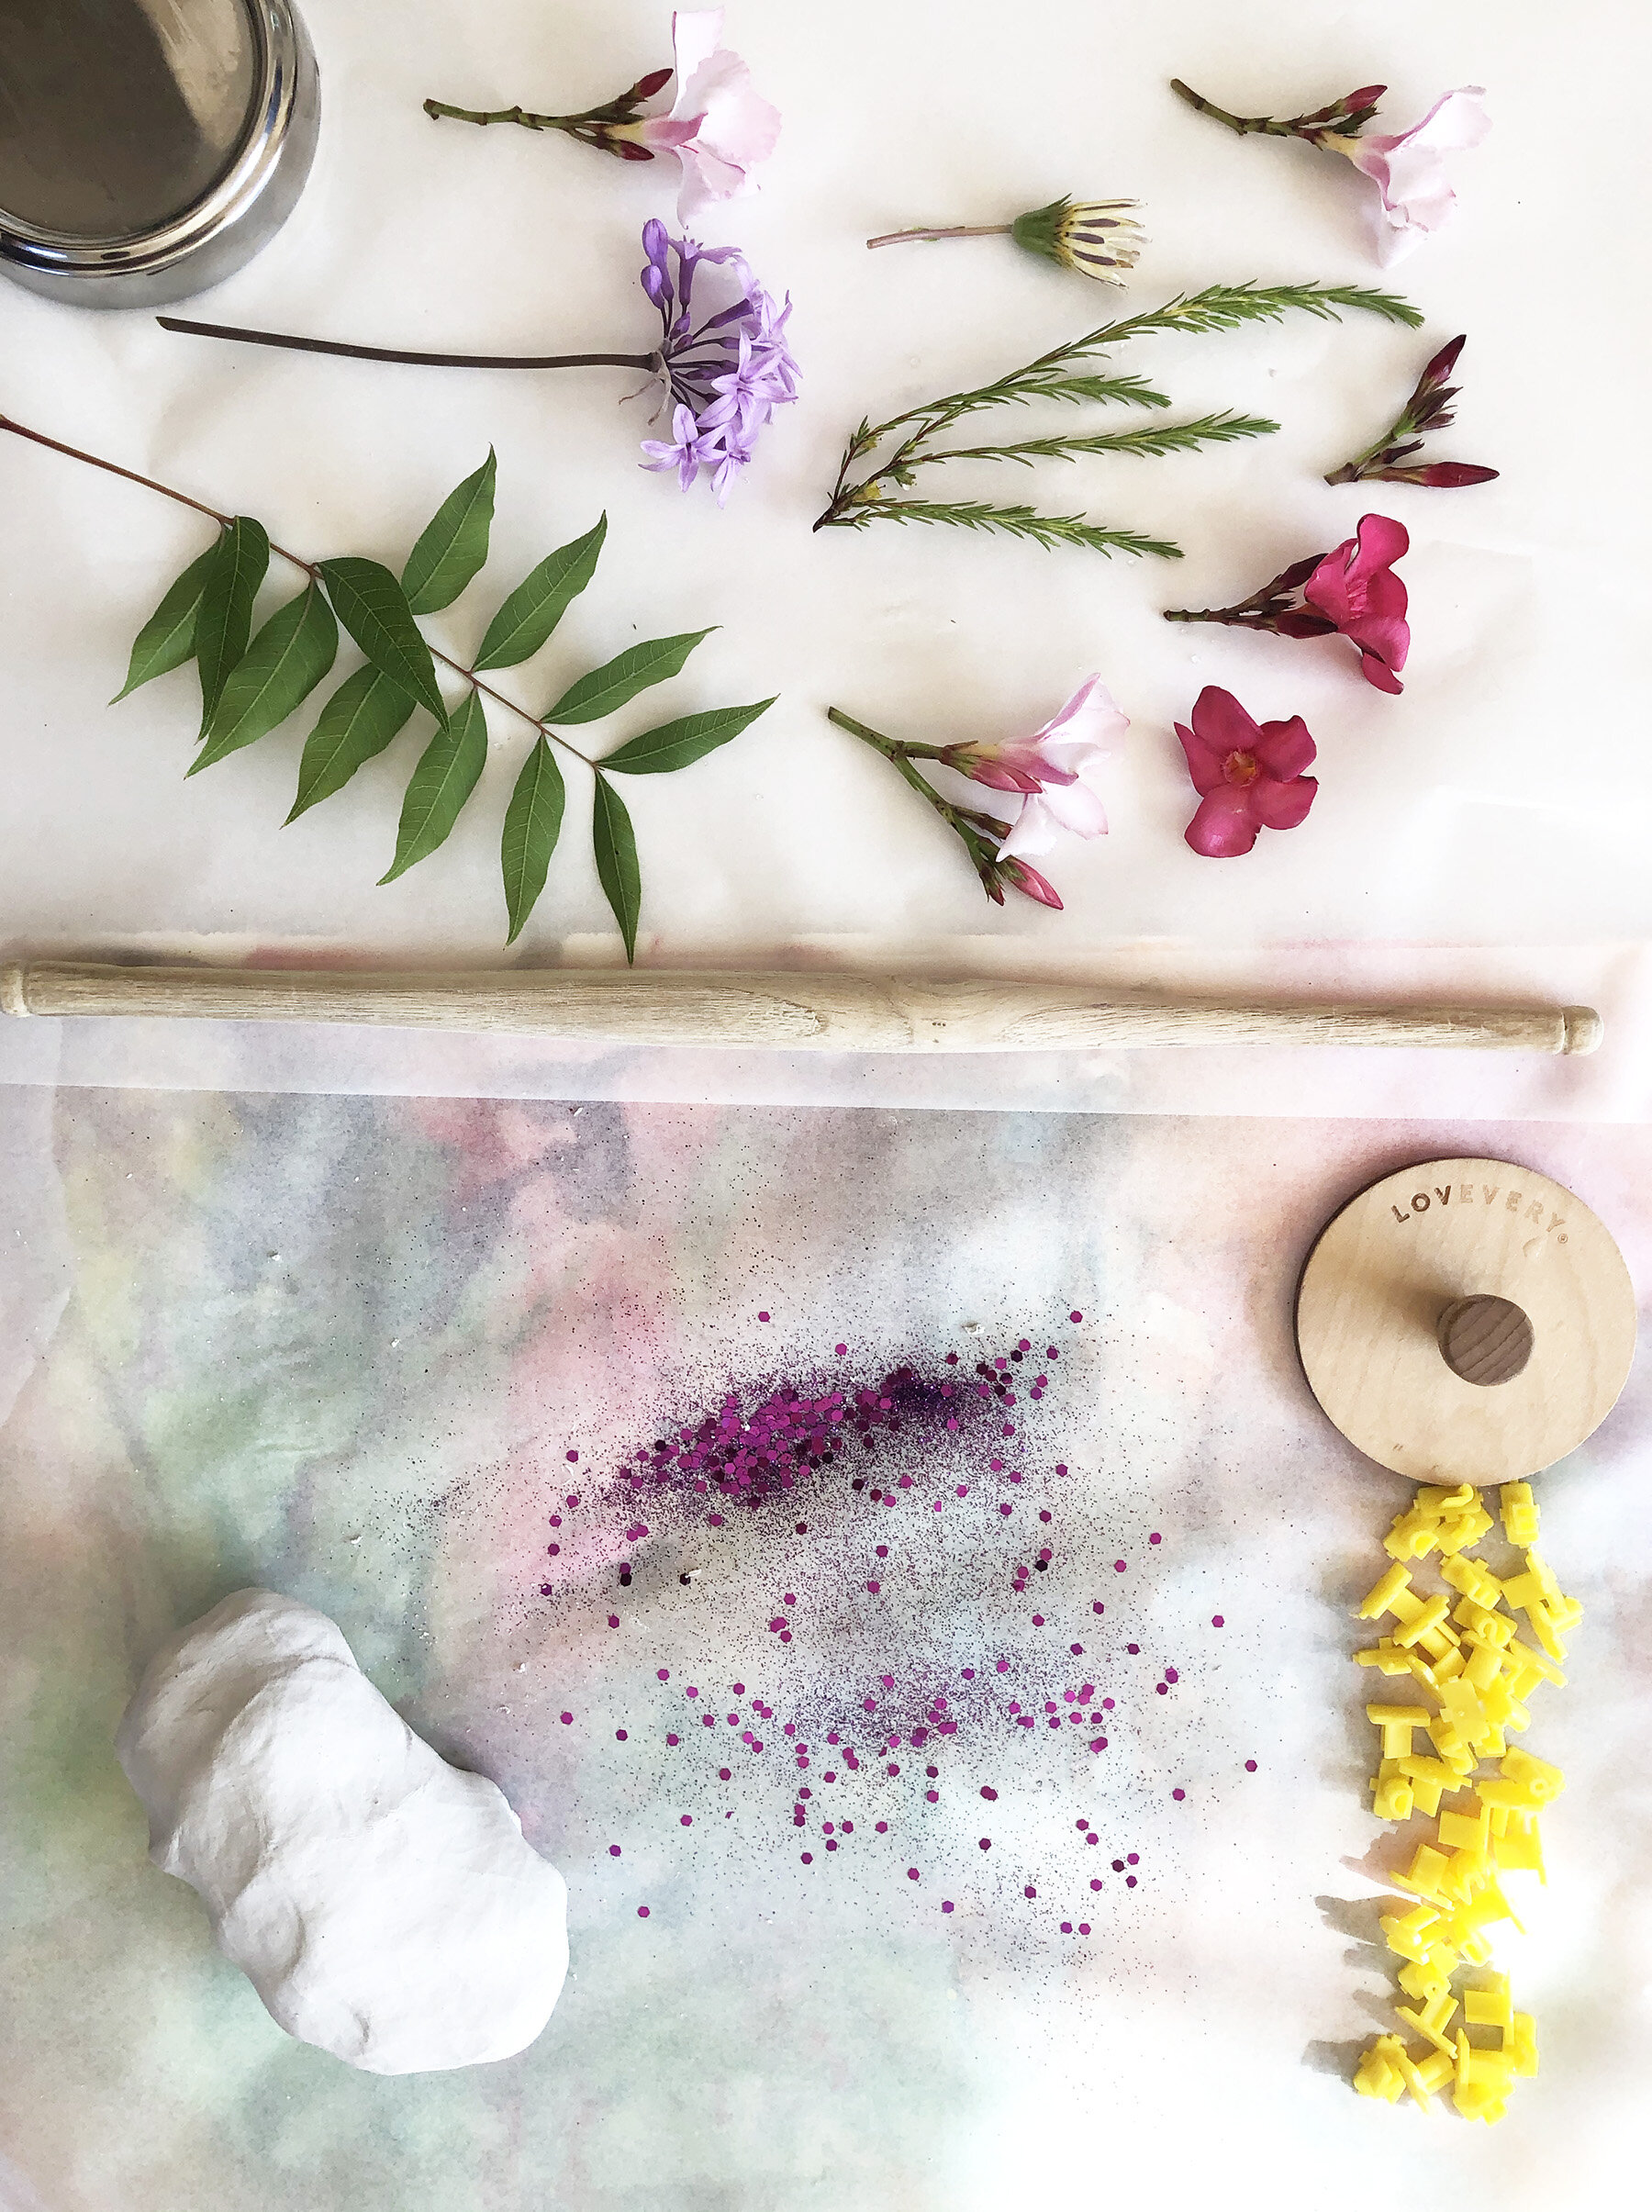
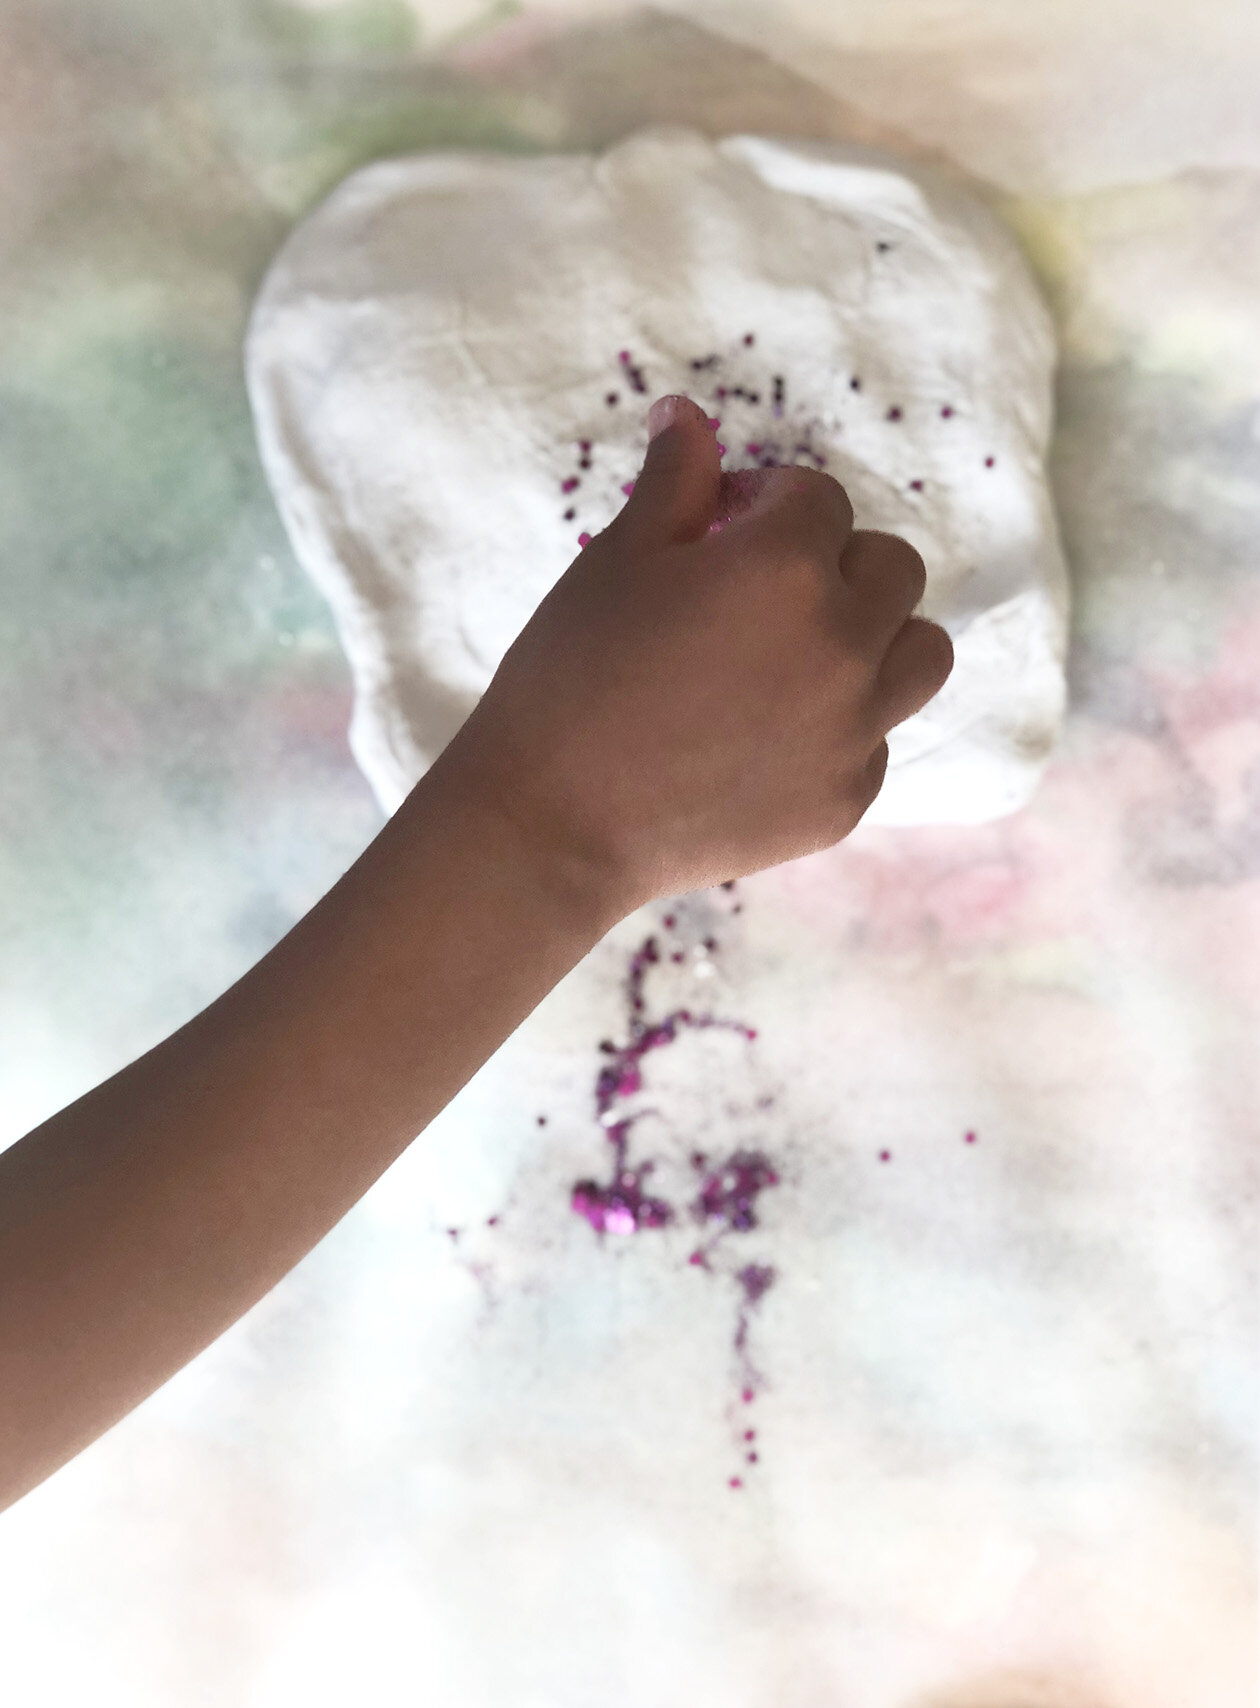
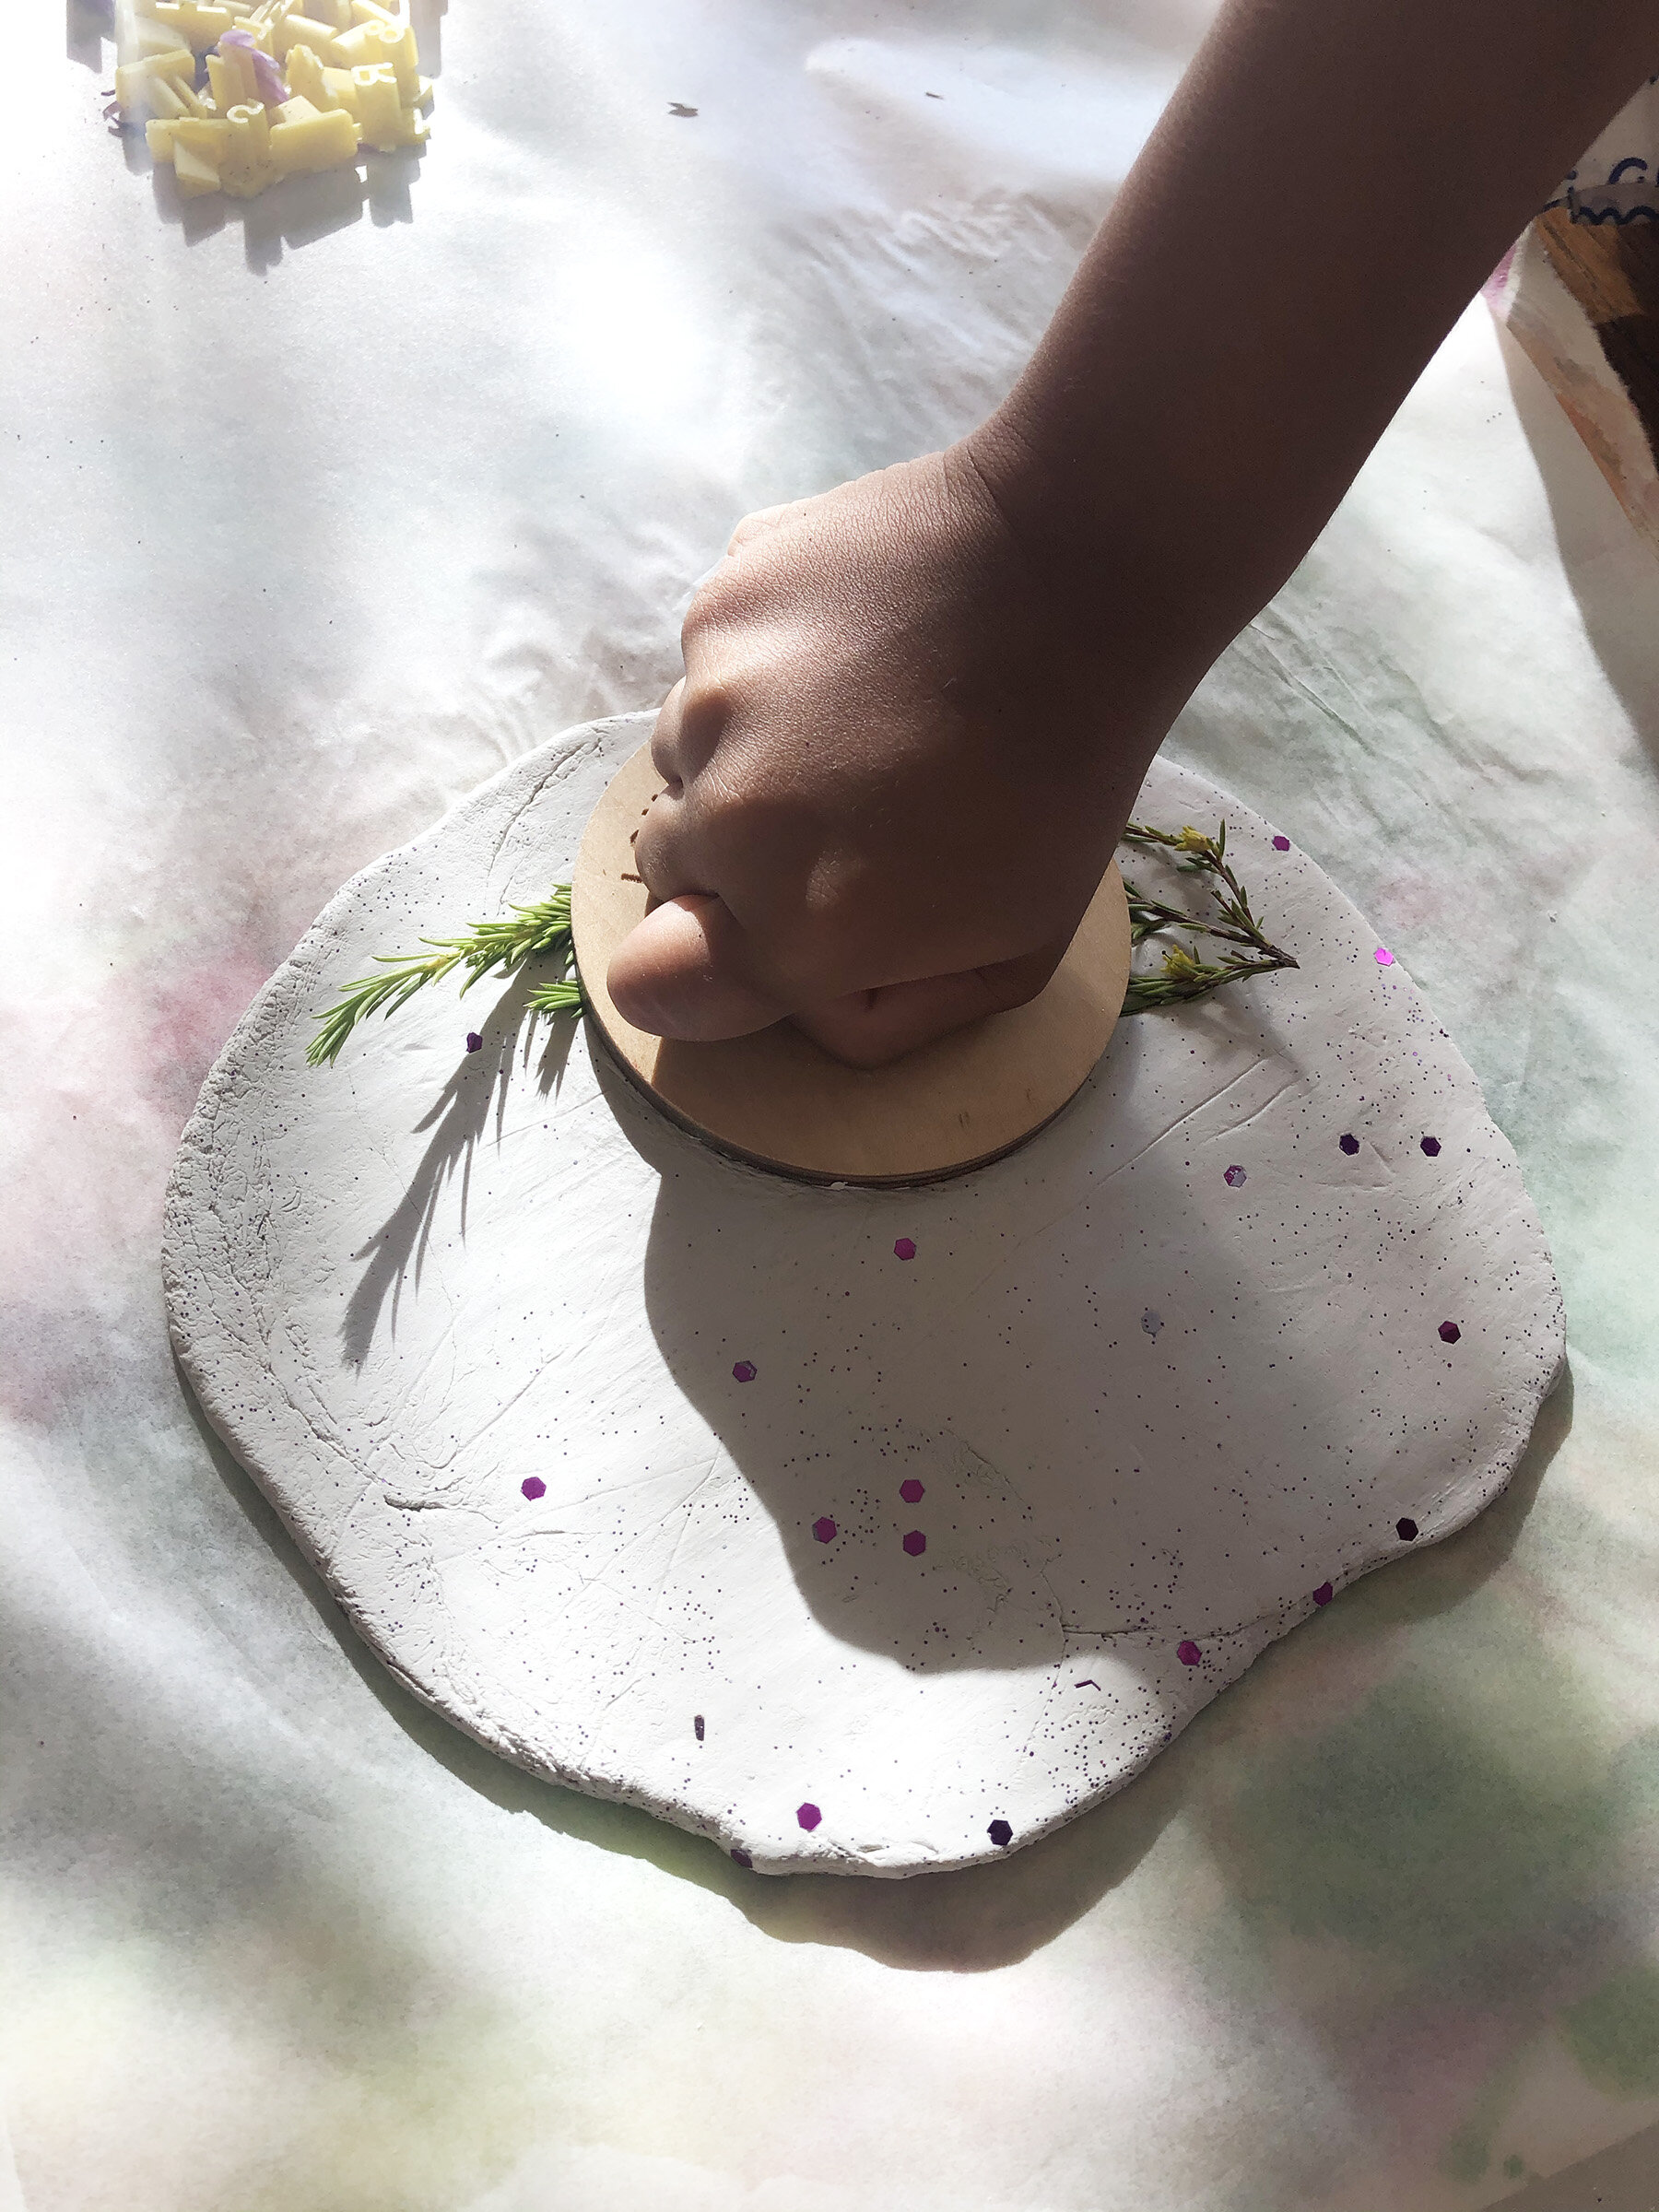

Knead the clay (my son wanted to add glitter in it, because which kid doesn’t!). Now roll it flat using a rolling pin. We wanted it thick enough for the coasters we were making. Don’t worry about small cracks and uneven edges, just embrace the imperfections. Place flowers or leaves you would like to use and press them down firmly but gently with a rolling pin. Slowly pull them off from the clay. You should have a beautiful impression from the flowers and leaves. Now use a cookie cutter or just use something that you can cut a circle with (we used a lid from a steel container).
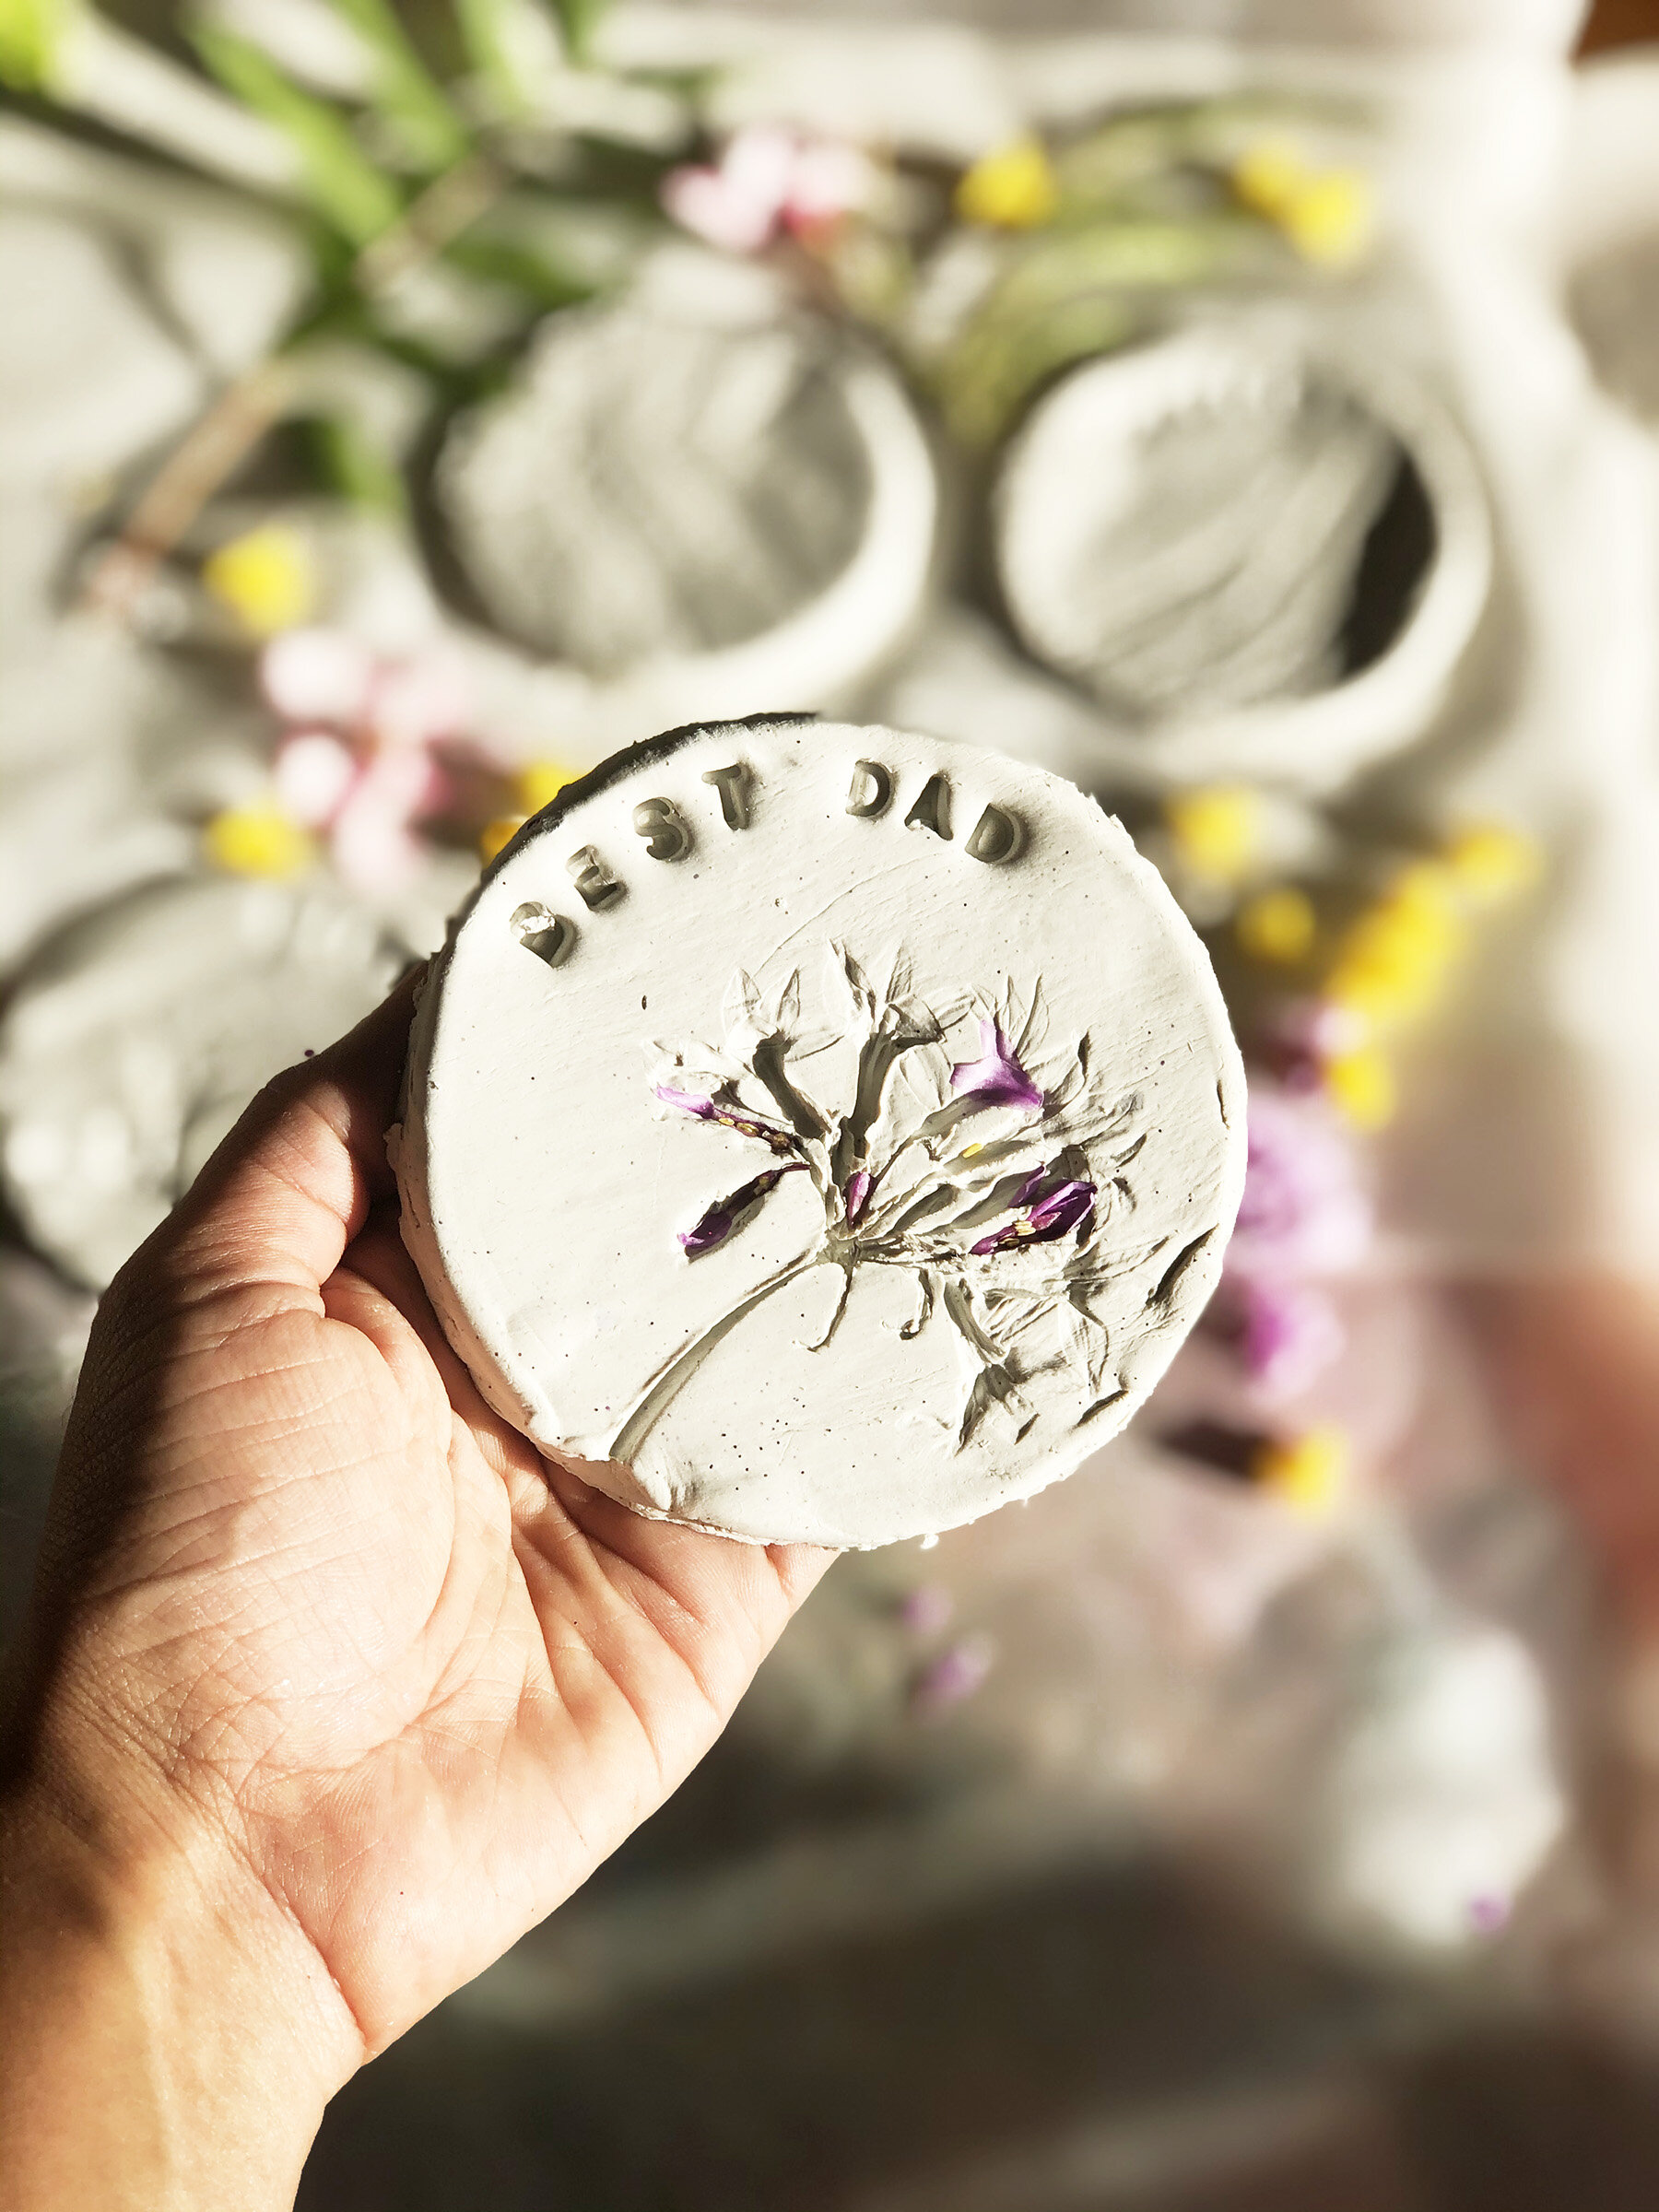

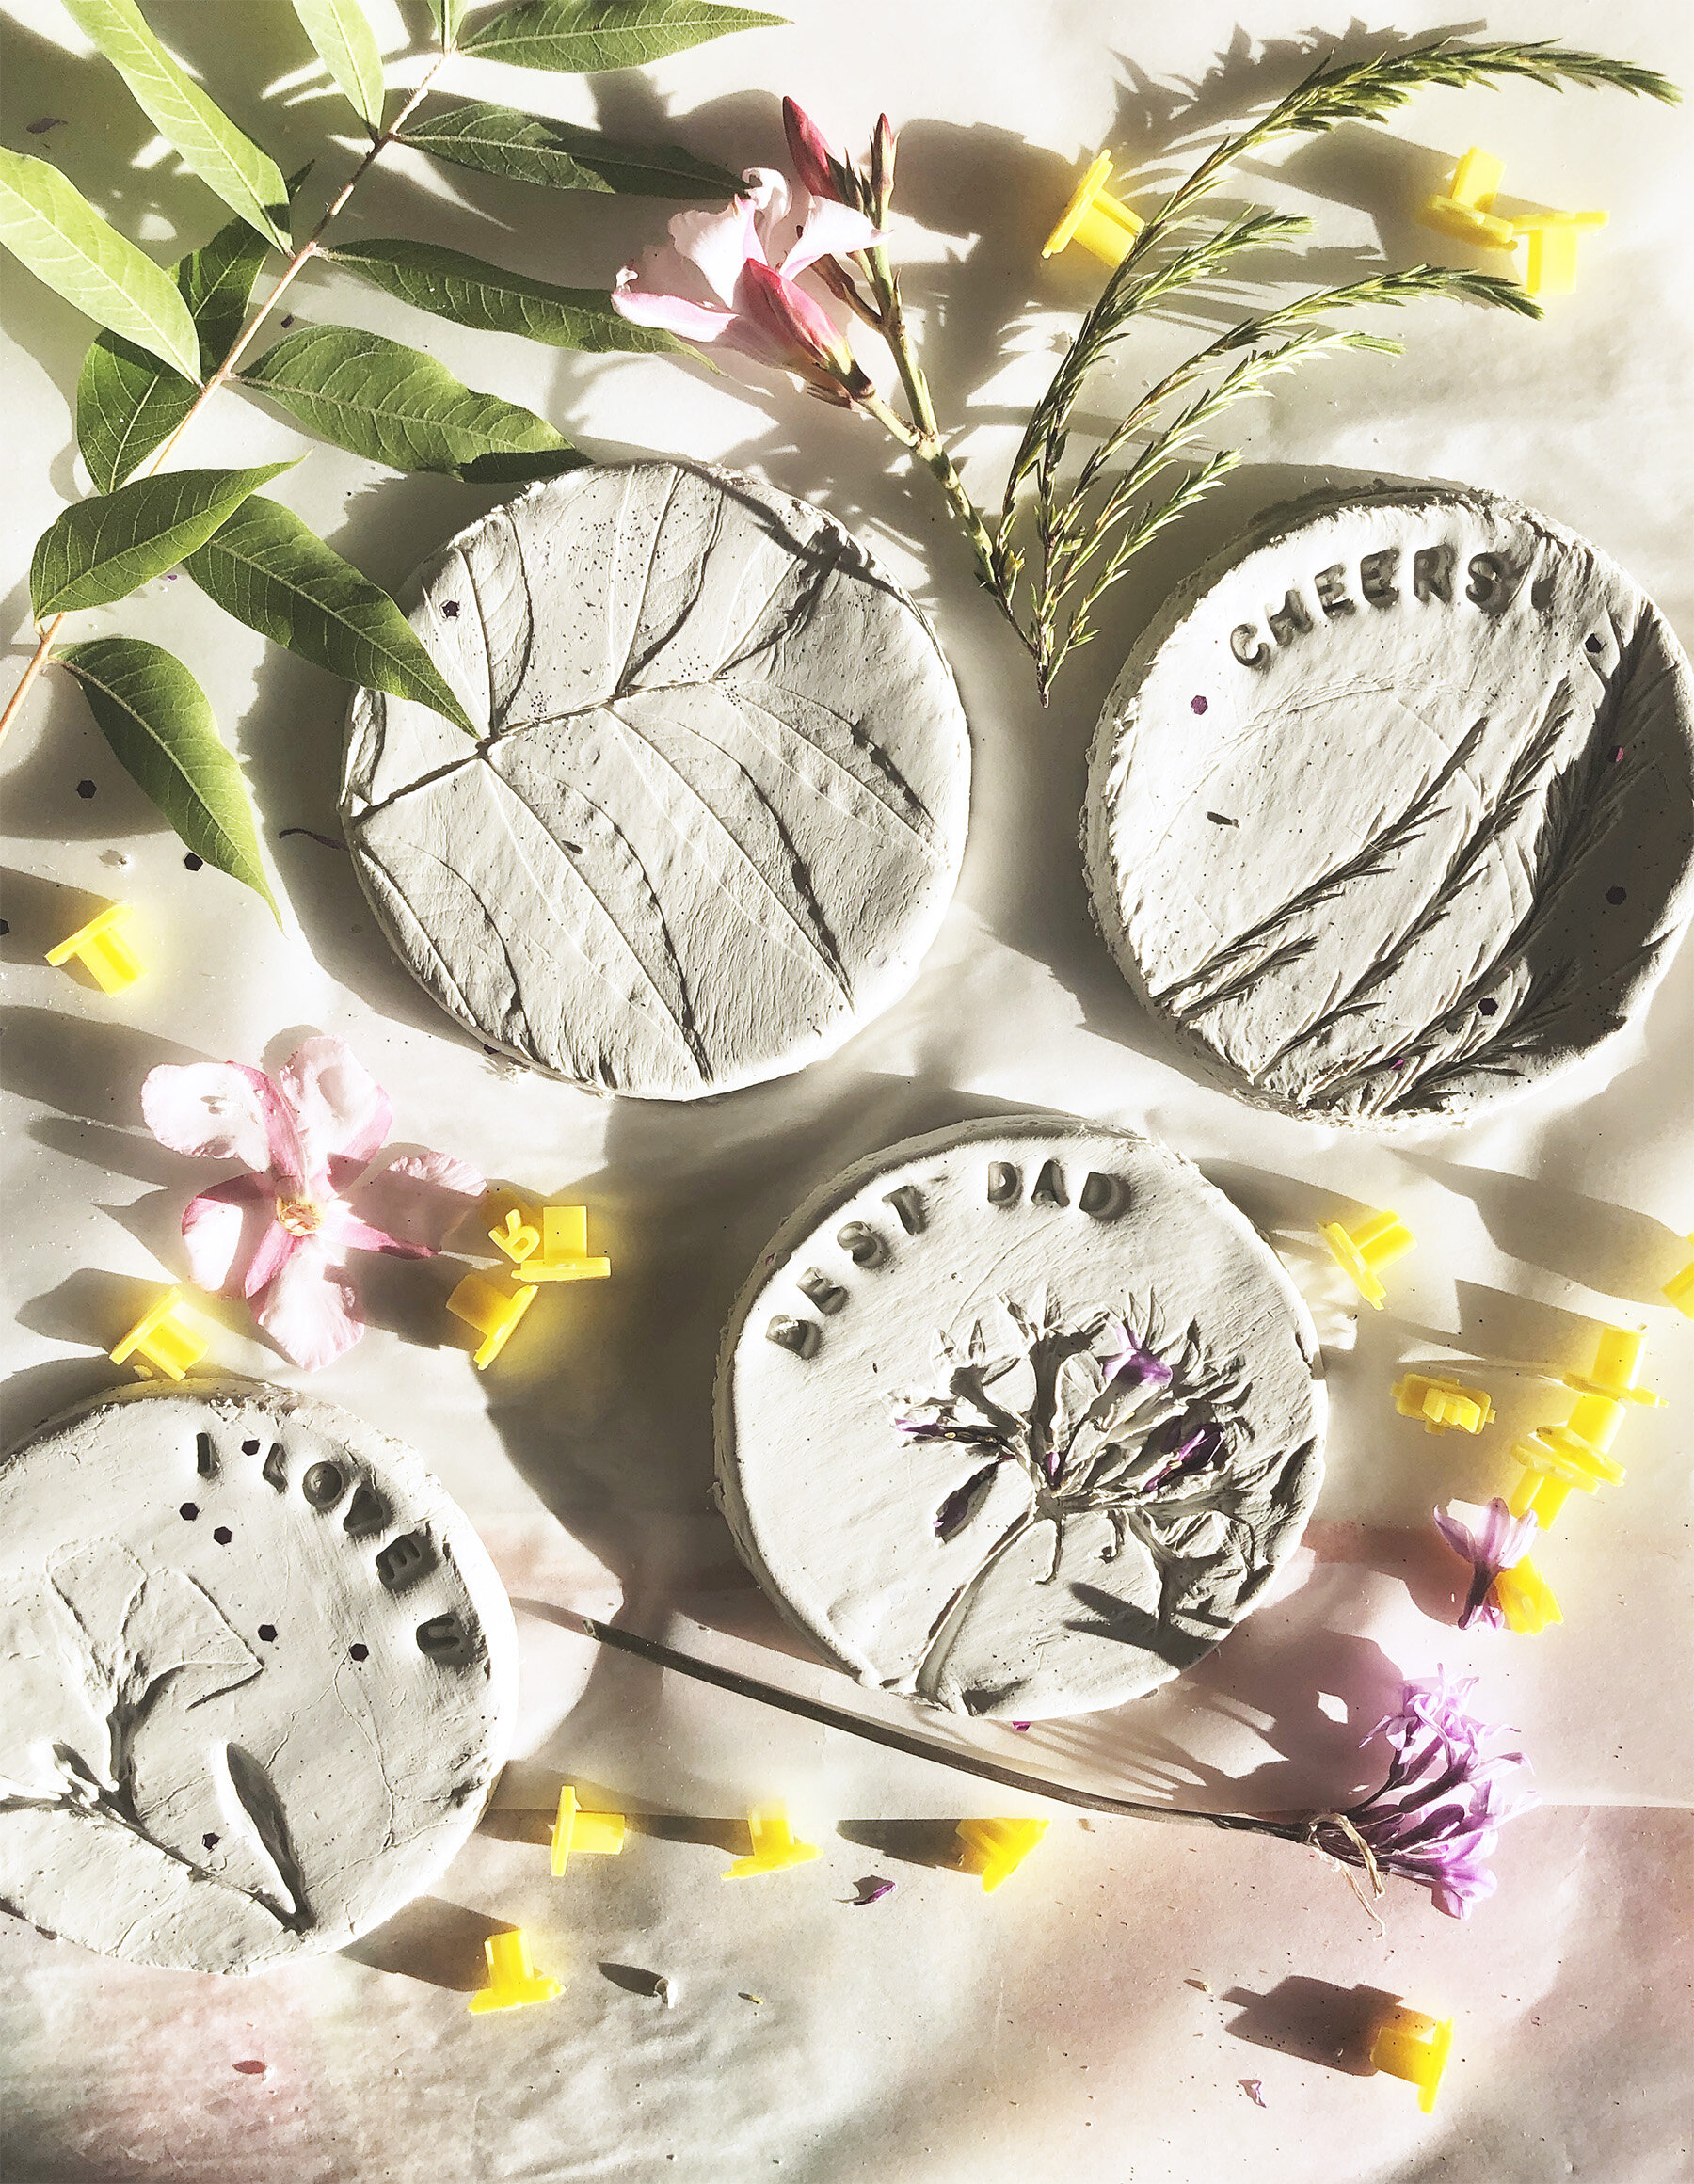
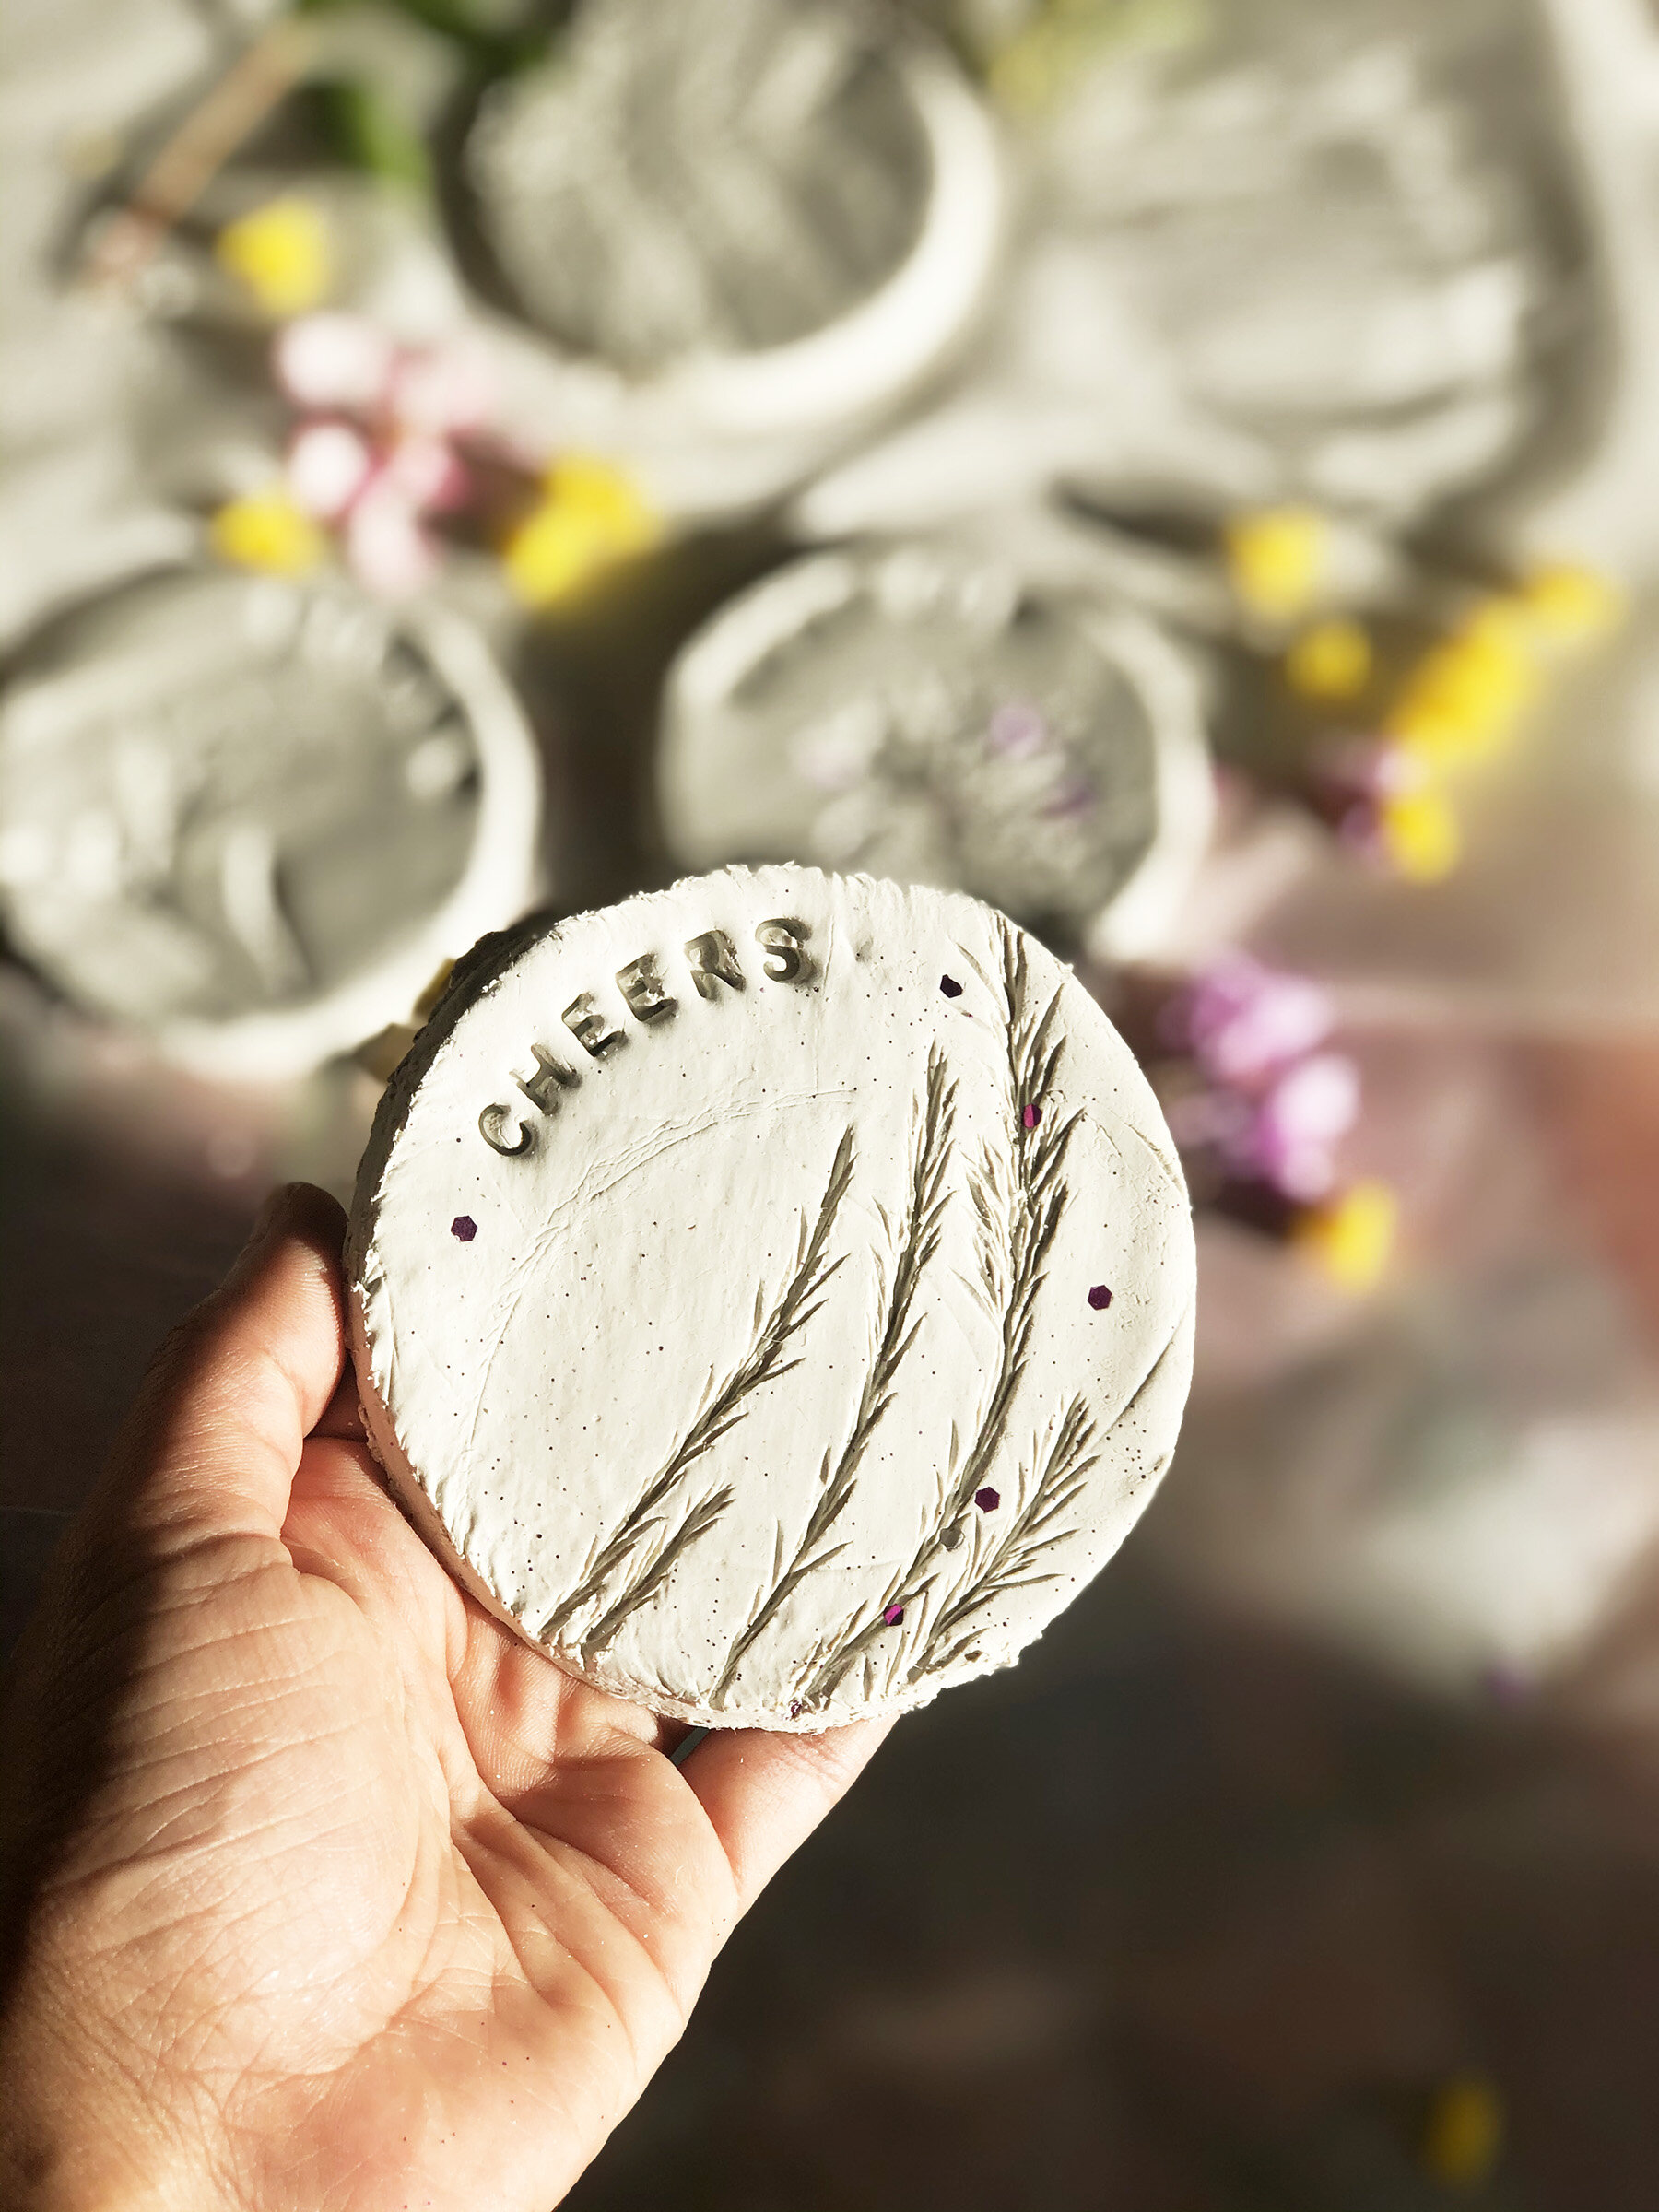
You can now use letters to stamp on clay as well (this step is optional). It may take 1 or 2 days to dry. You can paint it if you like (Acrylic paint works best) or just brush on some Mod Podge (thin layer) to seal it. Now you can use these as regular (but beautiful) coasters. You can make anything you would like with Air Dry Clay. If you used normal clay, you can just knead it back to how it was and store it, after doing the activity.