
You guessed it! This week’s activities are going to revolve around wind. As we are heading into Father’s Day, I wanted to dedicate this week to all the amazing dads! Fathers are protective, supportive, caring and not very expressive (usually). They are the WIND under our wings! So I will be sharing some father child bonding activities to celebrate their dad, grandpa or another father figure in their life. After all, he's the guy your kid looks up to (quite literally).
When I told my husband about this week’s activities, he said they need to be dad approved first! So rest assured, these are dad friendly (if that is even a thing).
Activity 1: Wind Powered Cars!
Best for (3.5 years and up) wind science, father child bonding, fine and gross motor skills.
Material Needed: Toilet Paper Roll, 3 Wooden Toothpicks or Skewers, Thick Foam Sheet, Play Dough, Paper Straw, Balloon, Elastic band, Glue or Tape.
This STEM activity is a great way to learn wind/air science. This was one activity my husband was more excited to do than my kid. We built some prototypes to test first and narrowed down on one that worked better.
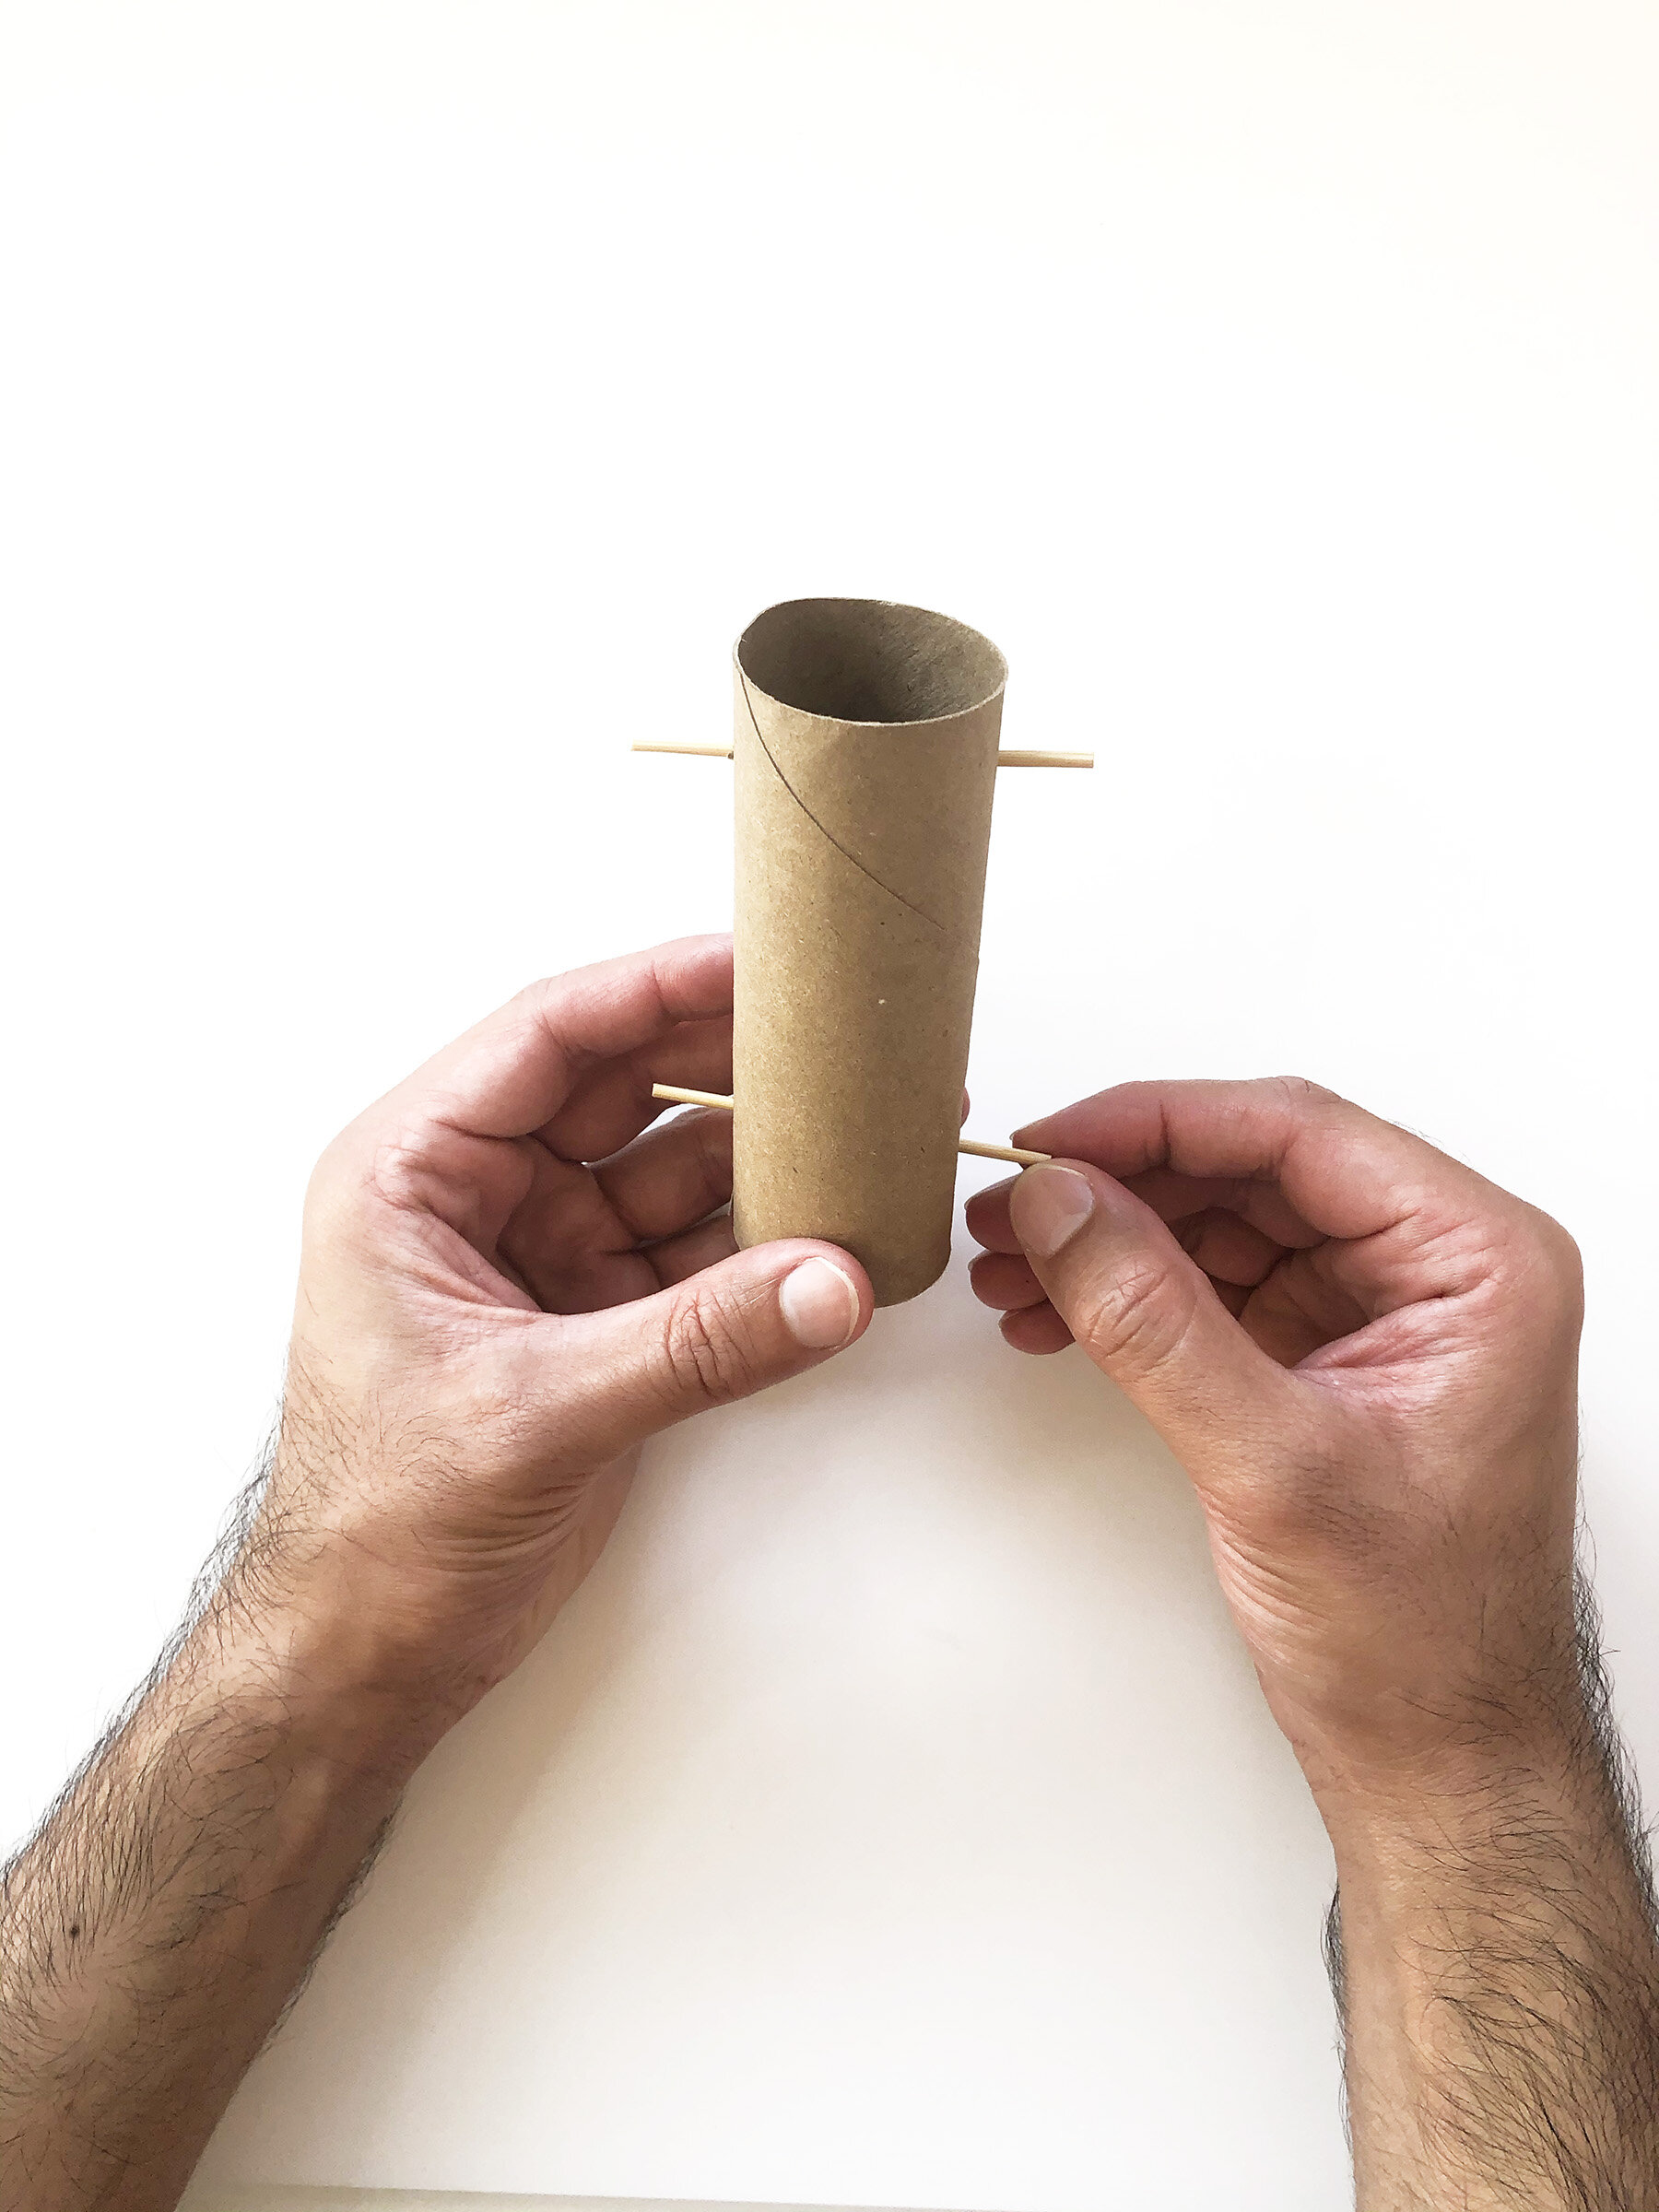
Ever since I started doing craft with my son, I have been collecting toilet paper rolls (I am sure I am not the only one doing this). Use a toothpick or skewer and poke two equidistant holes close to the top of the toilet paper roll and pass a toothpick through them. Cut off the sharp edges of the toothpick for safety purposes. Repeat the above steps for the bottom of the toilet paper roll. You should have 4 holes and two toothpicks/skewers passed through them.
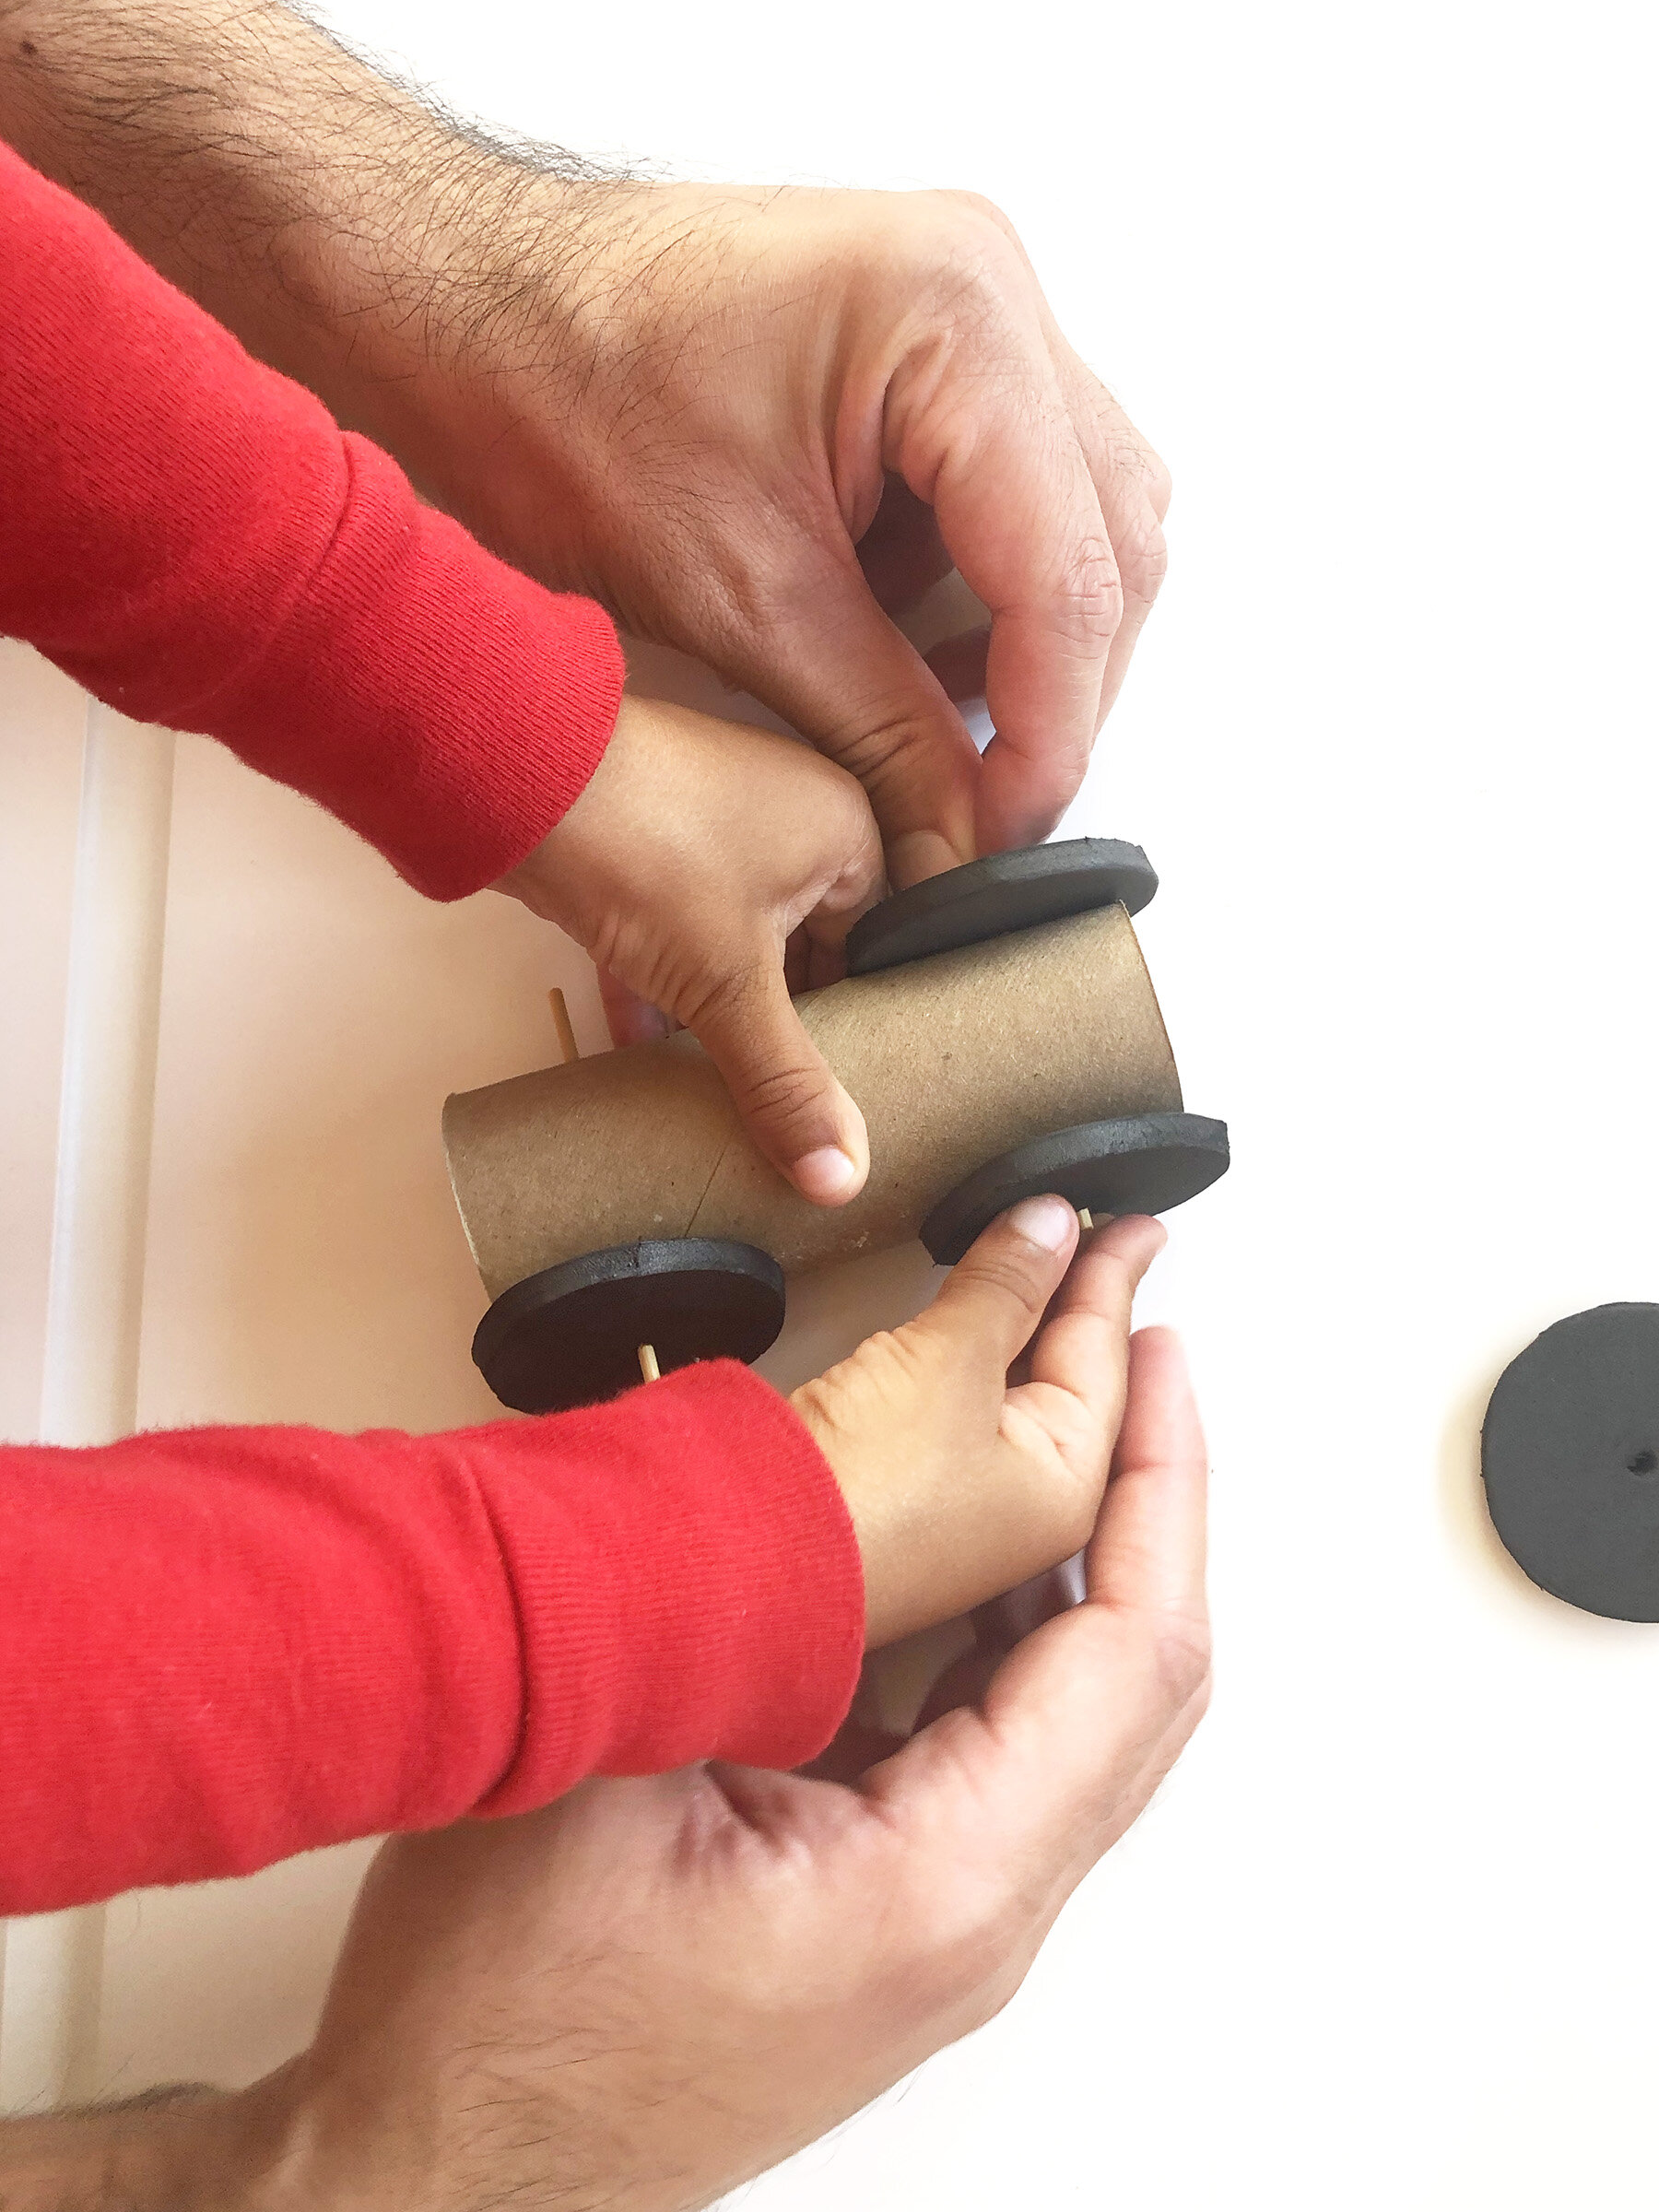
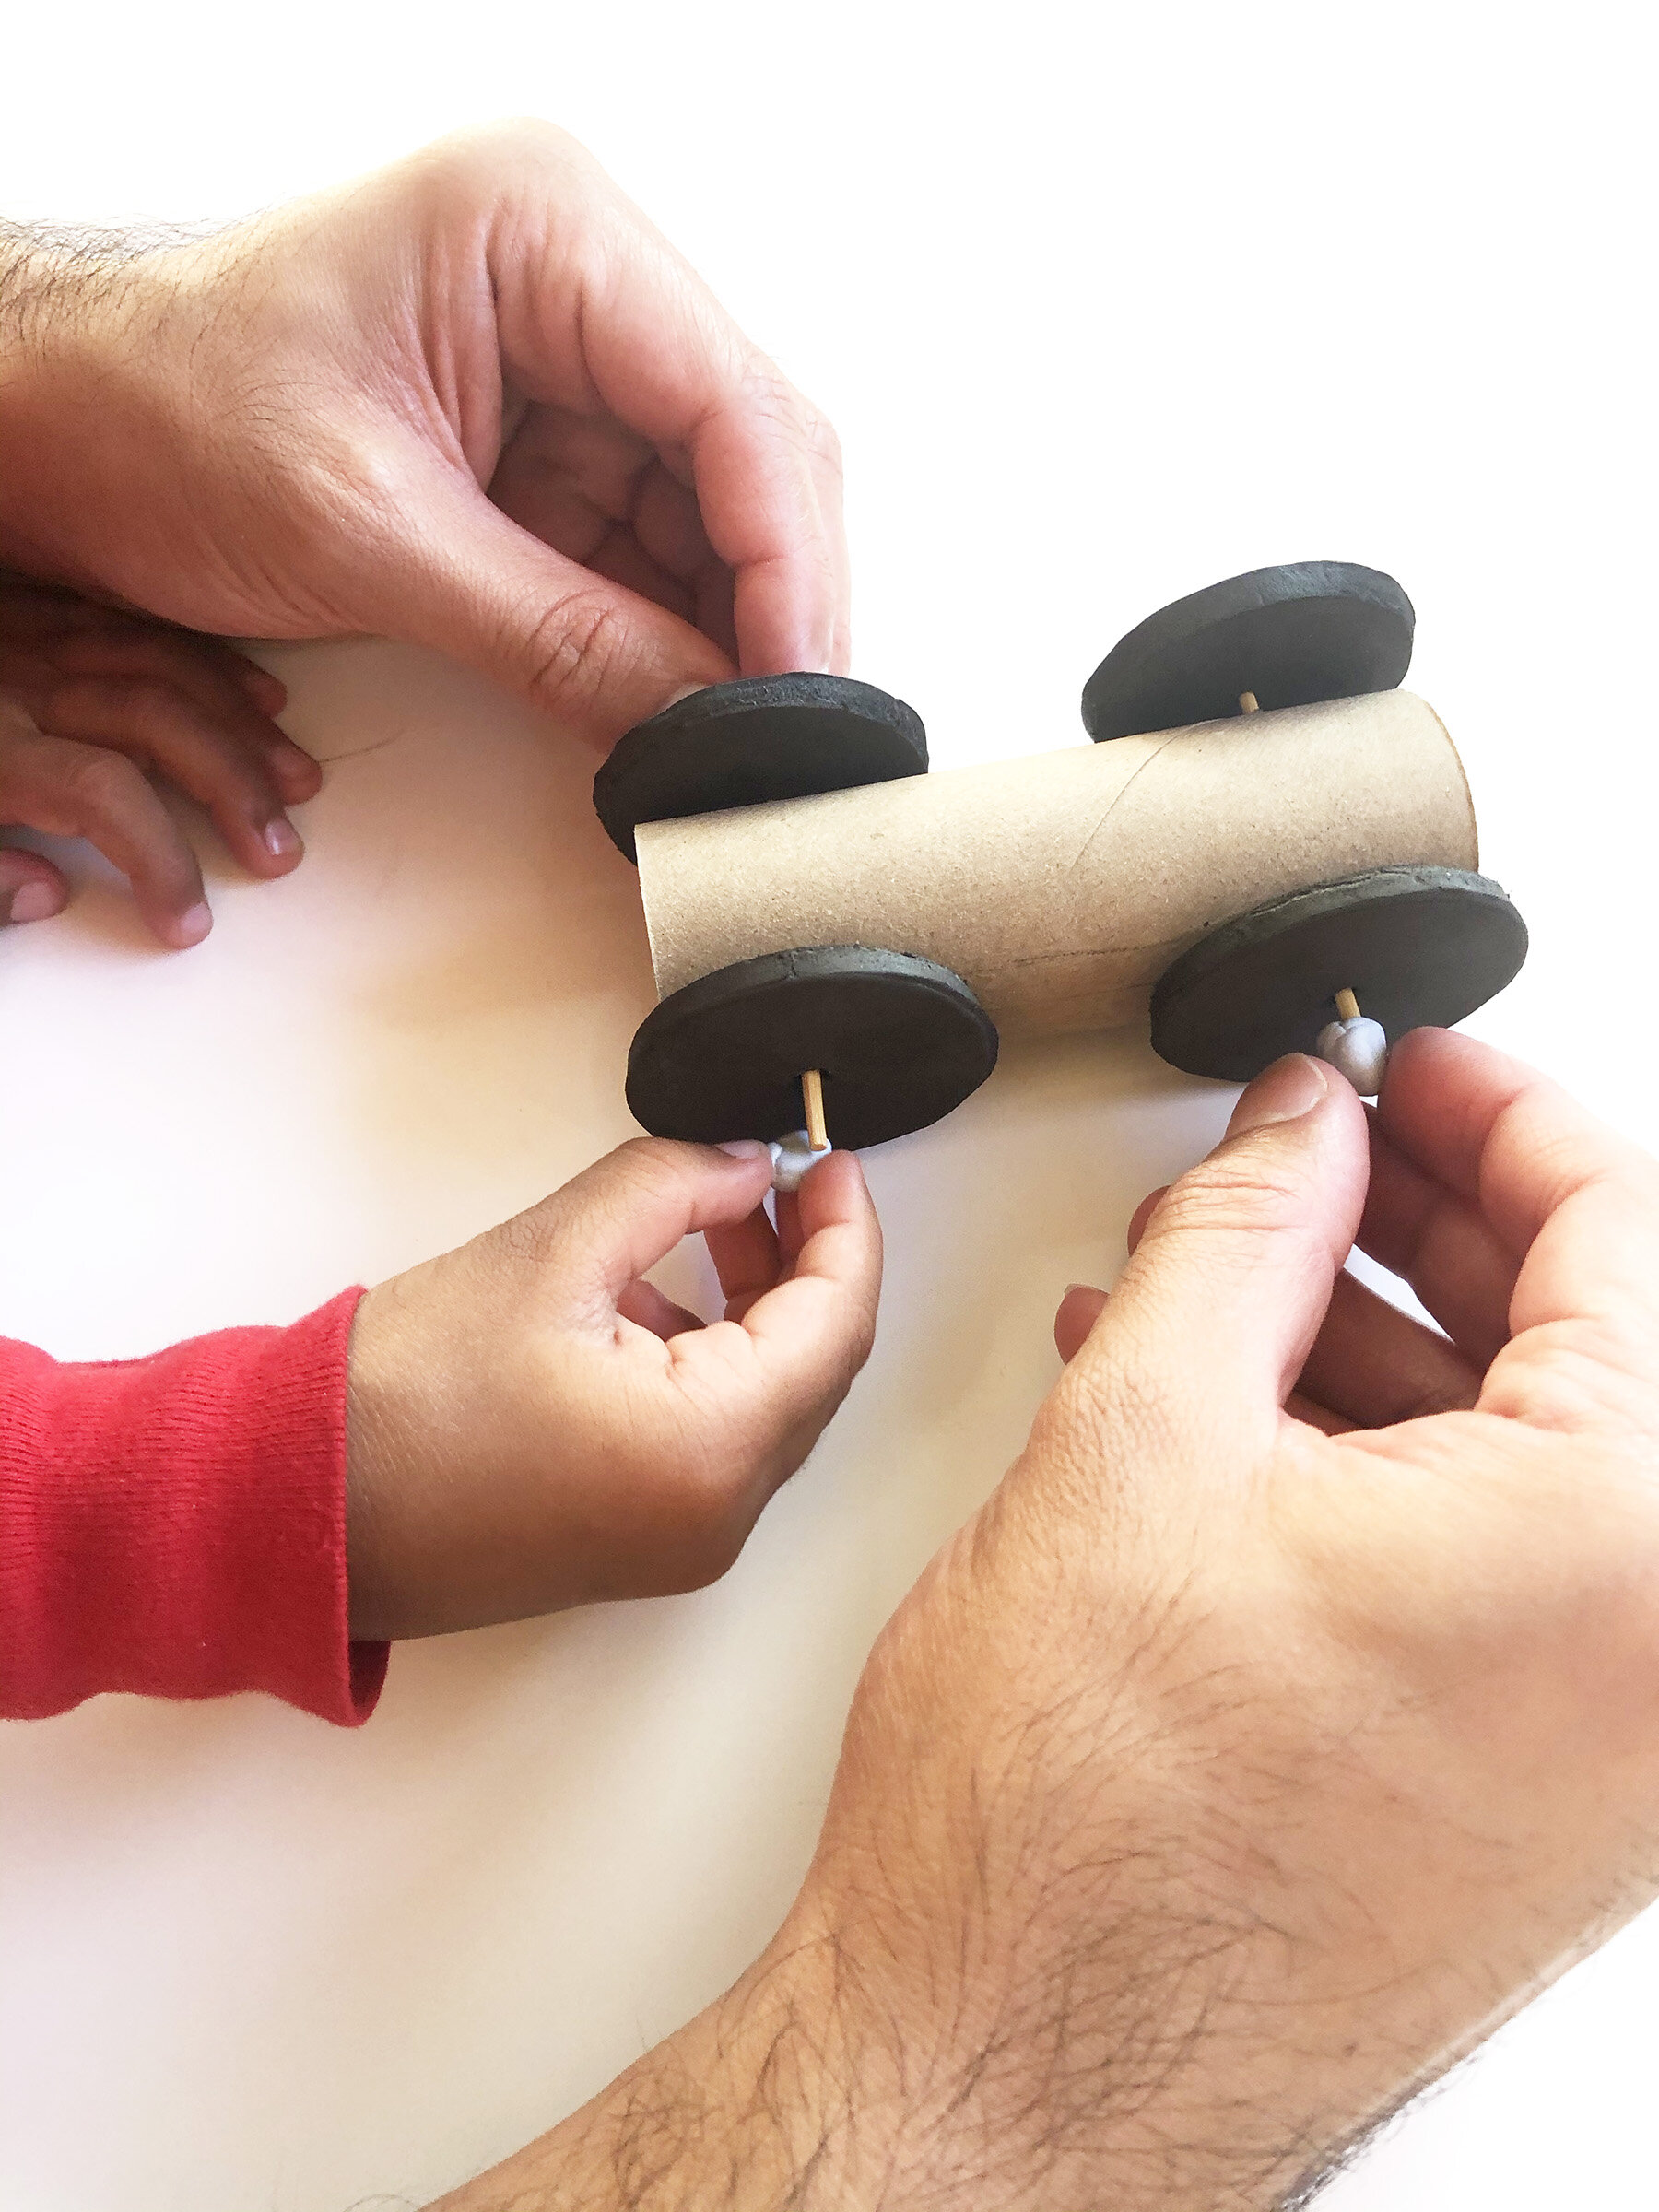
When making the car for this activity, try to use only light weight material. The lighter the car, the more easily it will move and the farther it will go. Craft foam was a good choice here. Cut 4 wheels from this foam sheet. Make sure the wheels are big enough that the toilet paper roll doesn’t touch the ground and small enough that the wheels don’t rub against each other. Poke holes in the center of each wheel and push them on the ends of each toothpick/skewer. The wheels should easily rotate when the car moves. Attach tiny balls made of play dough to the ends of the toothpicks/skewers (this is to make sure the wheels don’t roll off the edges).
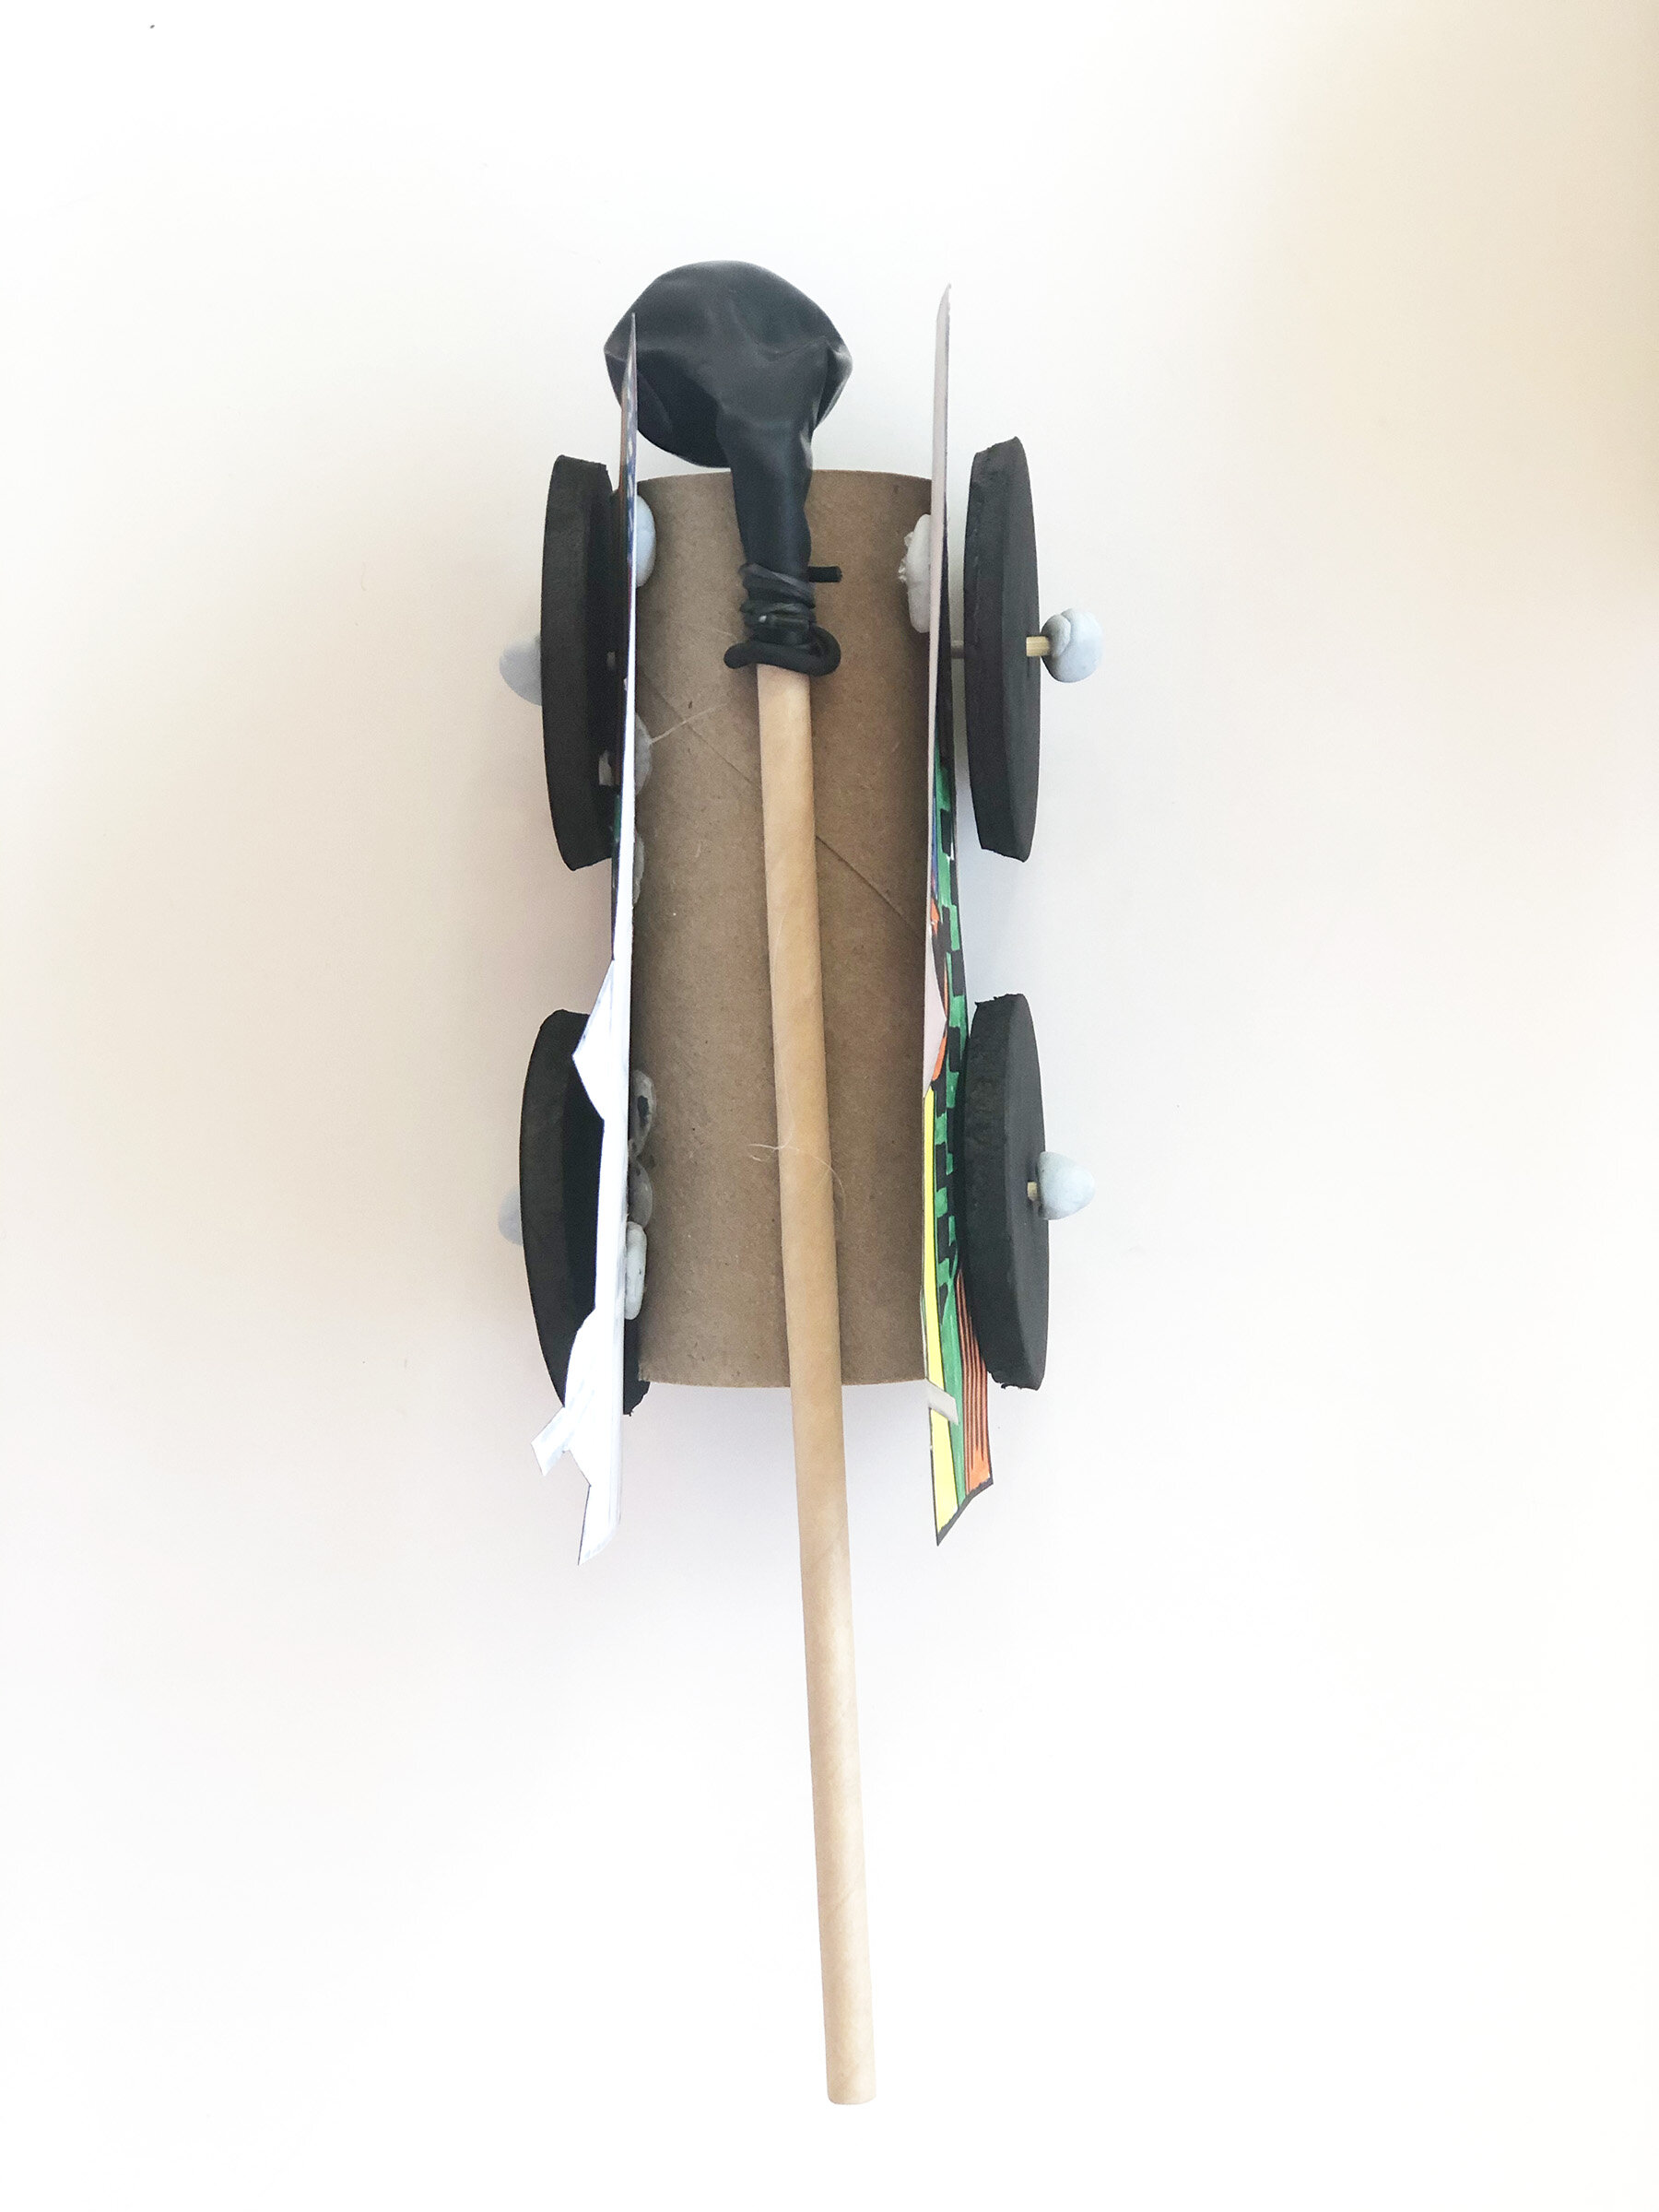
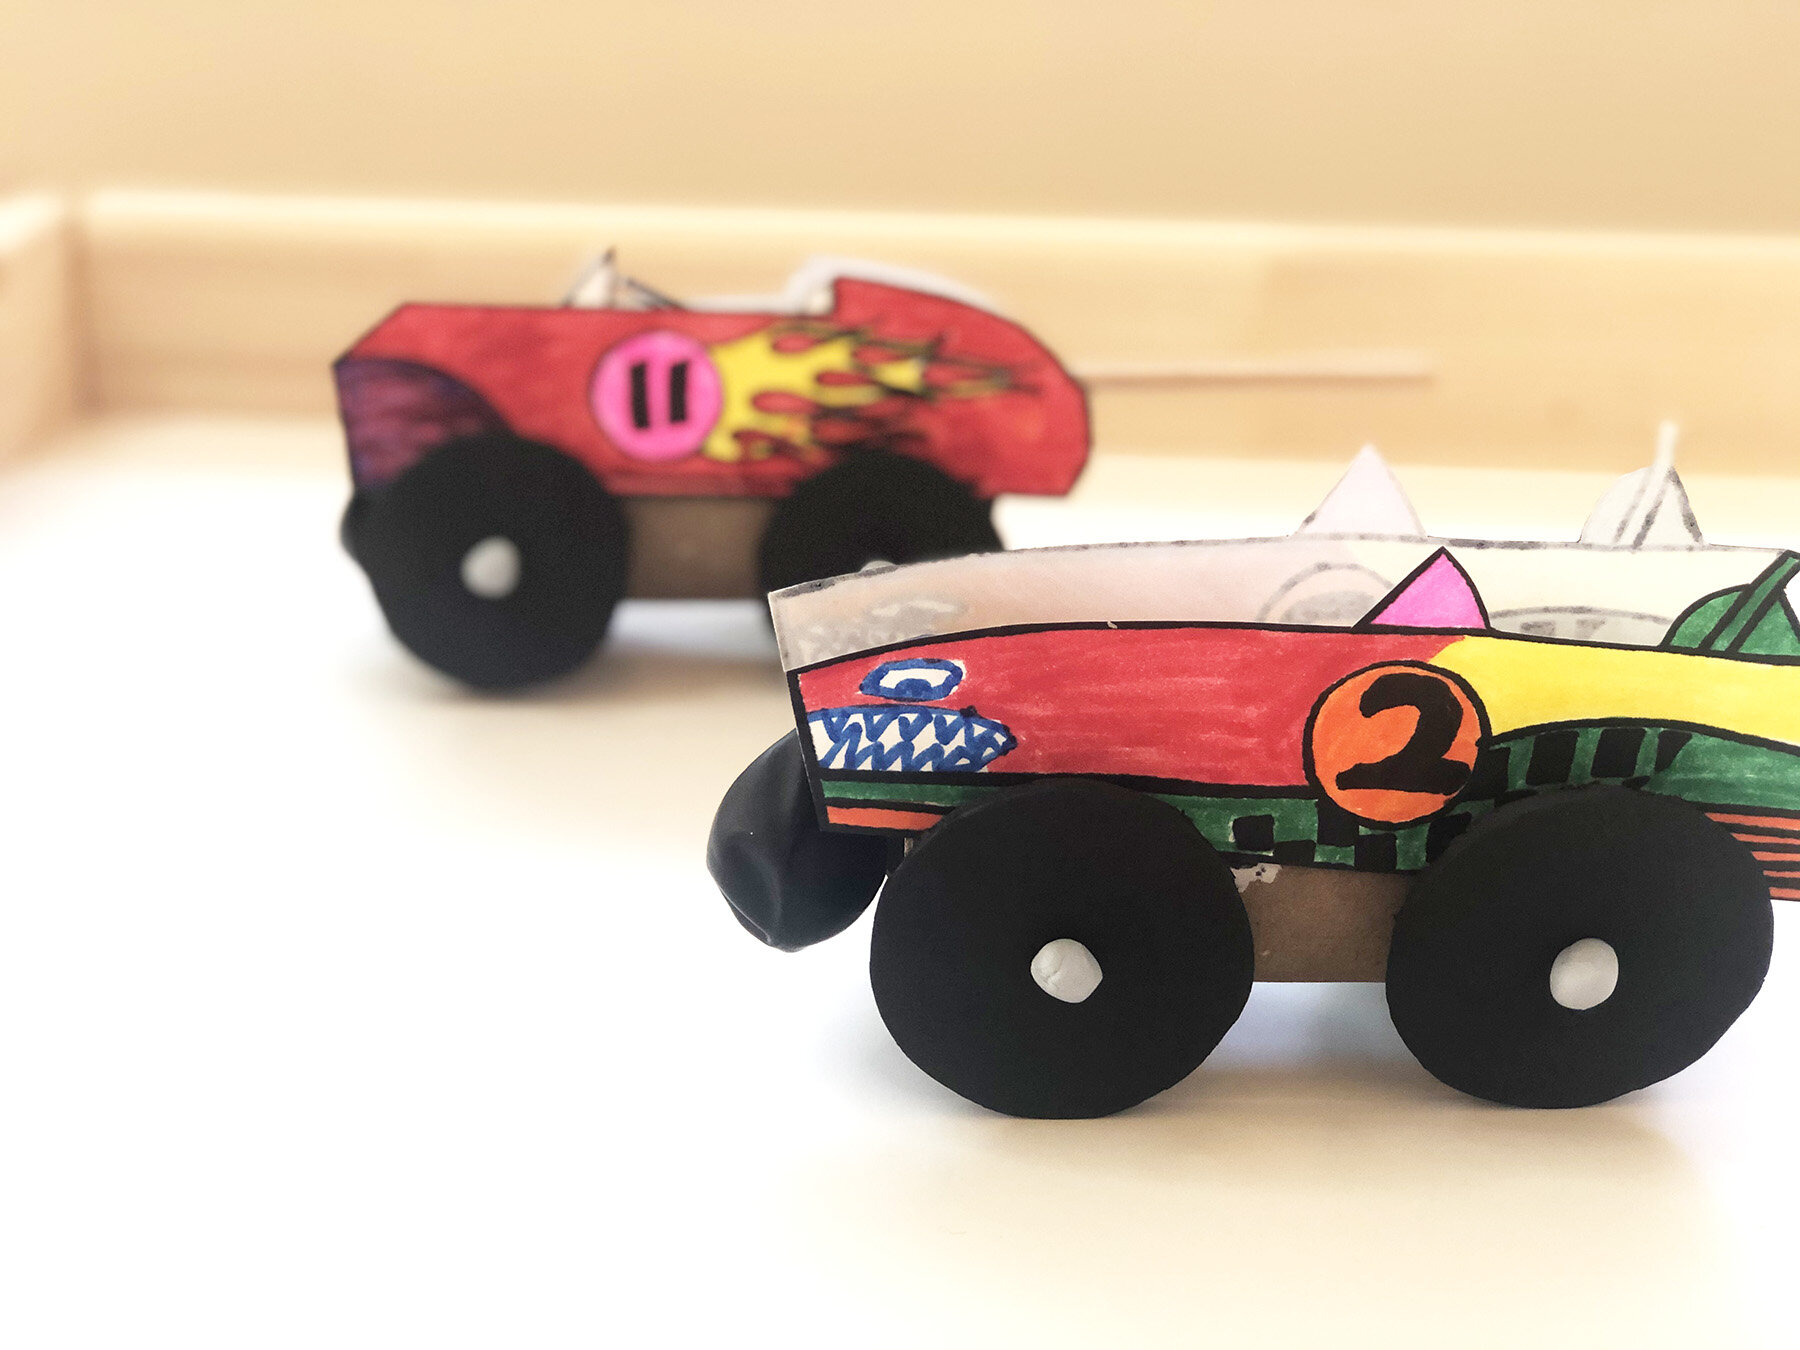
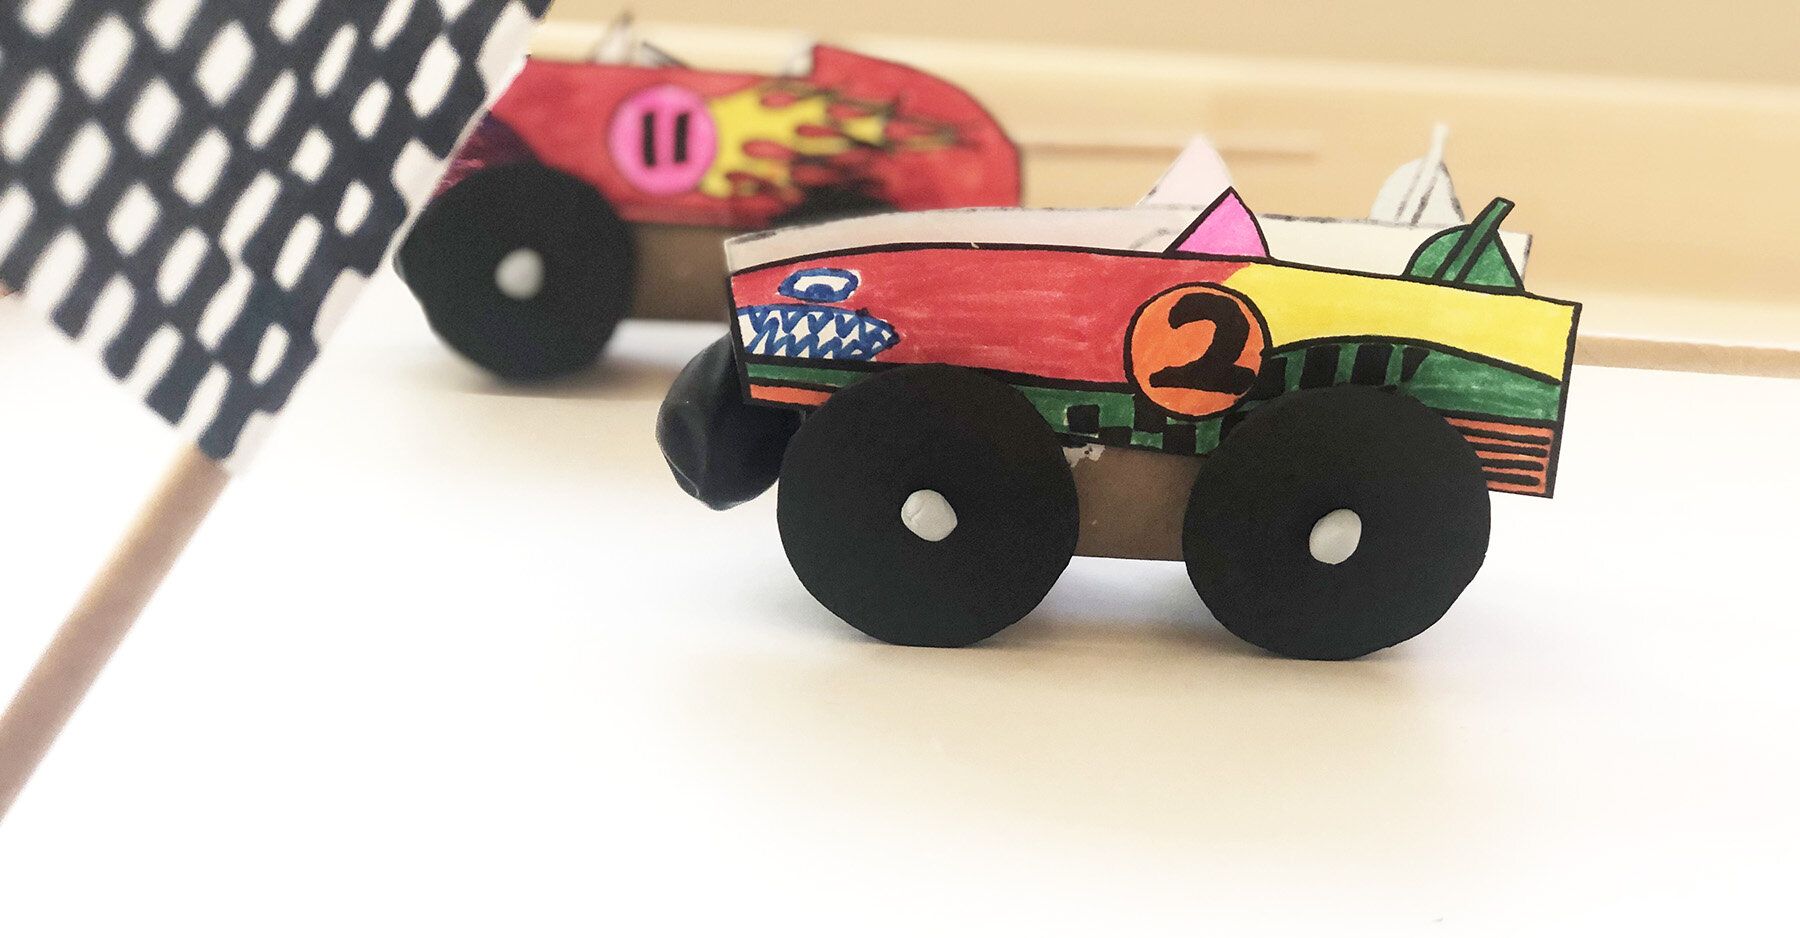
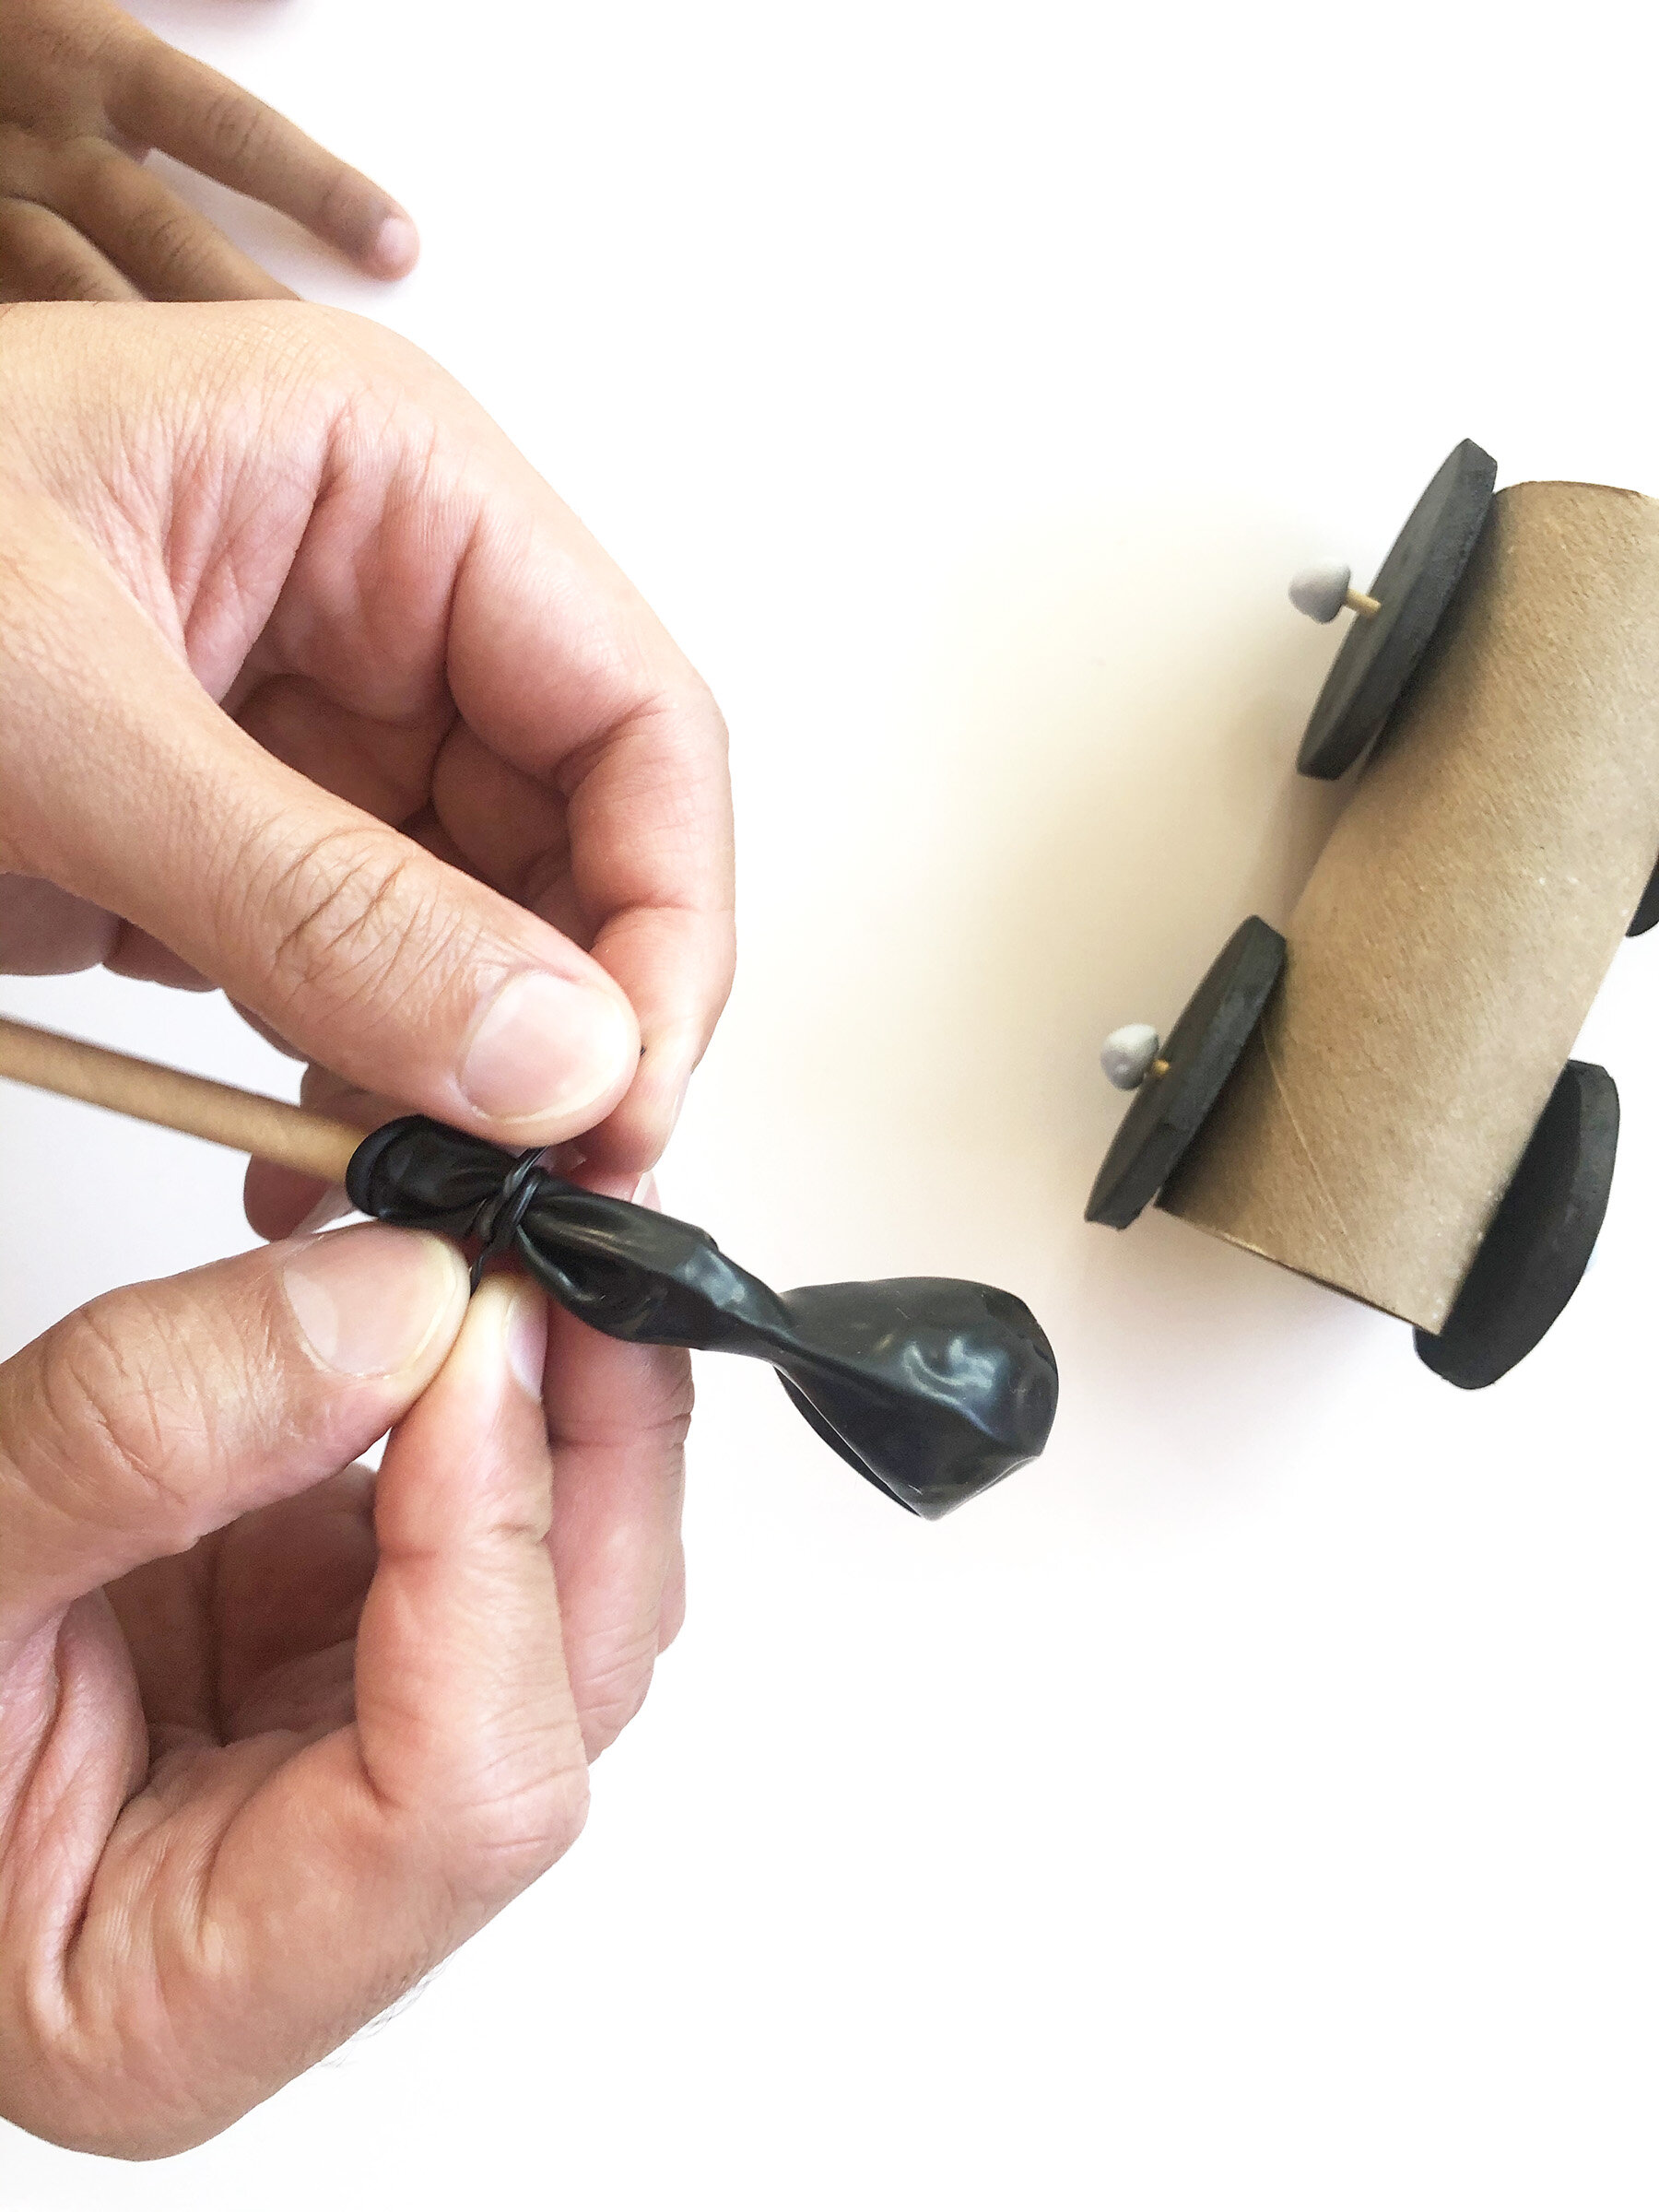
Take a paper straw and attach a balloon to one end of it. You can use tape or an elastic band. Try to blow the balloon through the straw to make sure the air released from the balloon comes out only from the straw. Now glue this to the top of your car (tape works too). Your car is ready! You can spruce the car up, like we did (free template below) to look like race cars or monster trucks. We made two such cars (one for my husband and one for my son) to race. Both of them loved coloring their cars and adding a little of their personality to it.
We even made a little checkered flag in all the excitement. The race was on! What a great activity on Father’s Day! We showed our son how the air that was released from the balloon slowly, pushed the car ahead. The more air we filled in the balloon the more farther it went. We are looking forward to making this again with new design and material!
Activity 2: Let’s go fly a Kite!
Best for (3 years and up) wind science, gross motor skills.
Material Needed: Paper, Tape or Stapler, Punch, Paper Streamers, Thread and Favorable Wind Conditions (we did not get much wind, but it still worked!)
Kite flying is very special to me; not because I am from India, but I have some great memories with my Dad flying a kite as a kid. Plus its a great way to learn about wind! How various factors like how much wind, direction of the wind, weight of your kite, etc. can all affect your kite flying experience. Also how you can make your own wind!
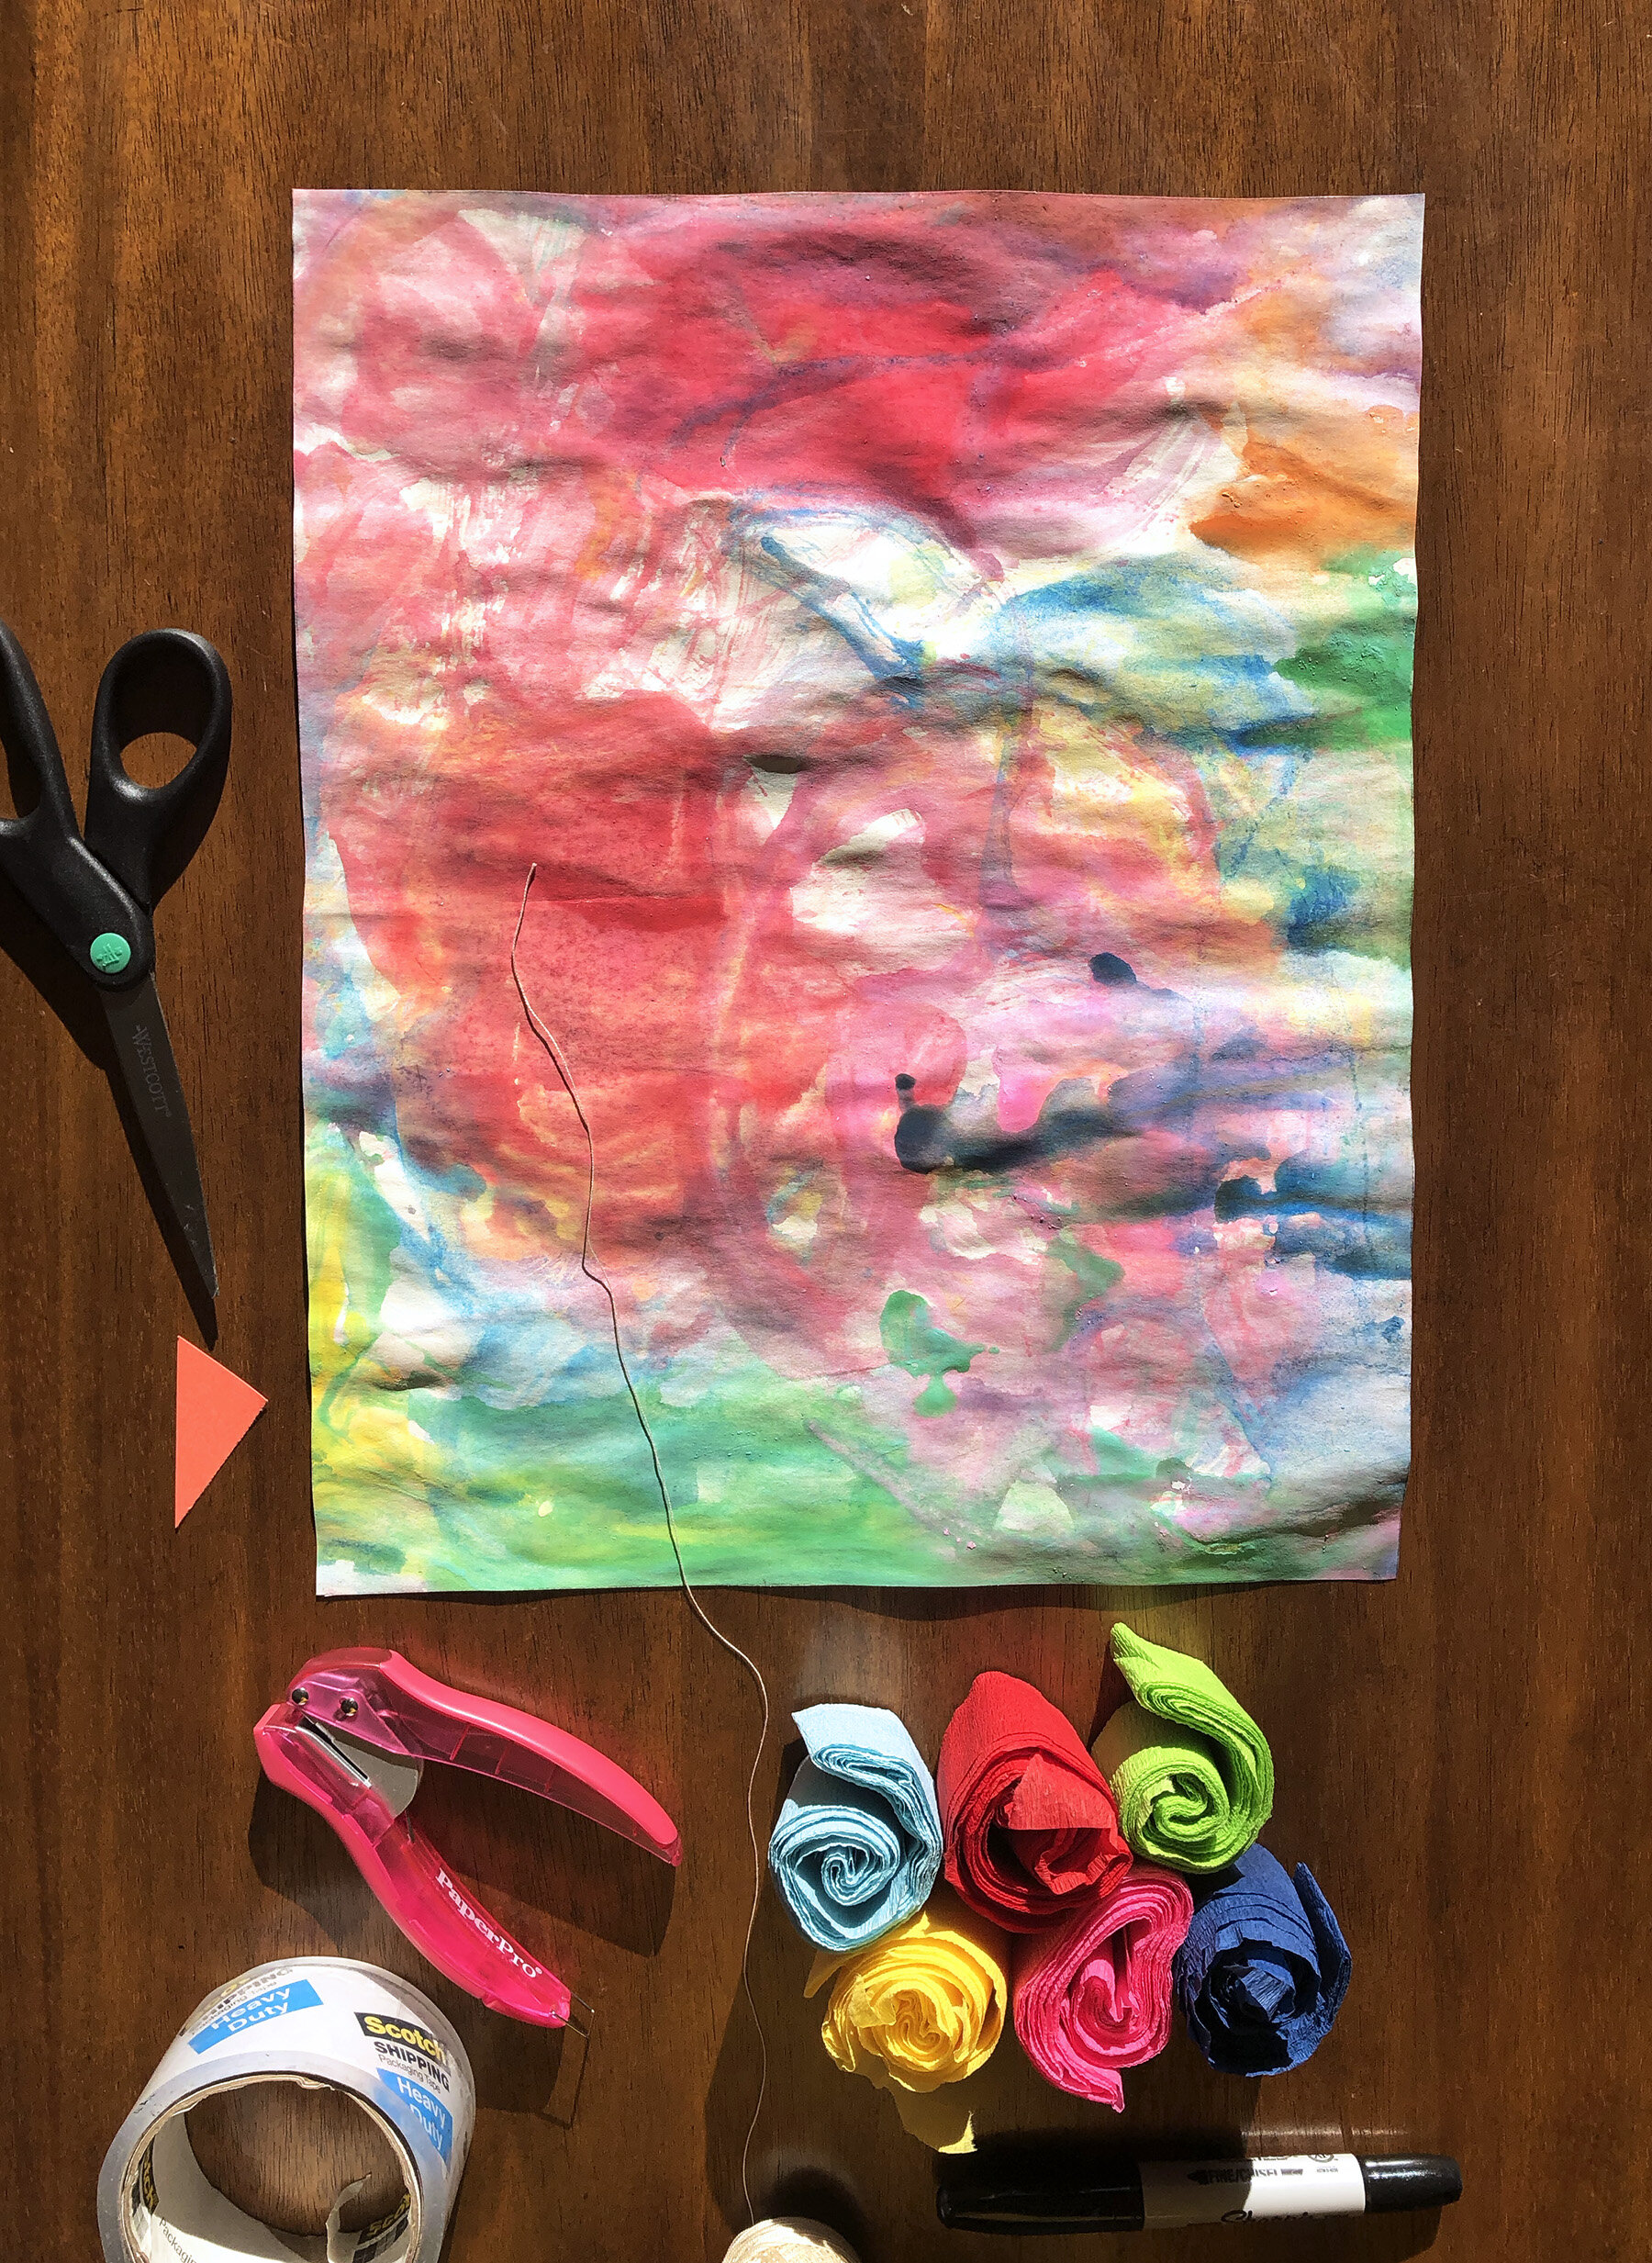

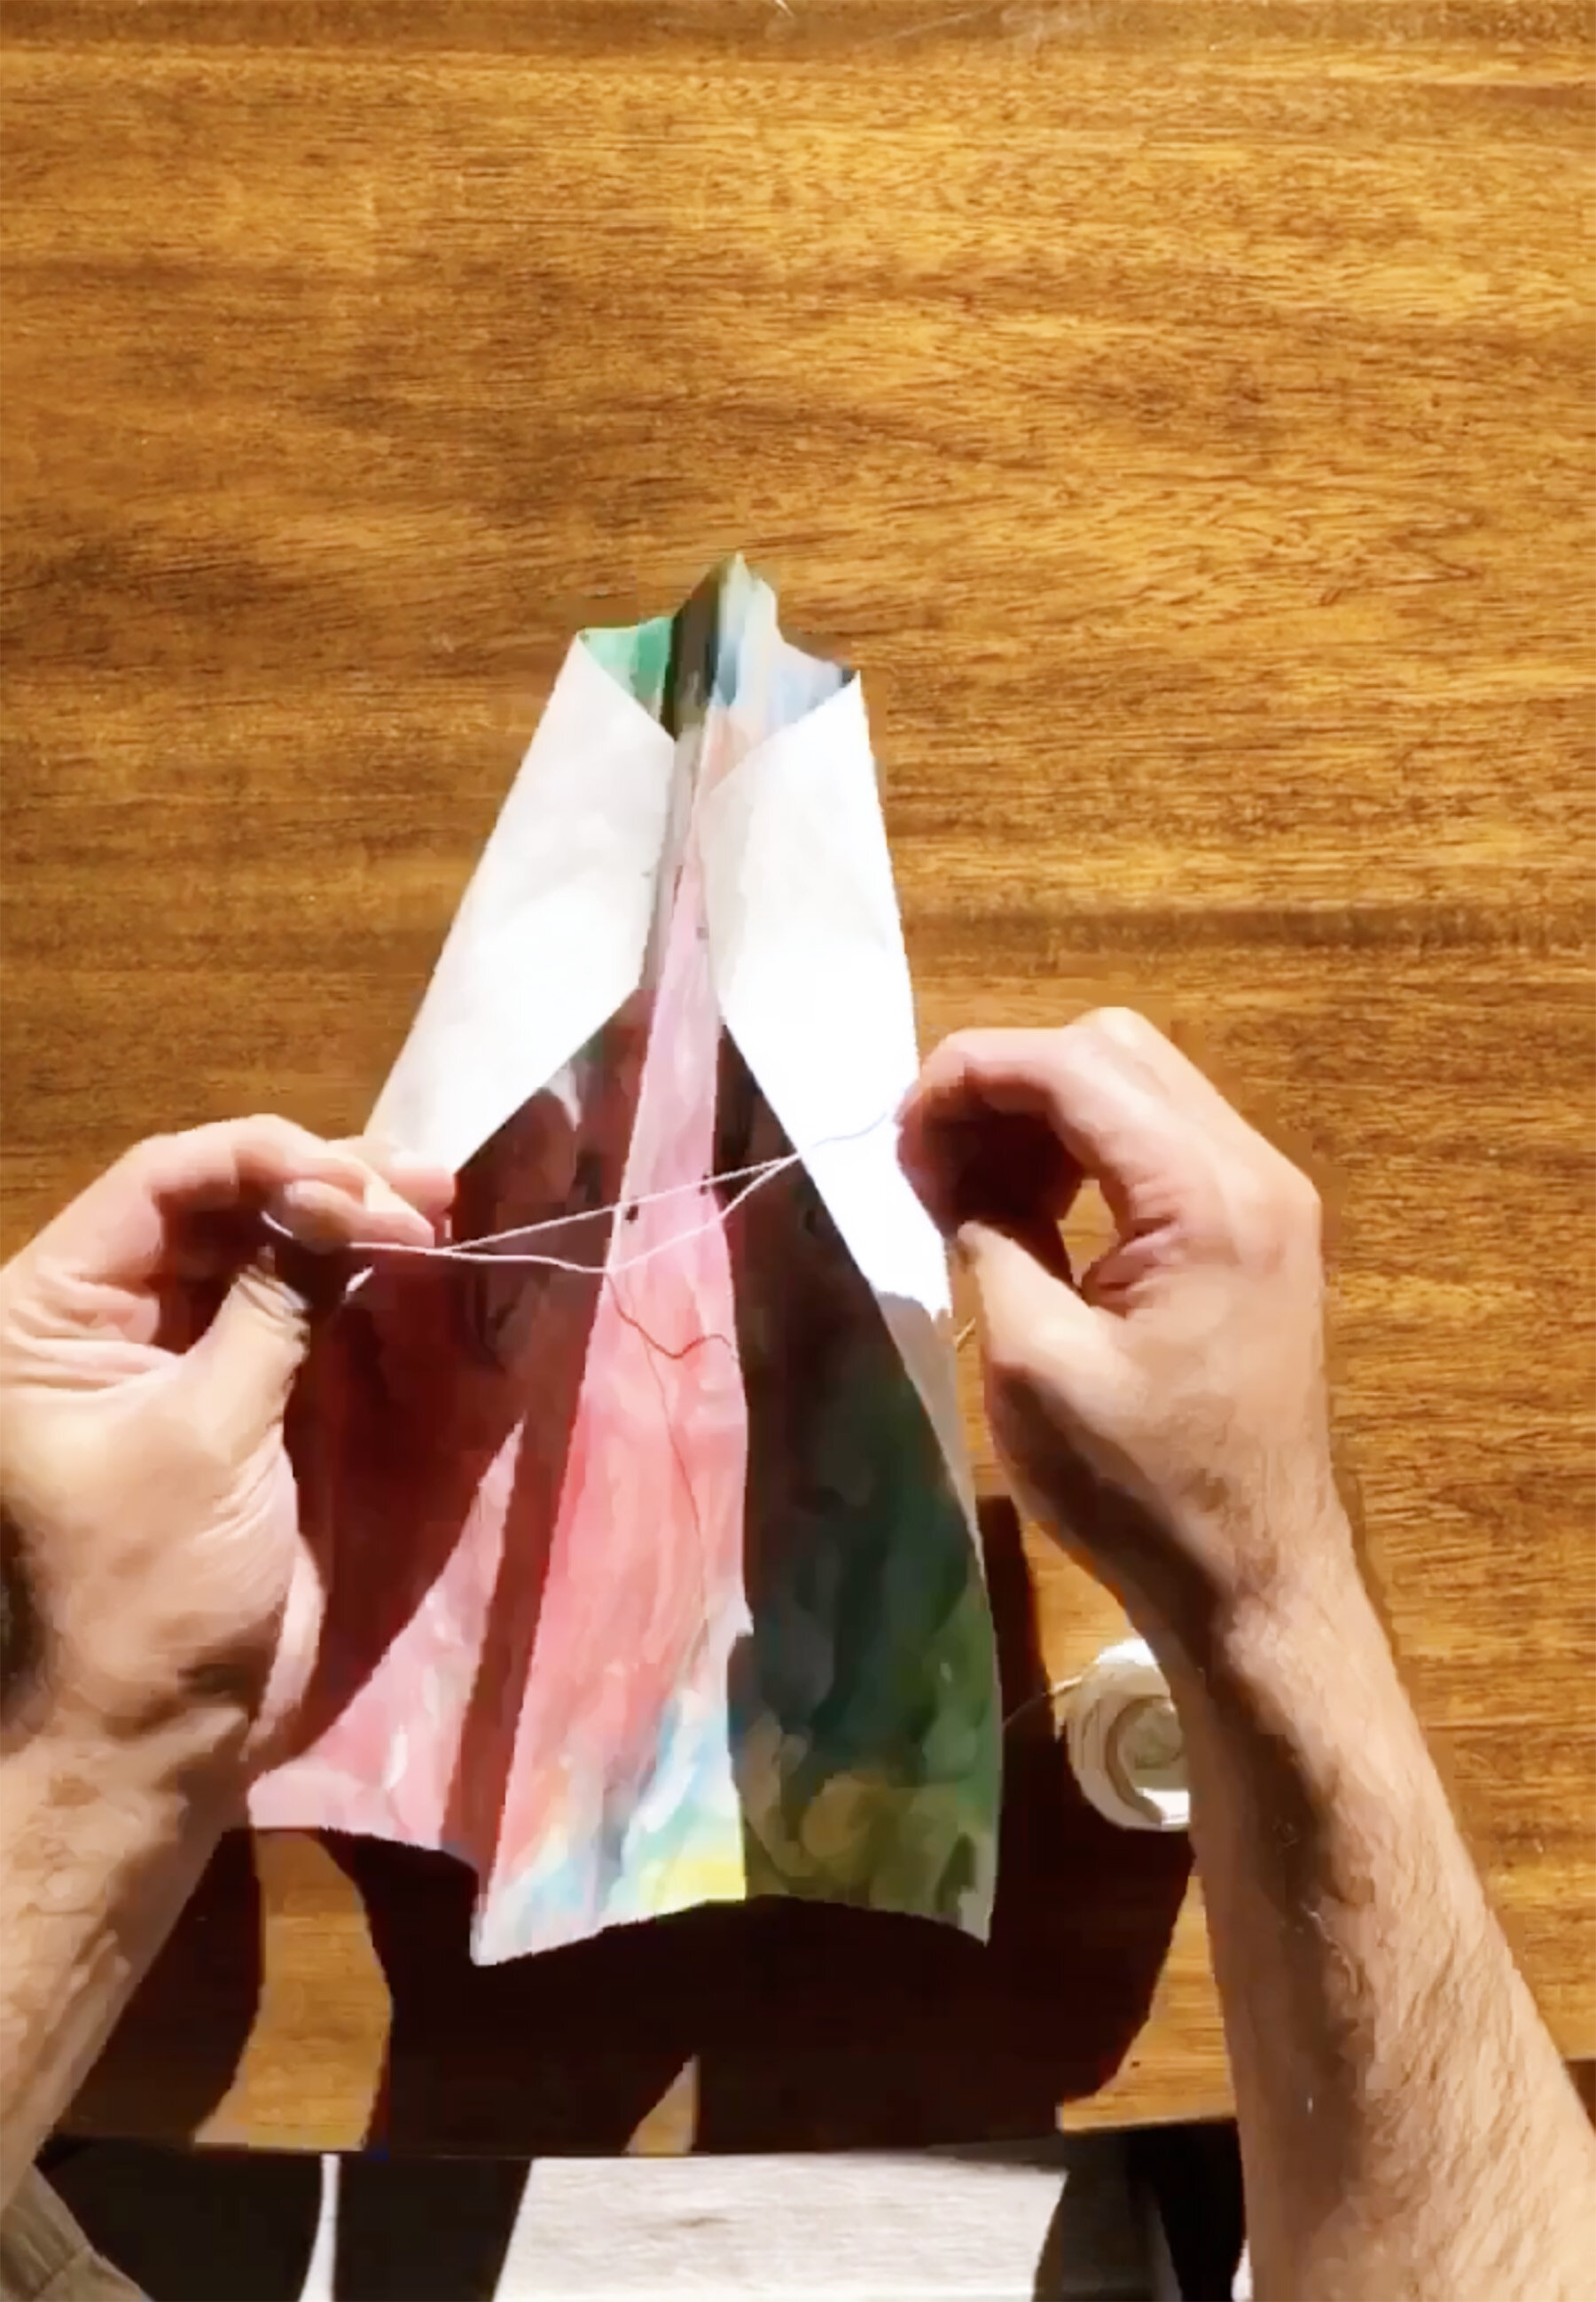
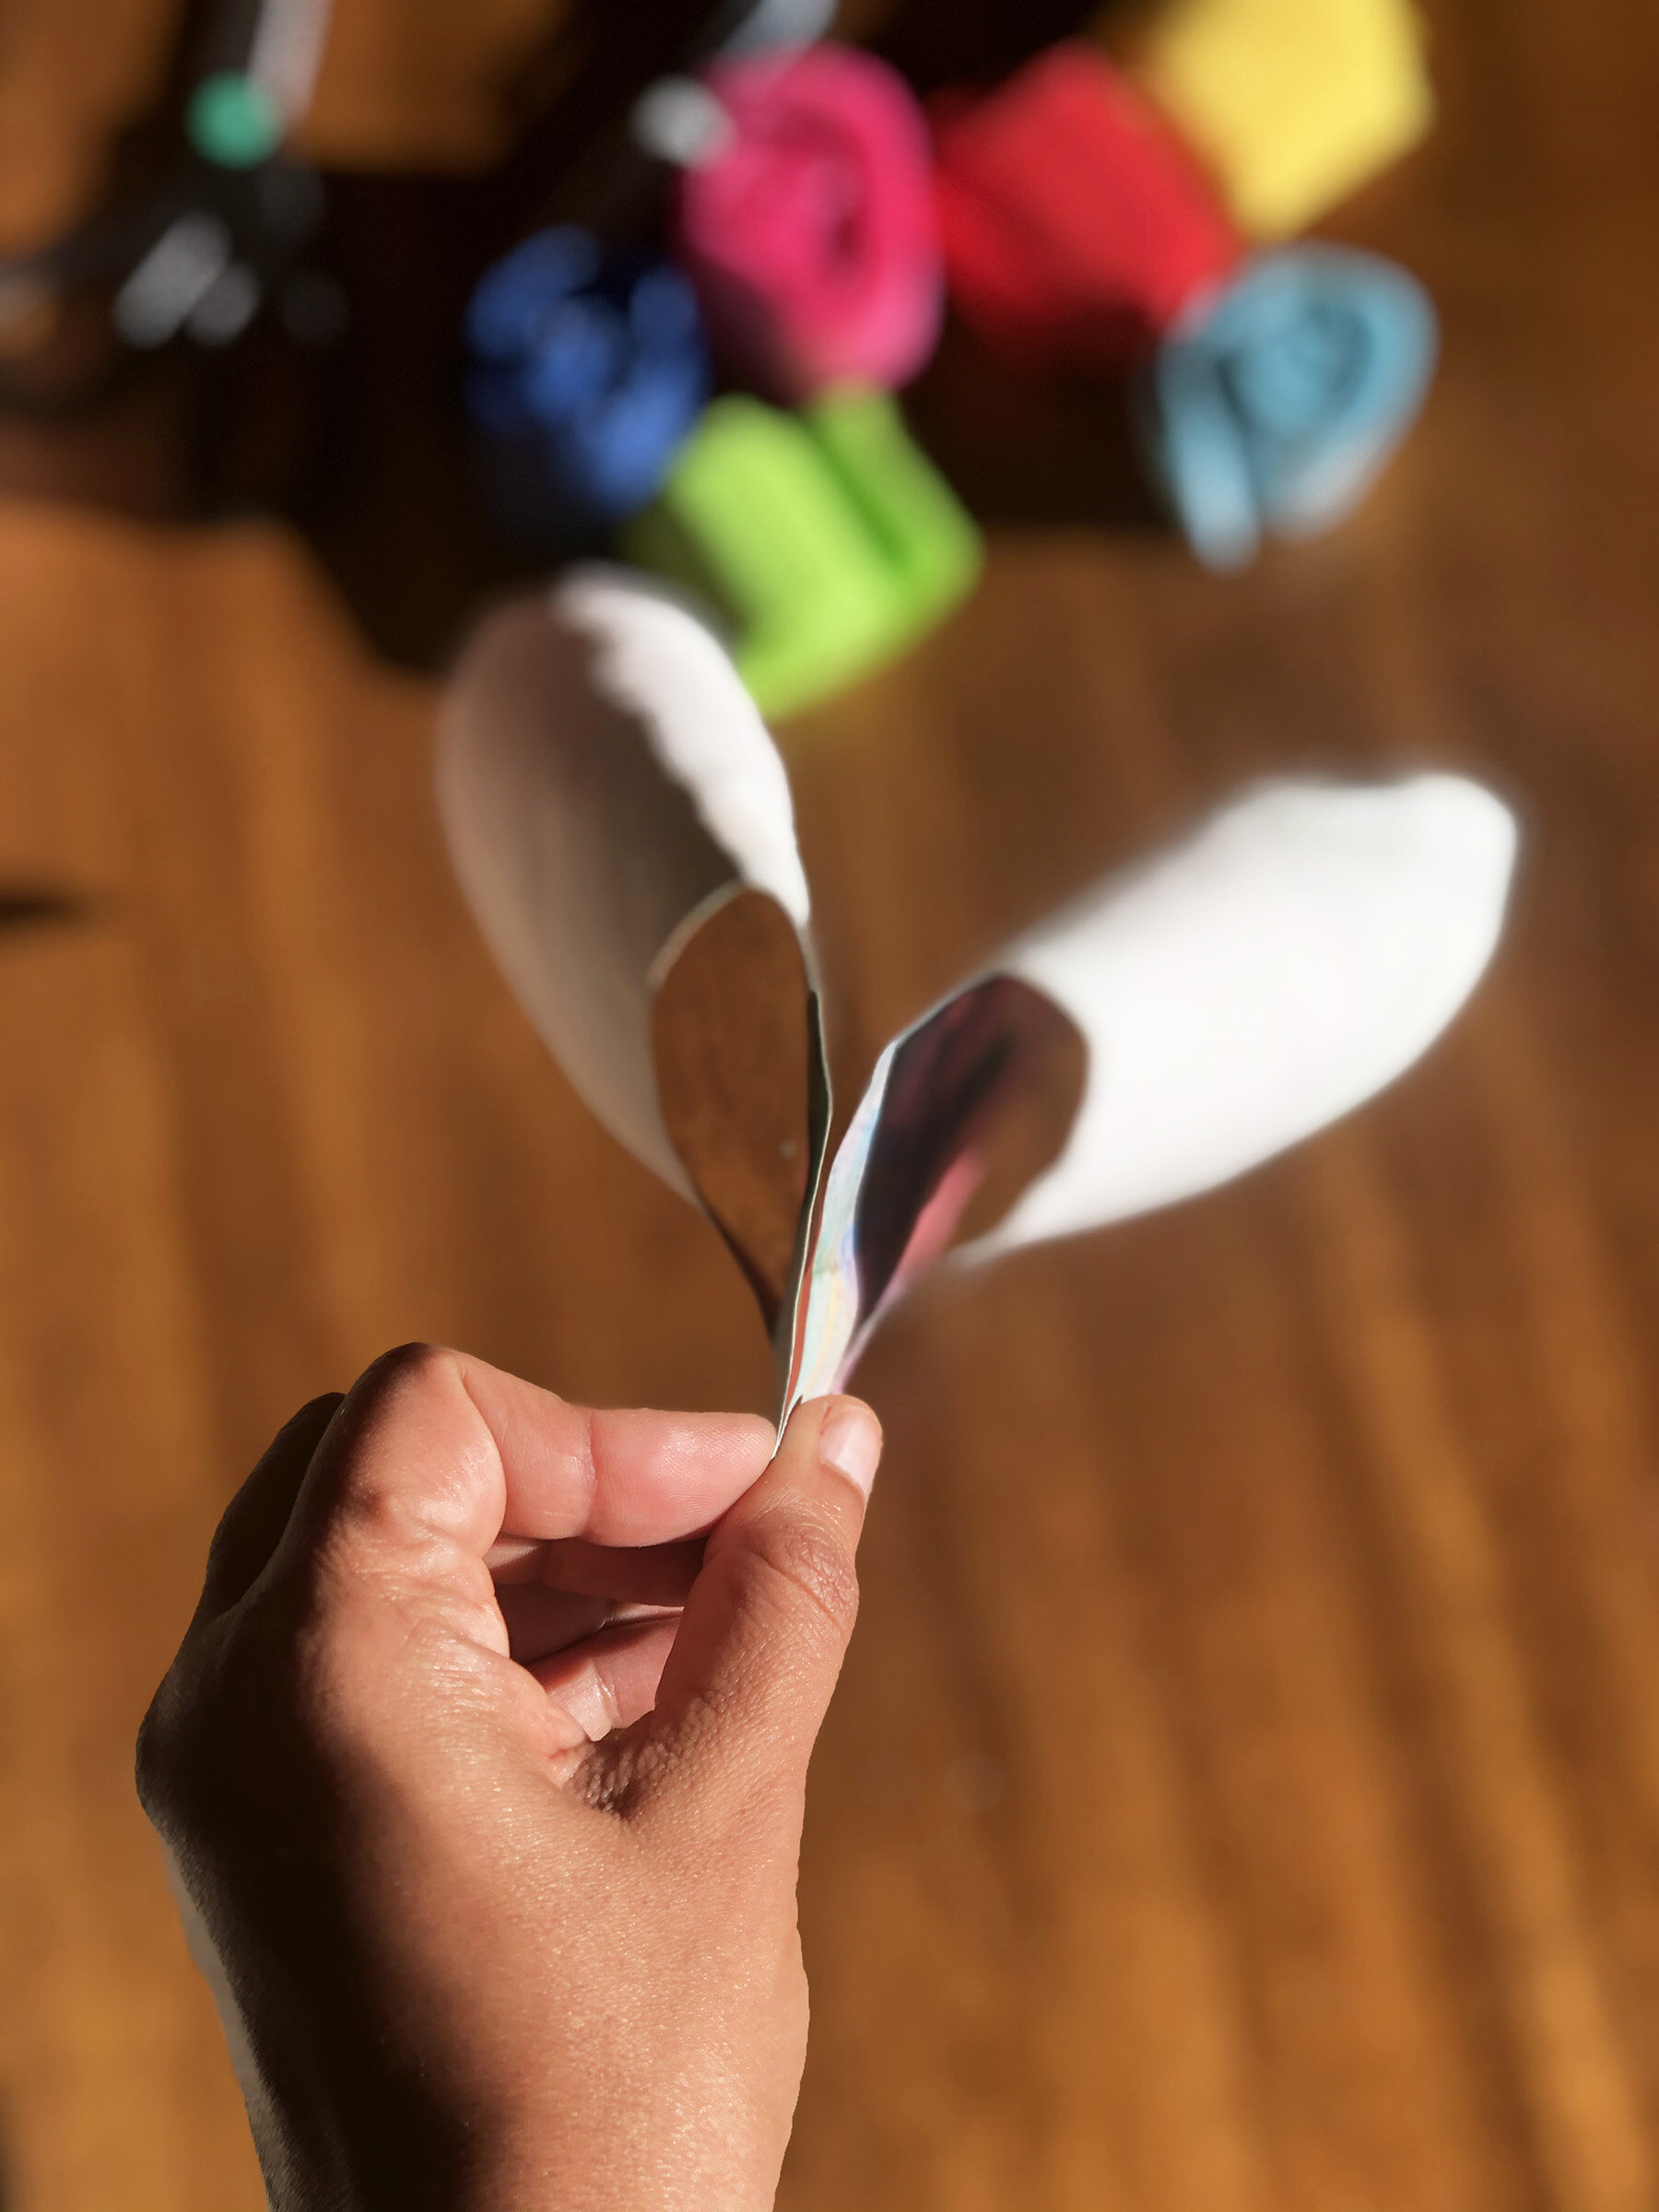
Any letter size (A4 size) paper works for this activity. We just used the paper from the ice painting activity. The thinner the paper, the more easily it will fly in the wind. Fold the rectangle paper in half widthwise; if you are using letter size (8.5”x11”) then fold the 11” into half. Now is a great time to decorate your kite! Use pens, pencils, crayons, felt-tip pens, a printer, but be careful not to weigh it down too much.
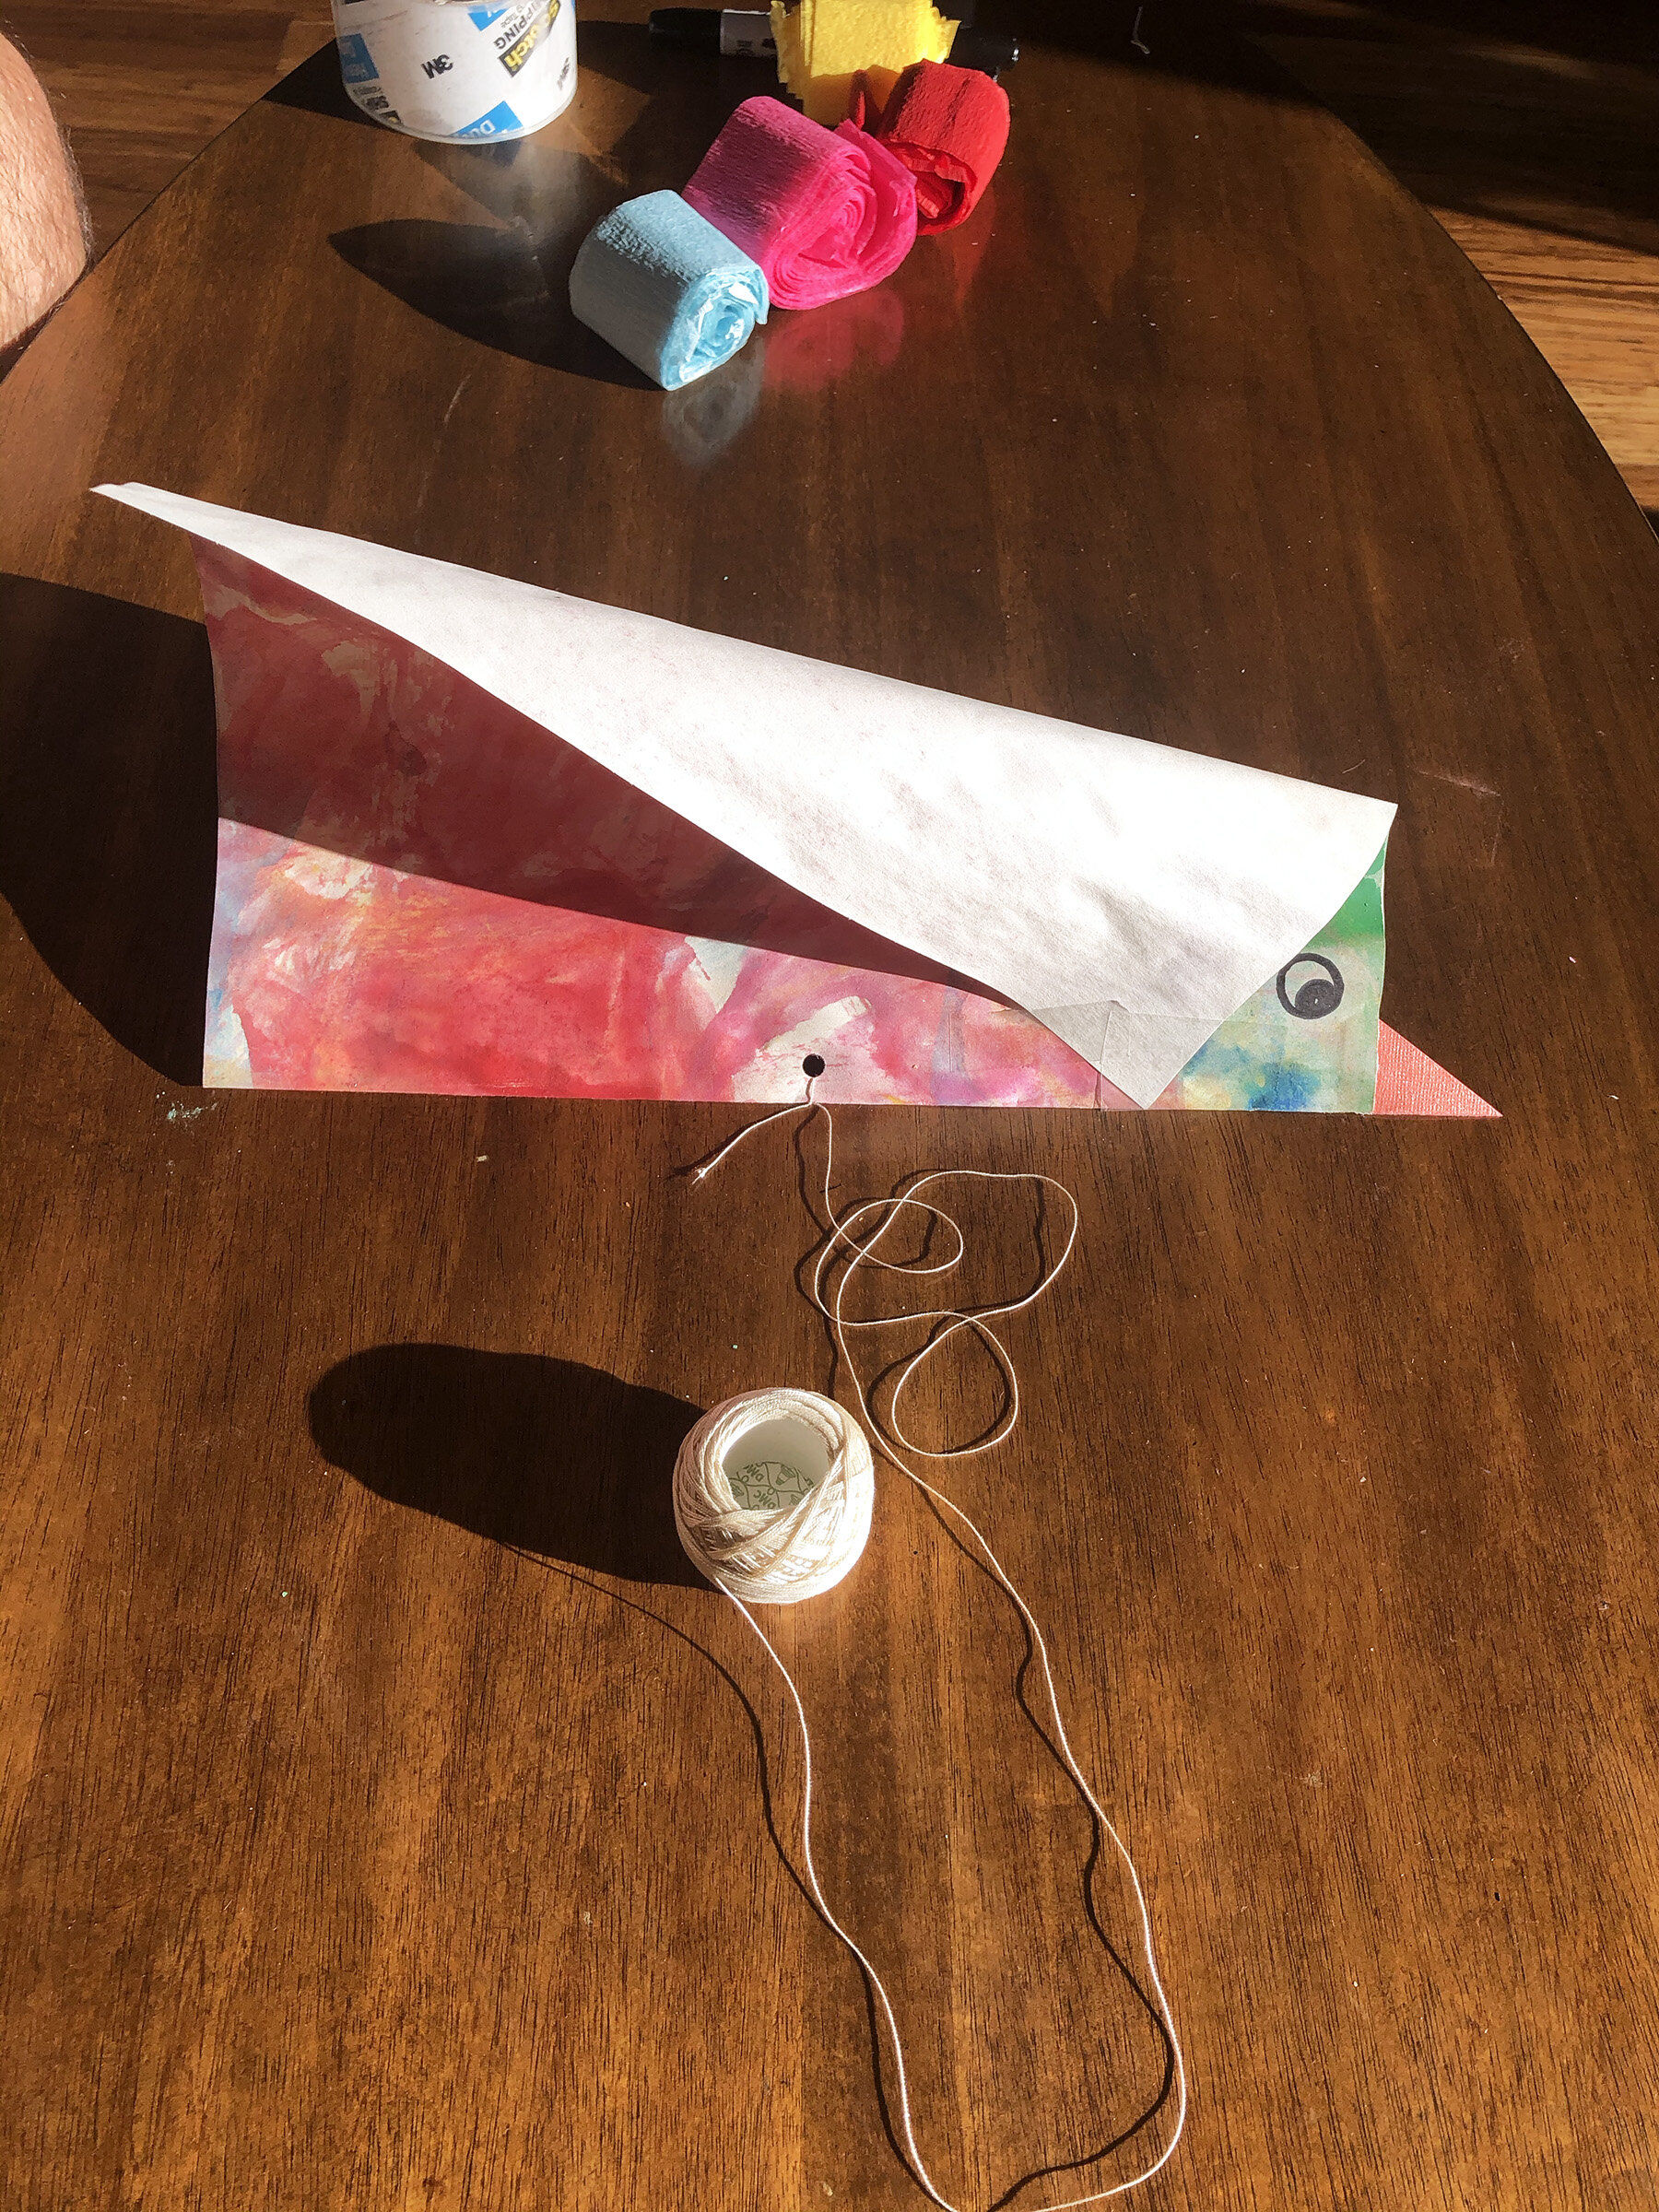
Now bend the front corner of the top layer down to touch the crease. Repeat on the back layer and staple or use tape. The essential thing with this step is to only bend the corners down. If you fold them the kite will not work. Use your punch and make a hole in the middle of the crease. Pass the thread through the hole and tie a knot or two (or three in our case).
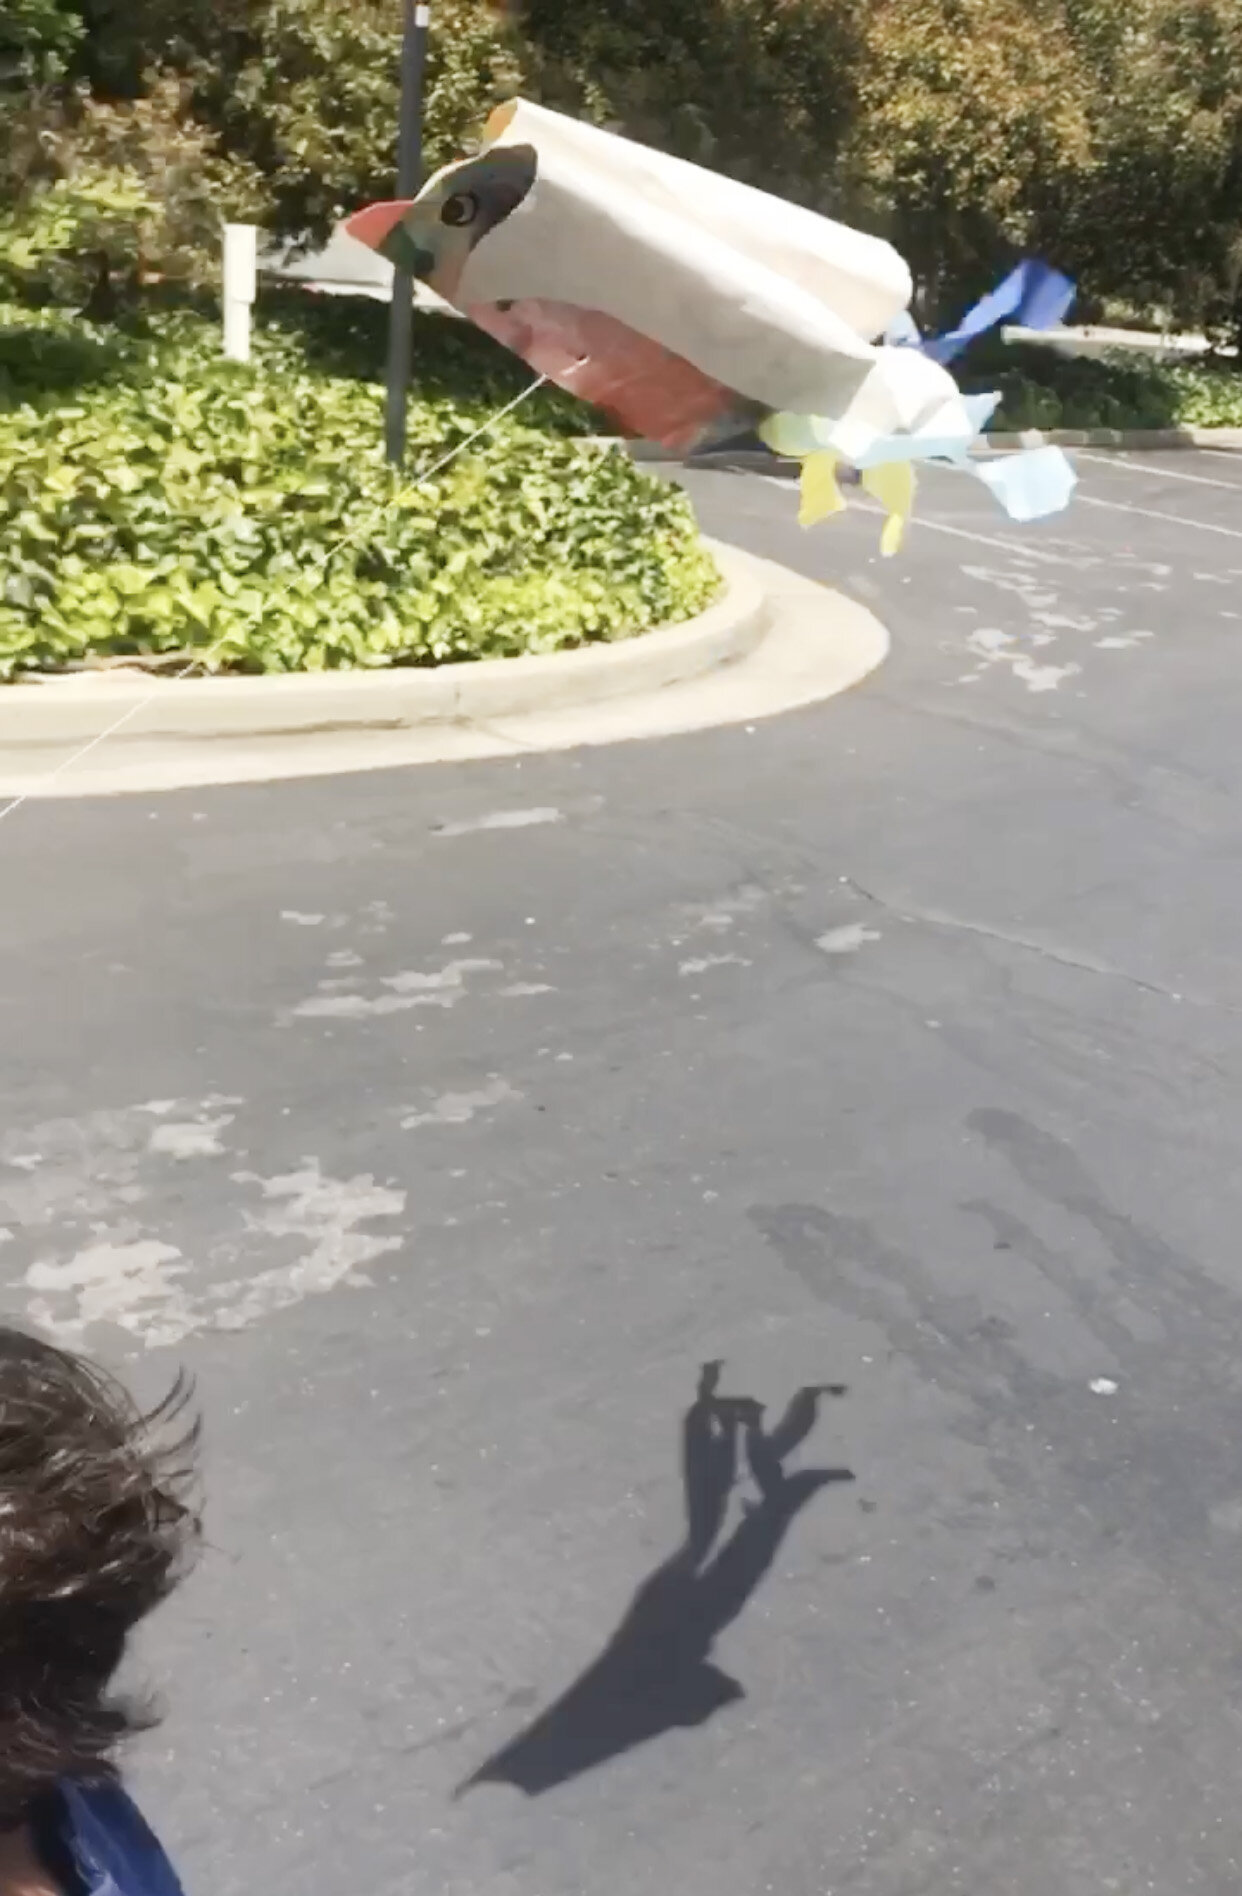
We wanted to make our kite look like a bird. So we drew an eye, stuck a beak and some paper streamers (leftover from a previous activity) as tail. If you are using loose string, you may like to tie it to a pencil, stick or similarly shaped object and wind it around for ease of handling.
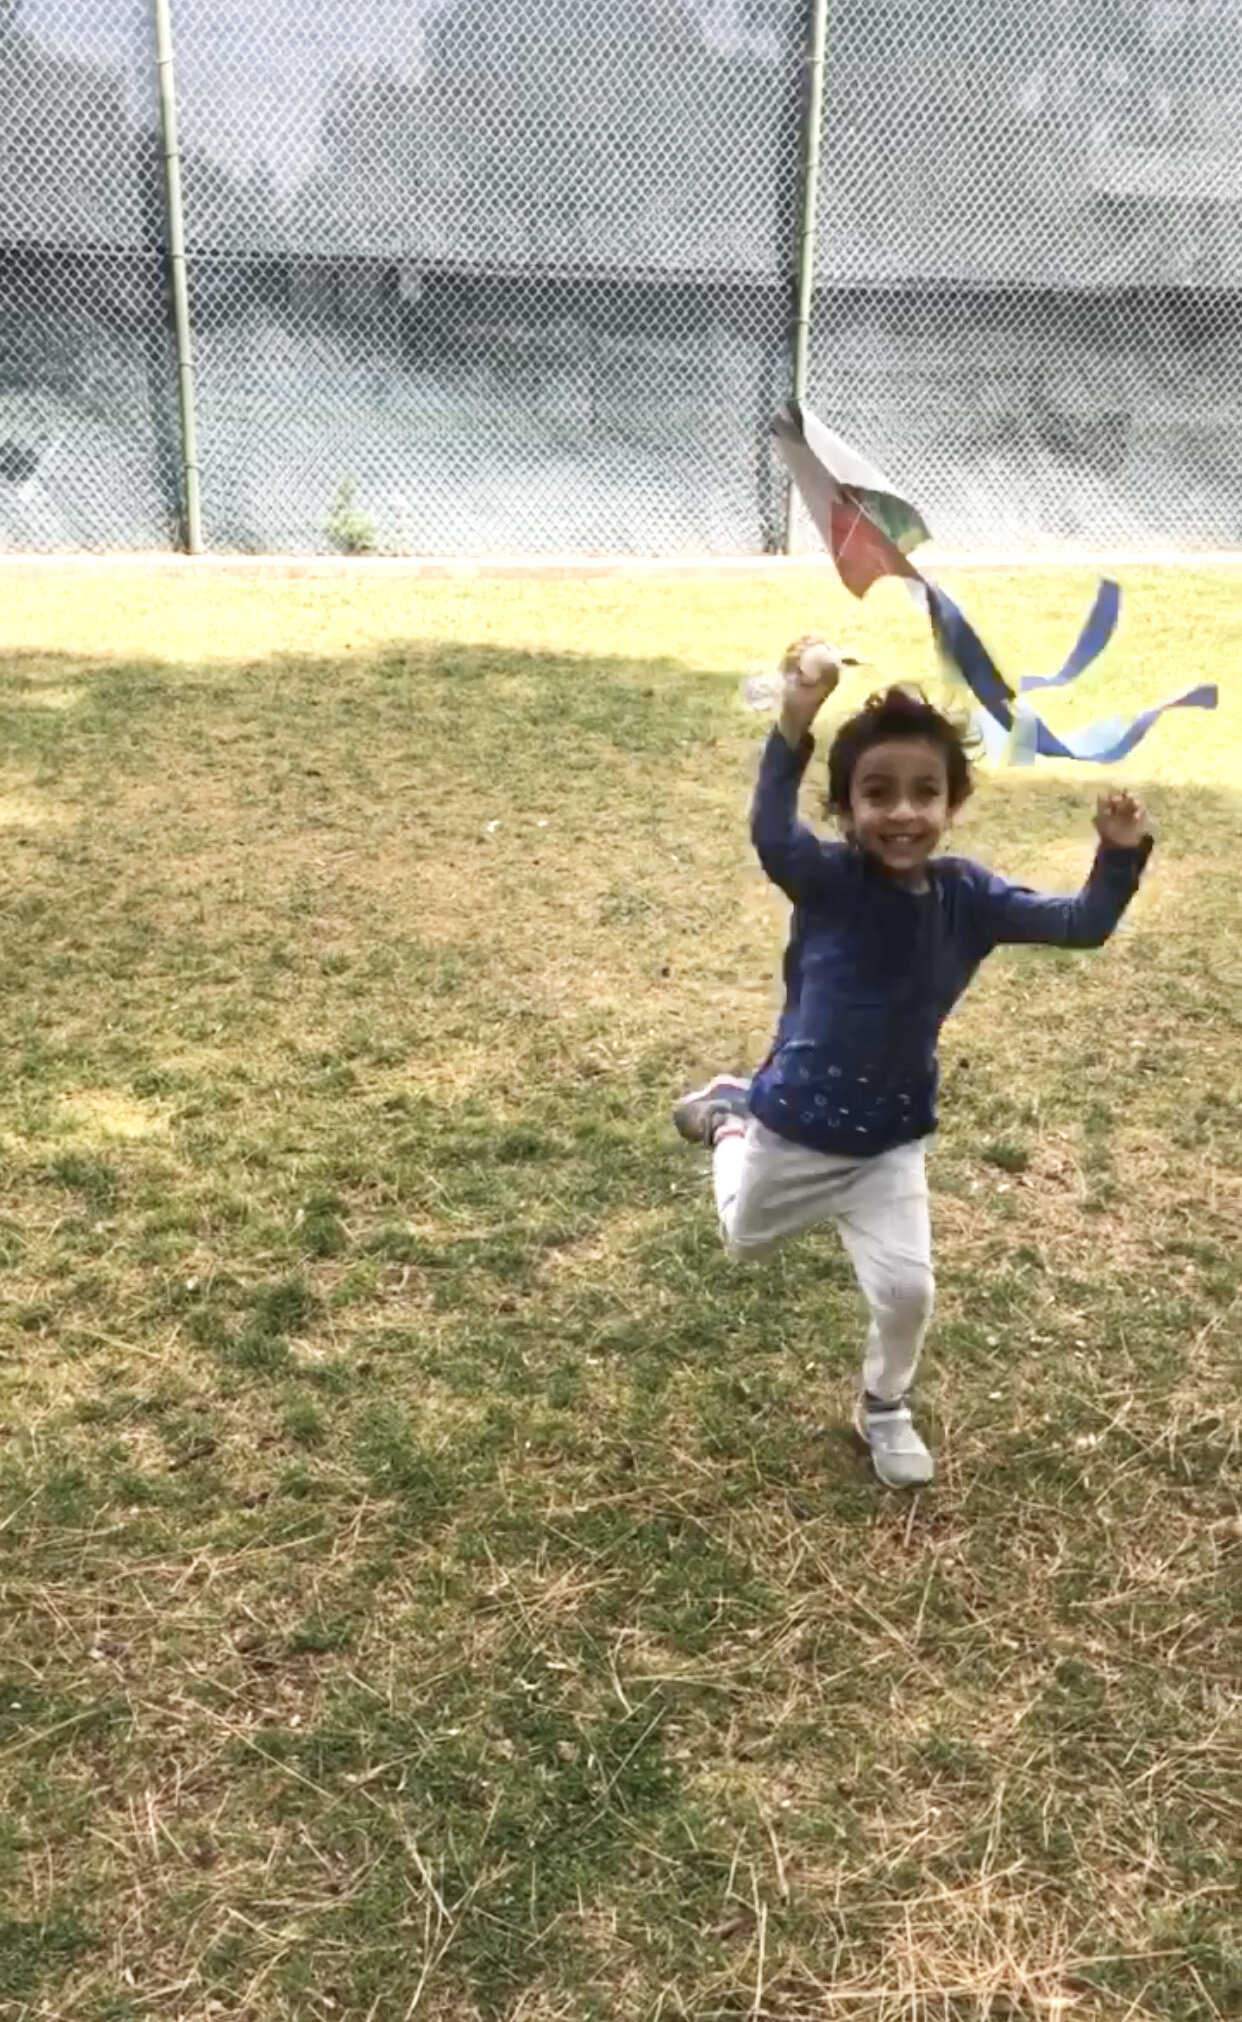
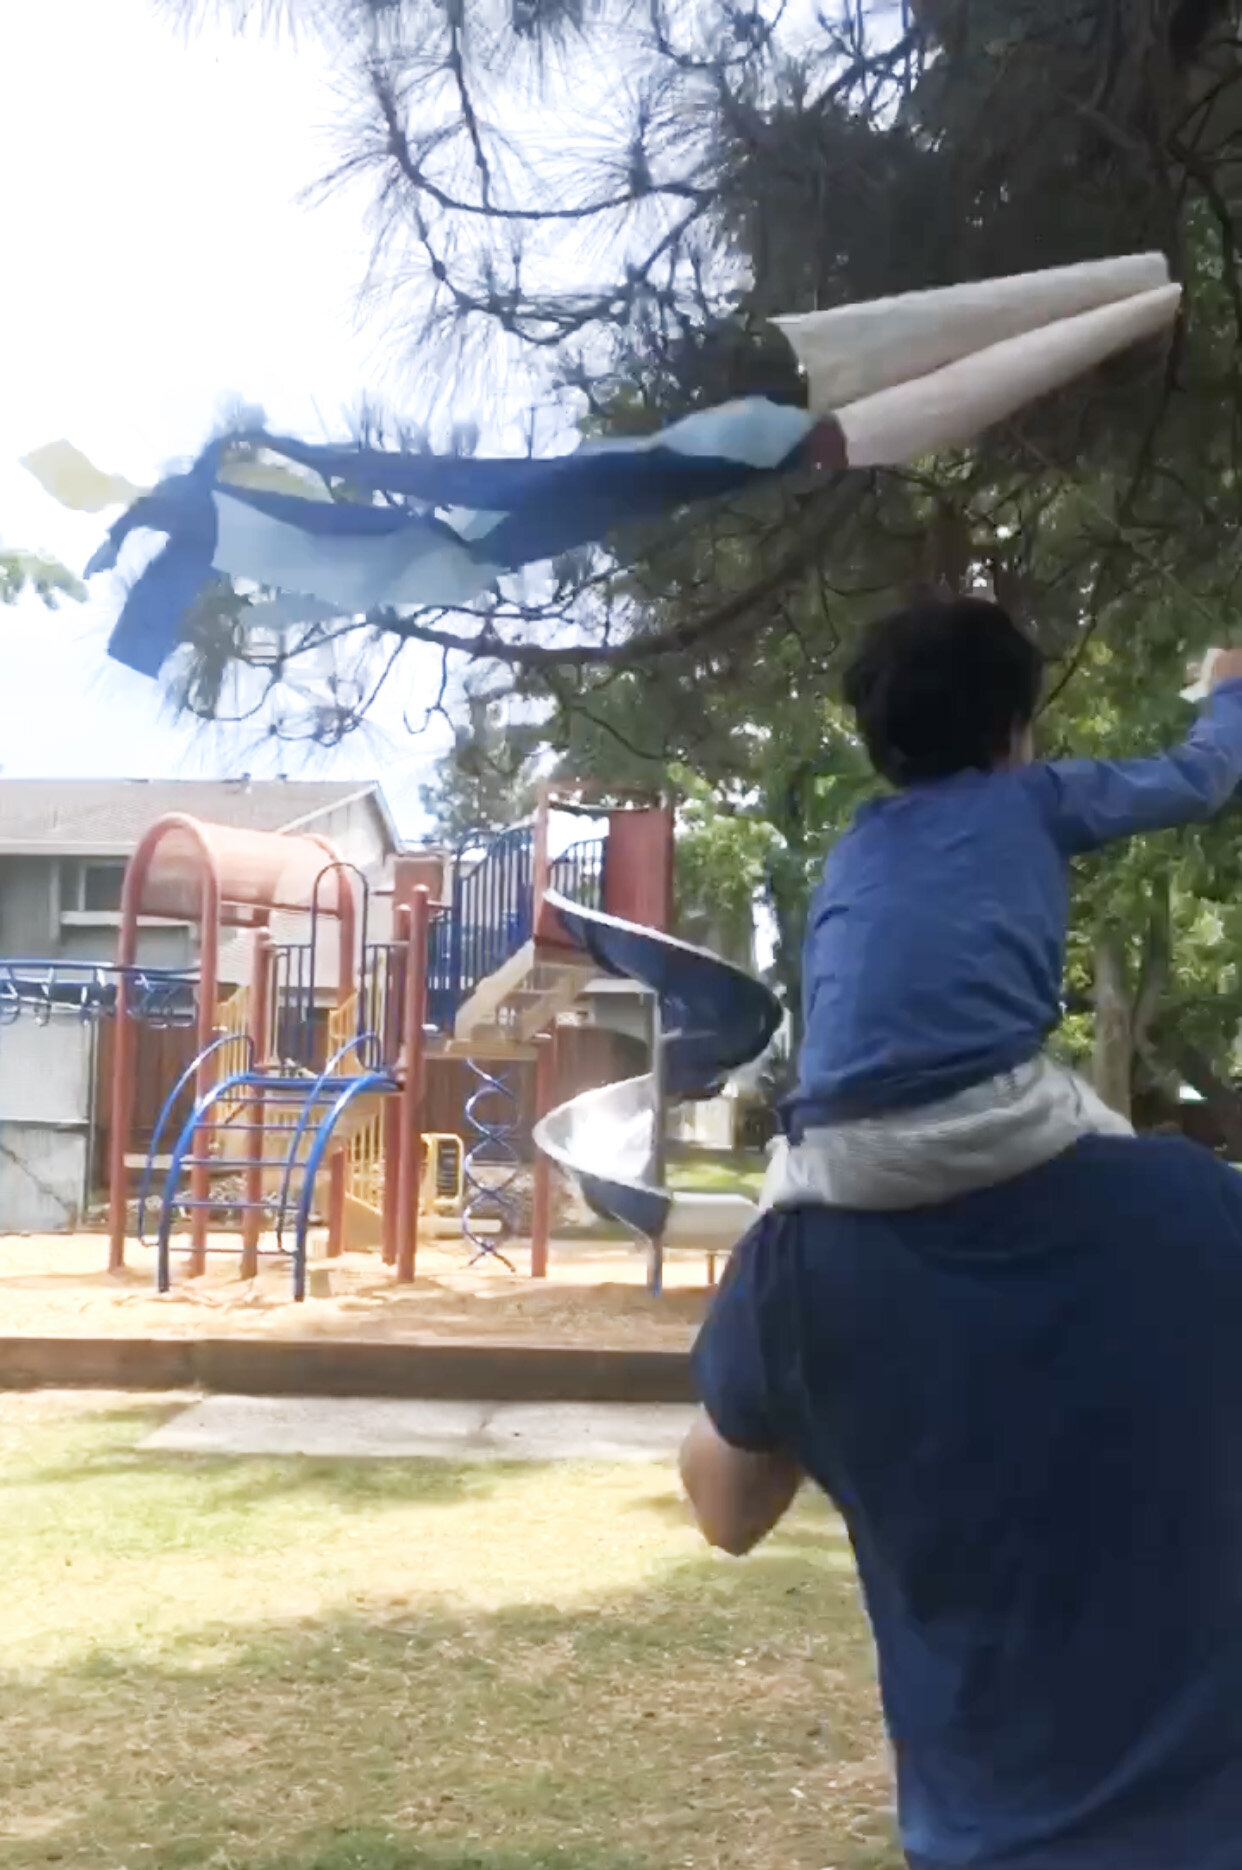
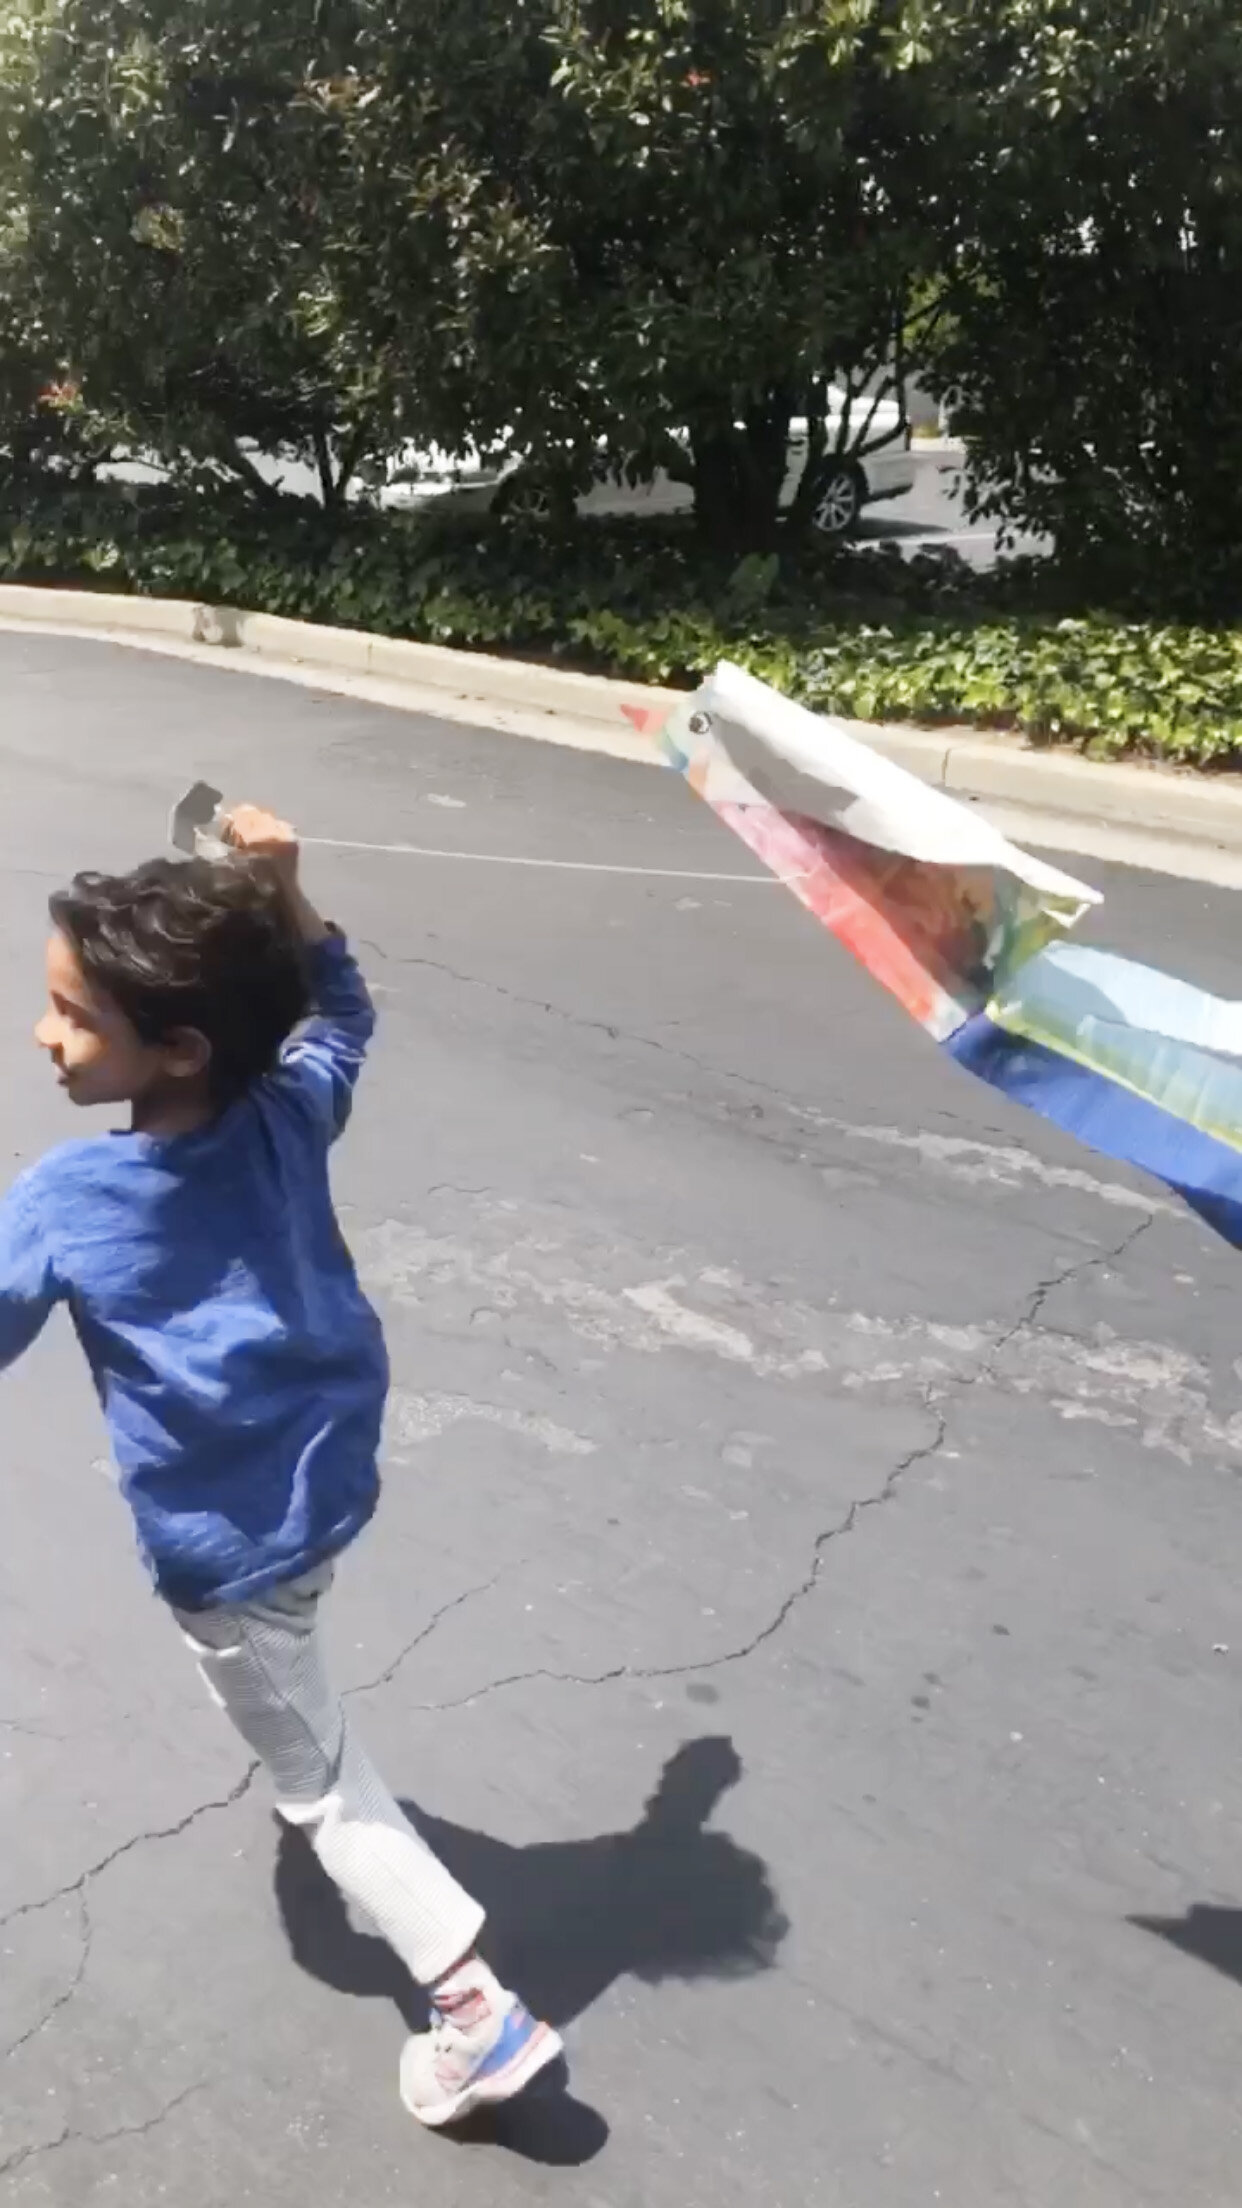
Find an open space with a steady breeze and release your kite with one hand while holding the string in the other. Your kite should take off! We did not get much wind unfortunately, but our kite still worked. Our toddler realized it flew better when he ran with it (great activity to get some energy out of your kid). His kite flew anywhere from 1 feet to 7 feet off the ground.
You will see I don’t have much photos for this activity as it was difficult to document this. But its pretty simple and lots of fun! Our kite was enjoyed by a lot of kids in the park and it still survived the day. Let the fathers take over and you can sit back and relax!
Activity 3: Dad and Child, Pin-Free Pinwheel
Best for (all ages to enjoy) wind science, craft
Material Needed: Orange or Yellow Foam Sheet (or Paper), Punch, Scissor, Glue, Toothpick (anything sharp), Straw, Pipe Cleaner and Lion & Cub Faces Template (free download below).
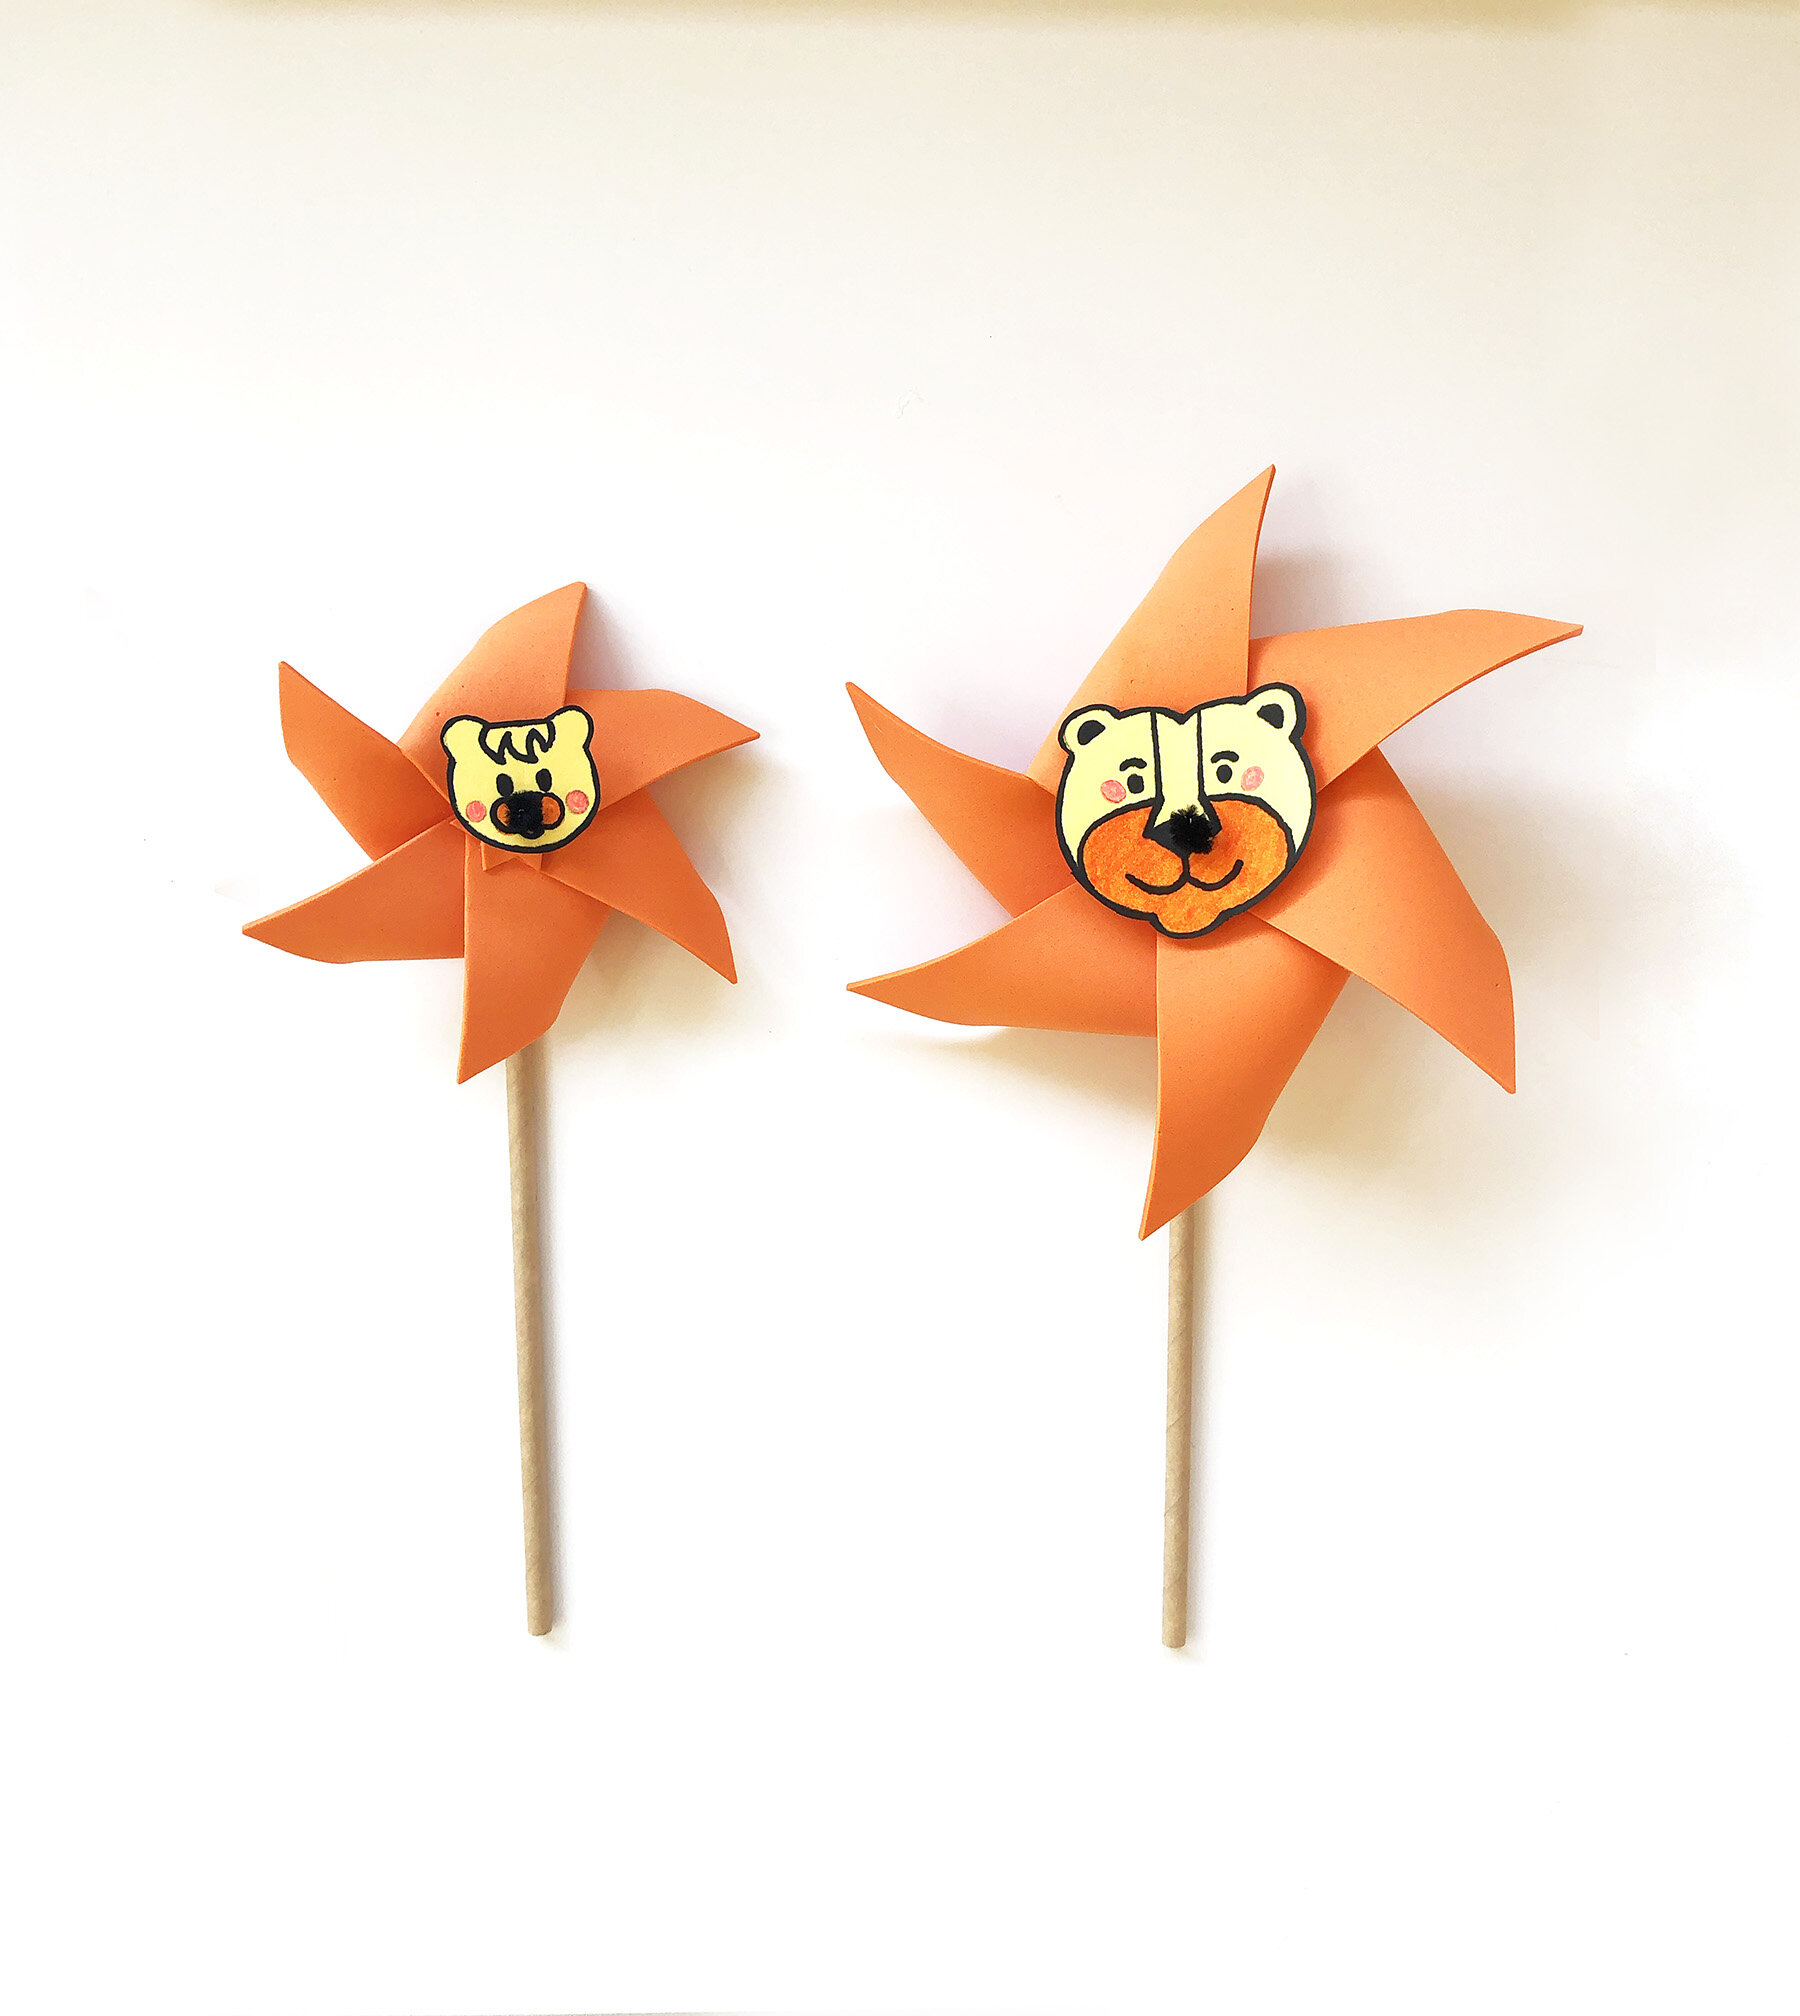
As we continue our Father’s Week and exploring wind; these Lion and Cub Pinwheels are a super cute activity to make on Father’s Day. Lion King is one of the classic movies we love and this activity is inspired by Mufasa and Simba.


Take your Foam sheet or paper and cut up a Hexagon (free template below includes the Hexagon). We cut up two sizes of hexagon, with each side being 4.5” (large) and 3” (small). The bigger hexagon we used for Lion and the smaller for the Cub. Using a ruler, mark the center of your Hexagon with a pencil by drawing lines, connecting the opposite corners. Use the scissors to cut down the diagonal lines to the center that you just marked on your Hexagon. Do not cut all the way, just 3/4 way to the center. Use your punch to make holes on every other point and also the center.


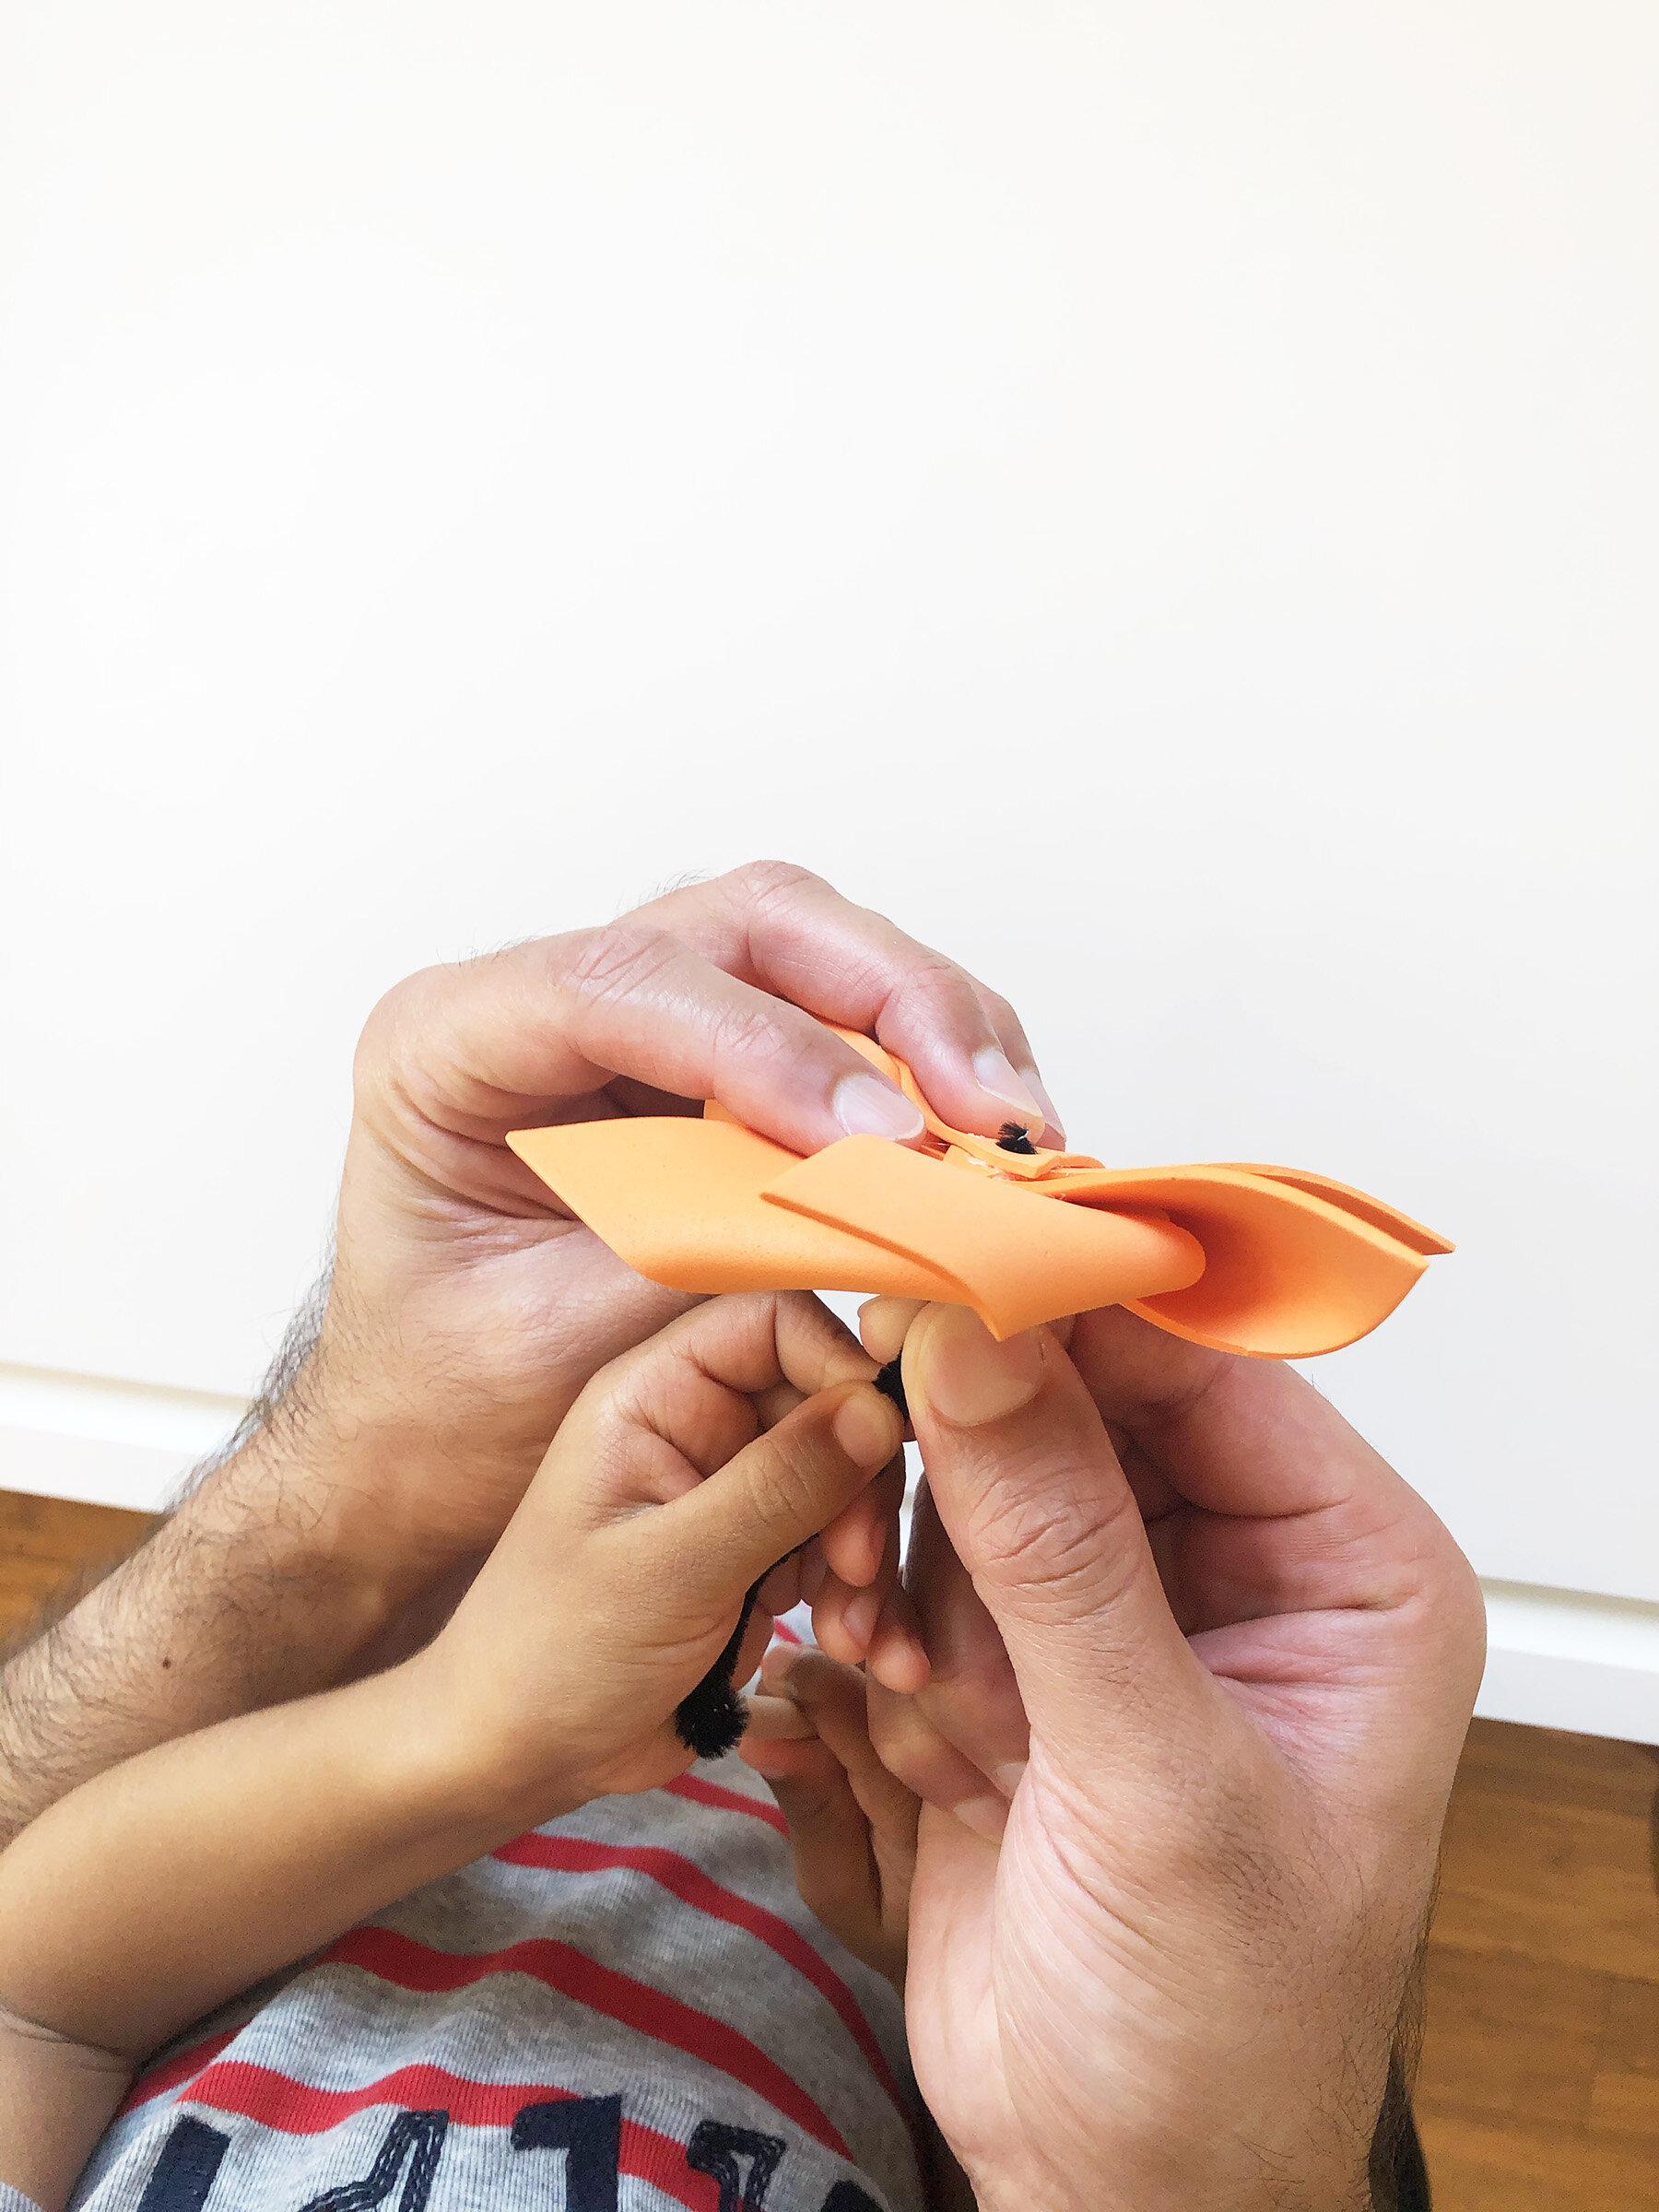
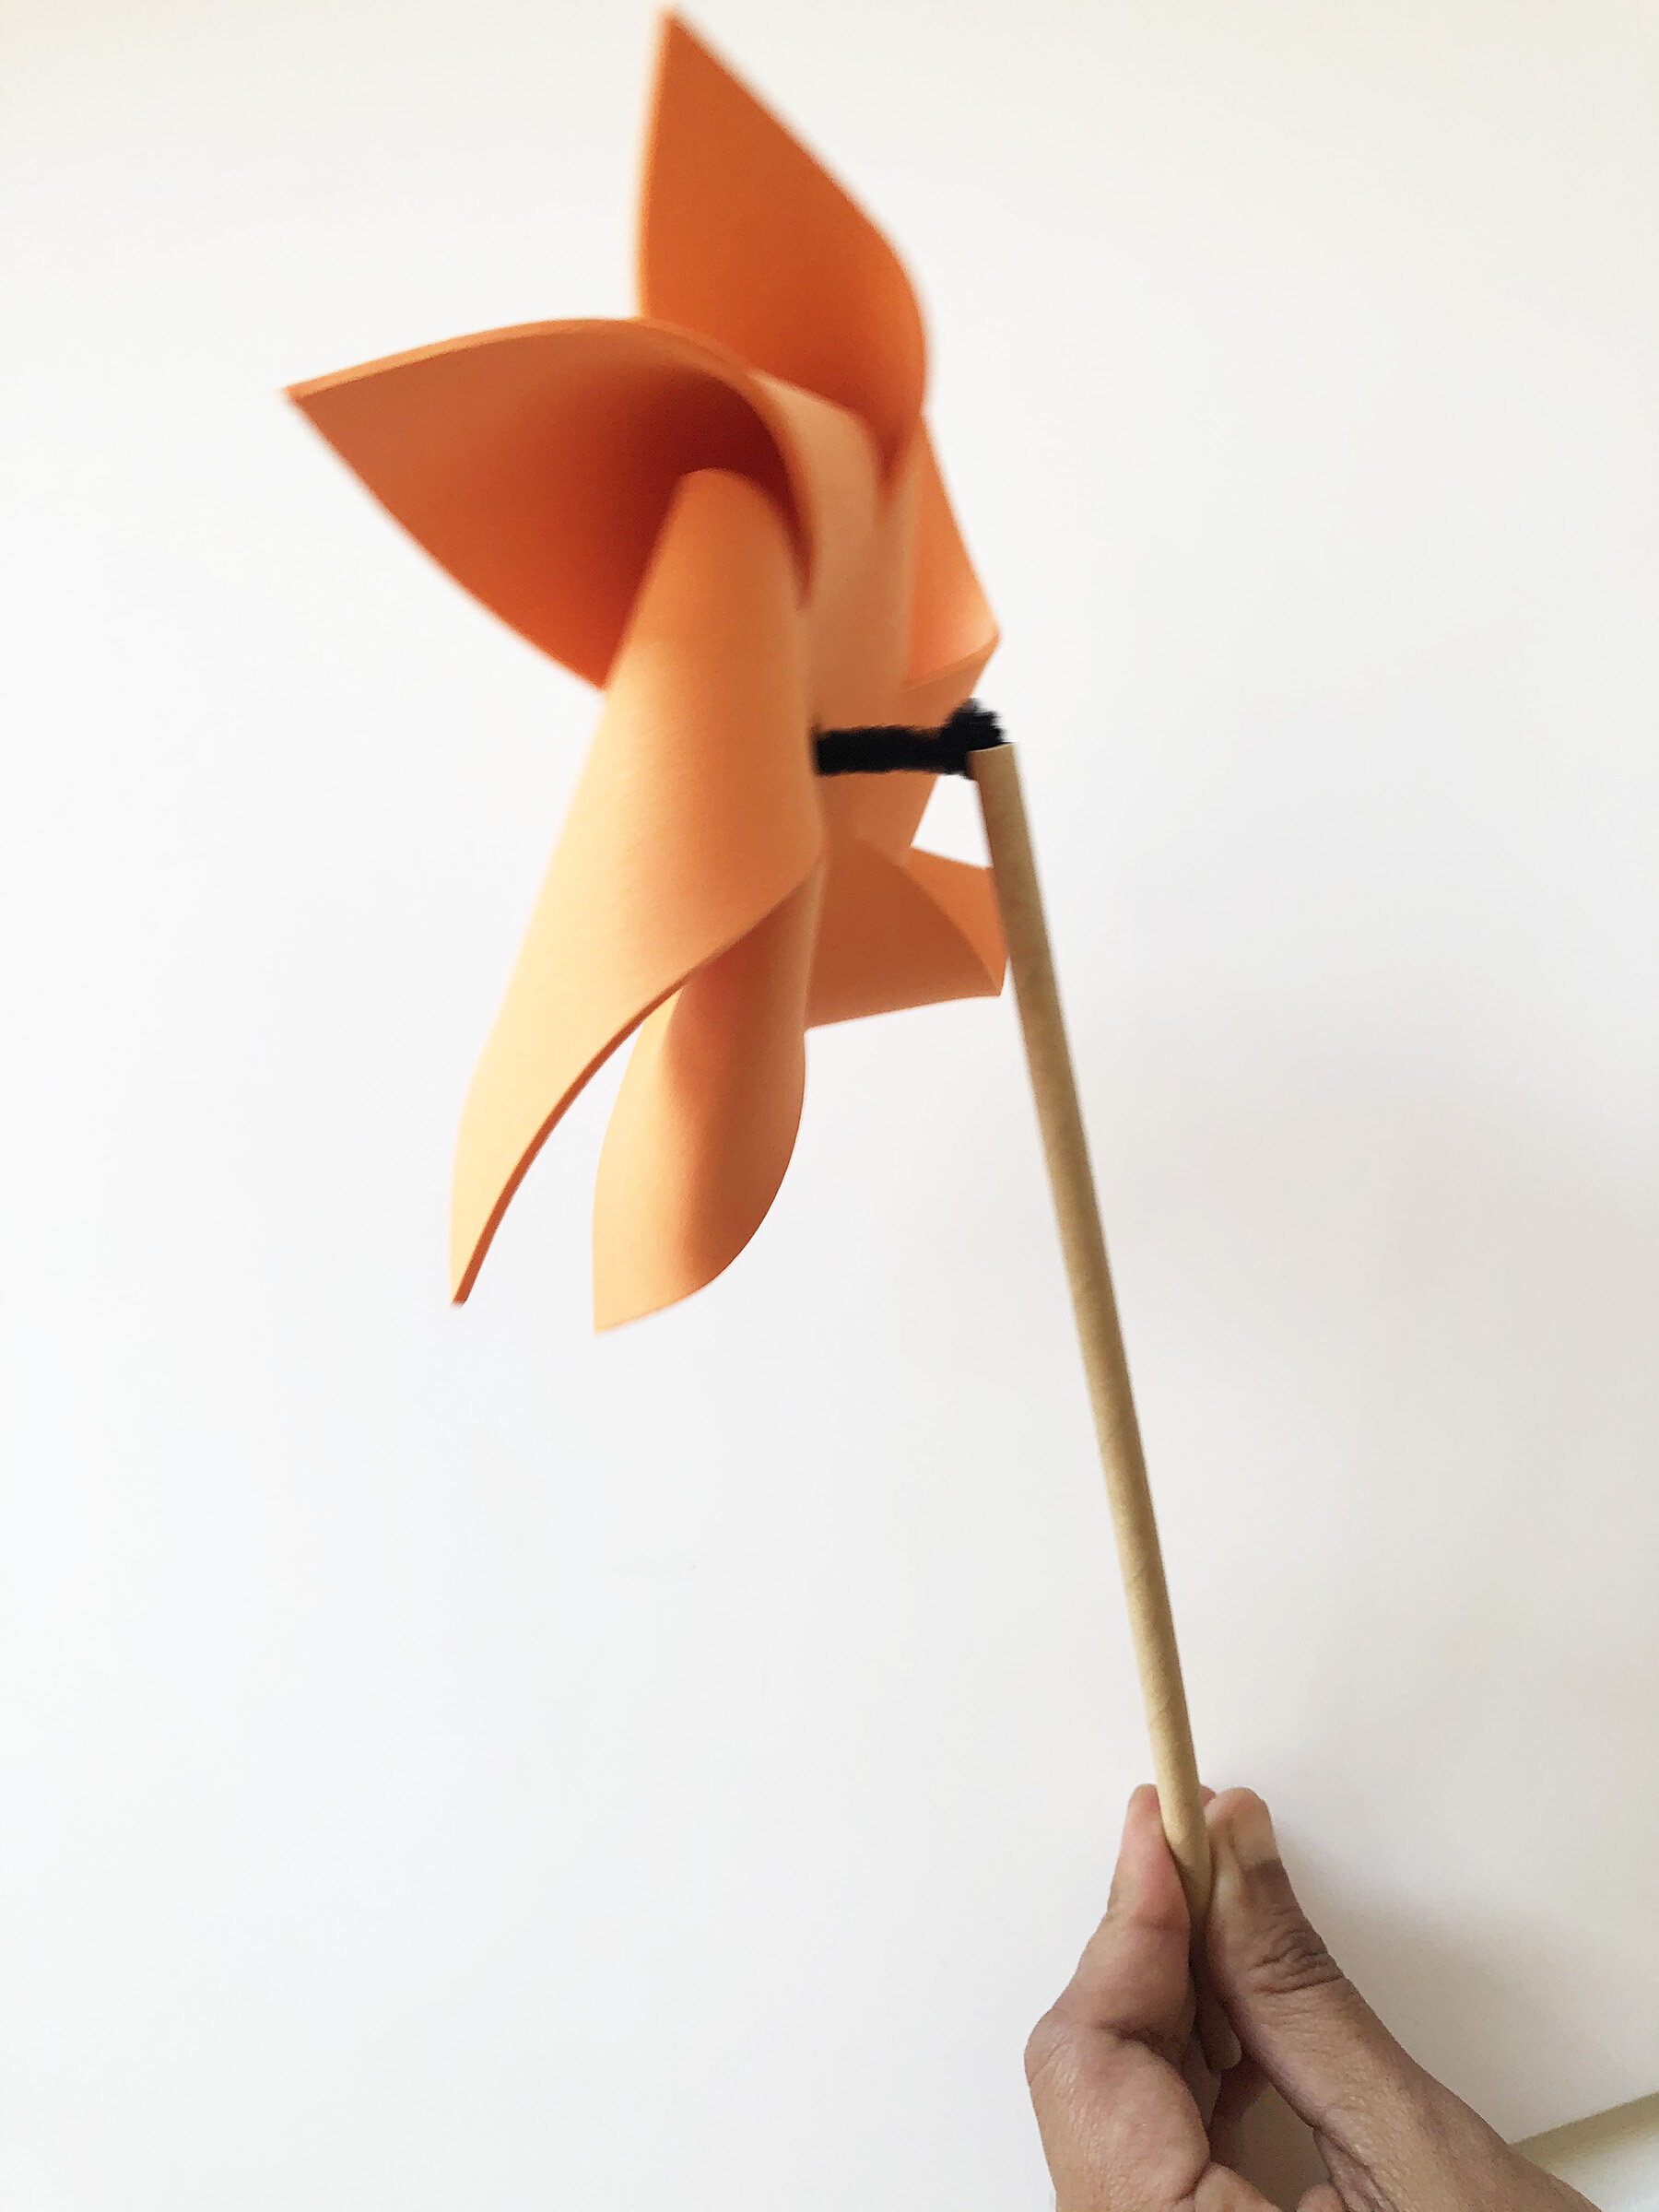
Fold every other point (that you just punched a hole in) into the center dot and use glue to secure it. Now pass the pipe cleaner through the straw and use the remaining pipe cleaner on top to pass the foam pinwheel through it. Keeping some distance from the pinwheel, also pass through the Lion or Cub face. Clip off the remaining pipe cleaner and make a “ball” on one end by tightly wrapping the pipe cleaner in one or two loops. You child safe Pinwheel is ready to be tested in the wind. My son couldn’t wait to go outside so he tested them on our vents first! Your pins from the pinwheel (we called it Lion’s mane for this activity) should spin and not the face of the Lion.
These Pinwheels do not have any pins and the soft craft foam makes it baby friendly. Plus these last a lot more than paper pinwheels. This activity was simple enough for my son and his dad to do together.