
It’s Halloween month and we can’t wait to make and share these fun crafts with you. Halloween is one of the favorite time of the year for kids. Doing these crafts with kids is a great way to sneak in some family time during this festive month.
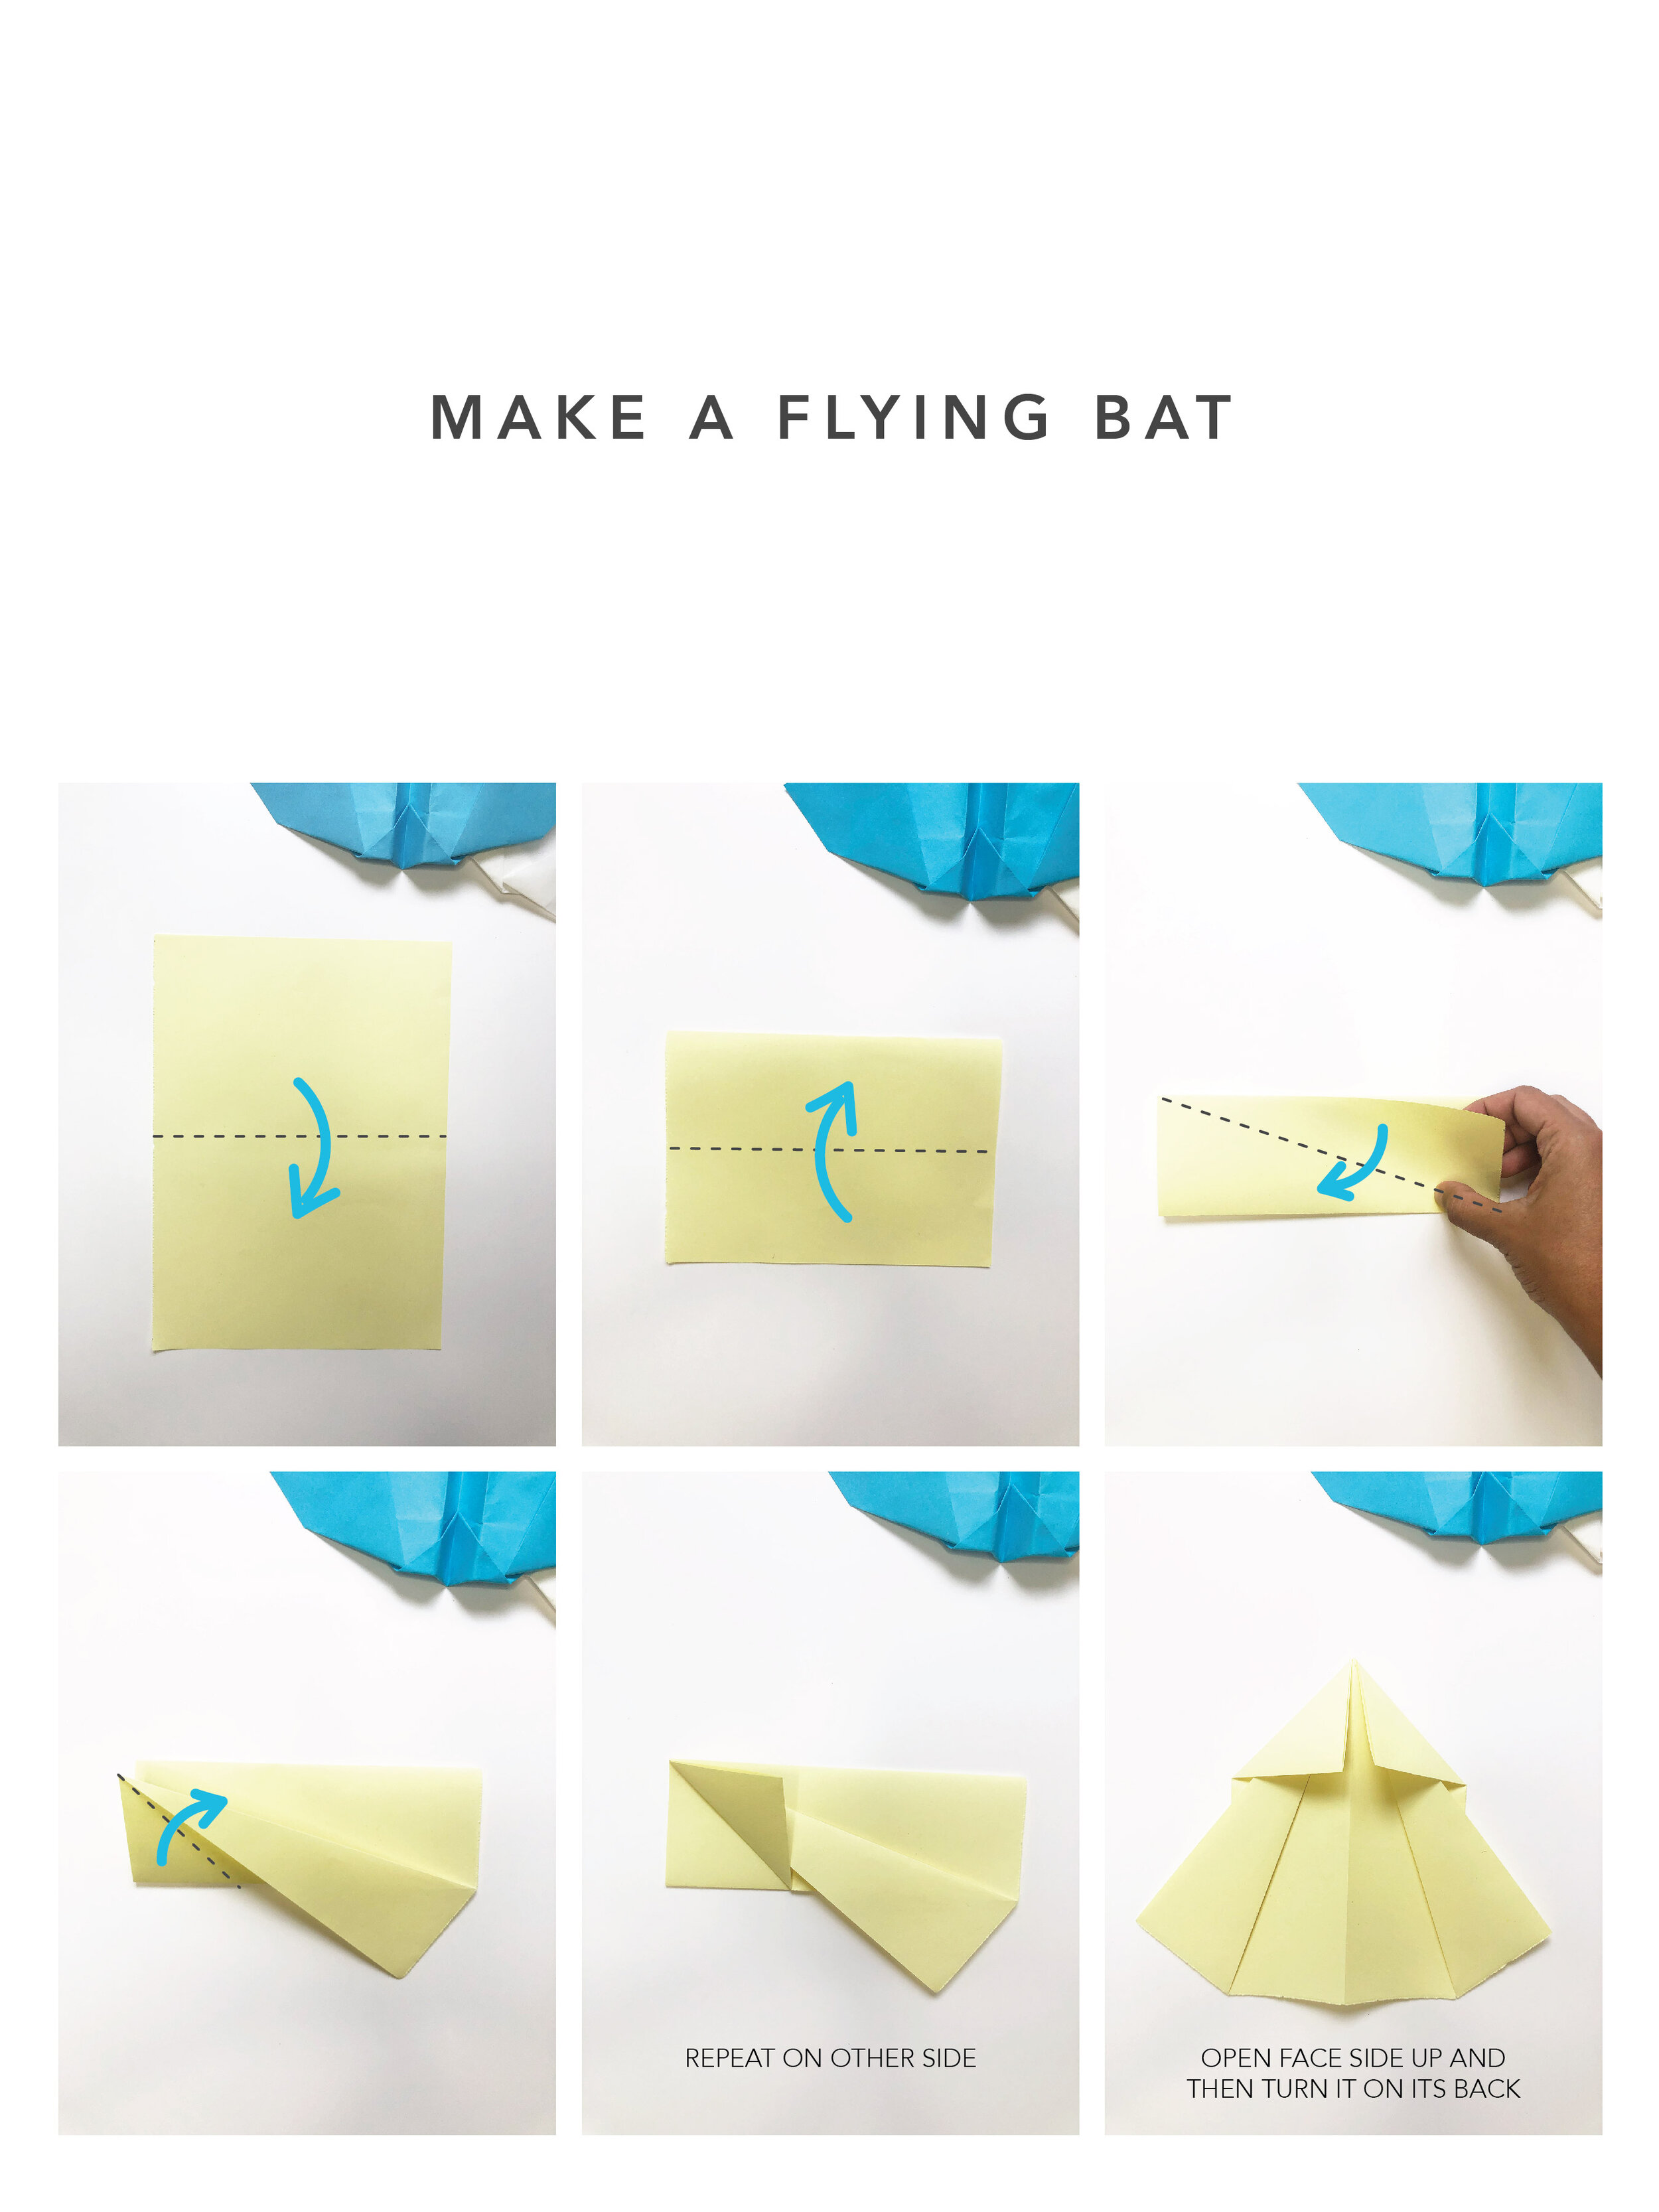
ACTIVITY 3: Fly a Paper Bat
Best for (1 year and up) creativity, paper folding, fine motor skills, gross motor skills, halloween activity, craft
Material Needed: Thin Construction Paper or Newsprint Paper/Origami Paper (Newspaper or Notebook Paper works too)
If you love making paper planes, you will love this paper bat! Amaze your kid with this paper bat that even flies like a bat. I remember making this as a kid in school. I had to make a dozen prototypes (not kidding) to figure out a foolproof working bat.
PAPER: The paper to be used is very important here. The paper needs to be thin for the bat to be able to flap its wings. So first do a paper test. Take a light colored paper and place it over a newspaper or magazine. Try reading the sub-headline through your paper. If you can read the text, this paper should work for you. So a very easy choice here is a newspaper or a notebook paper. I used to make it from newsprint paper when I was in school (its cheap if you buy in bulk).
SIZE: This is another factor that can change how your bat flies. After much trial and error, I landed on 7”x10” size being what works the best. Letter or A4 size works too, but not as good. So just cut your paper before using it.
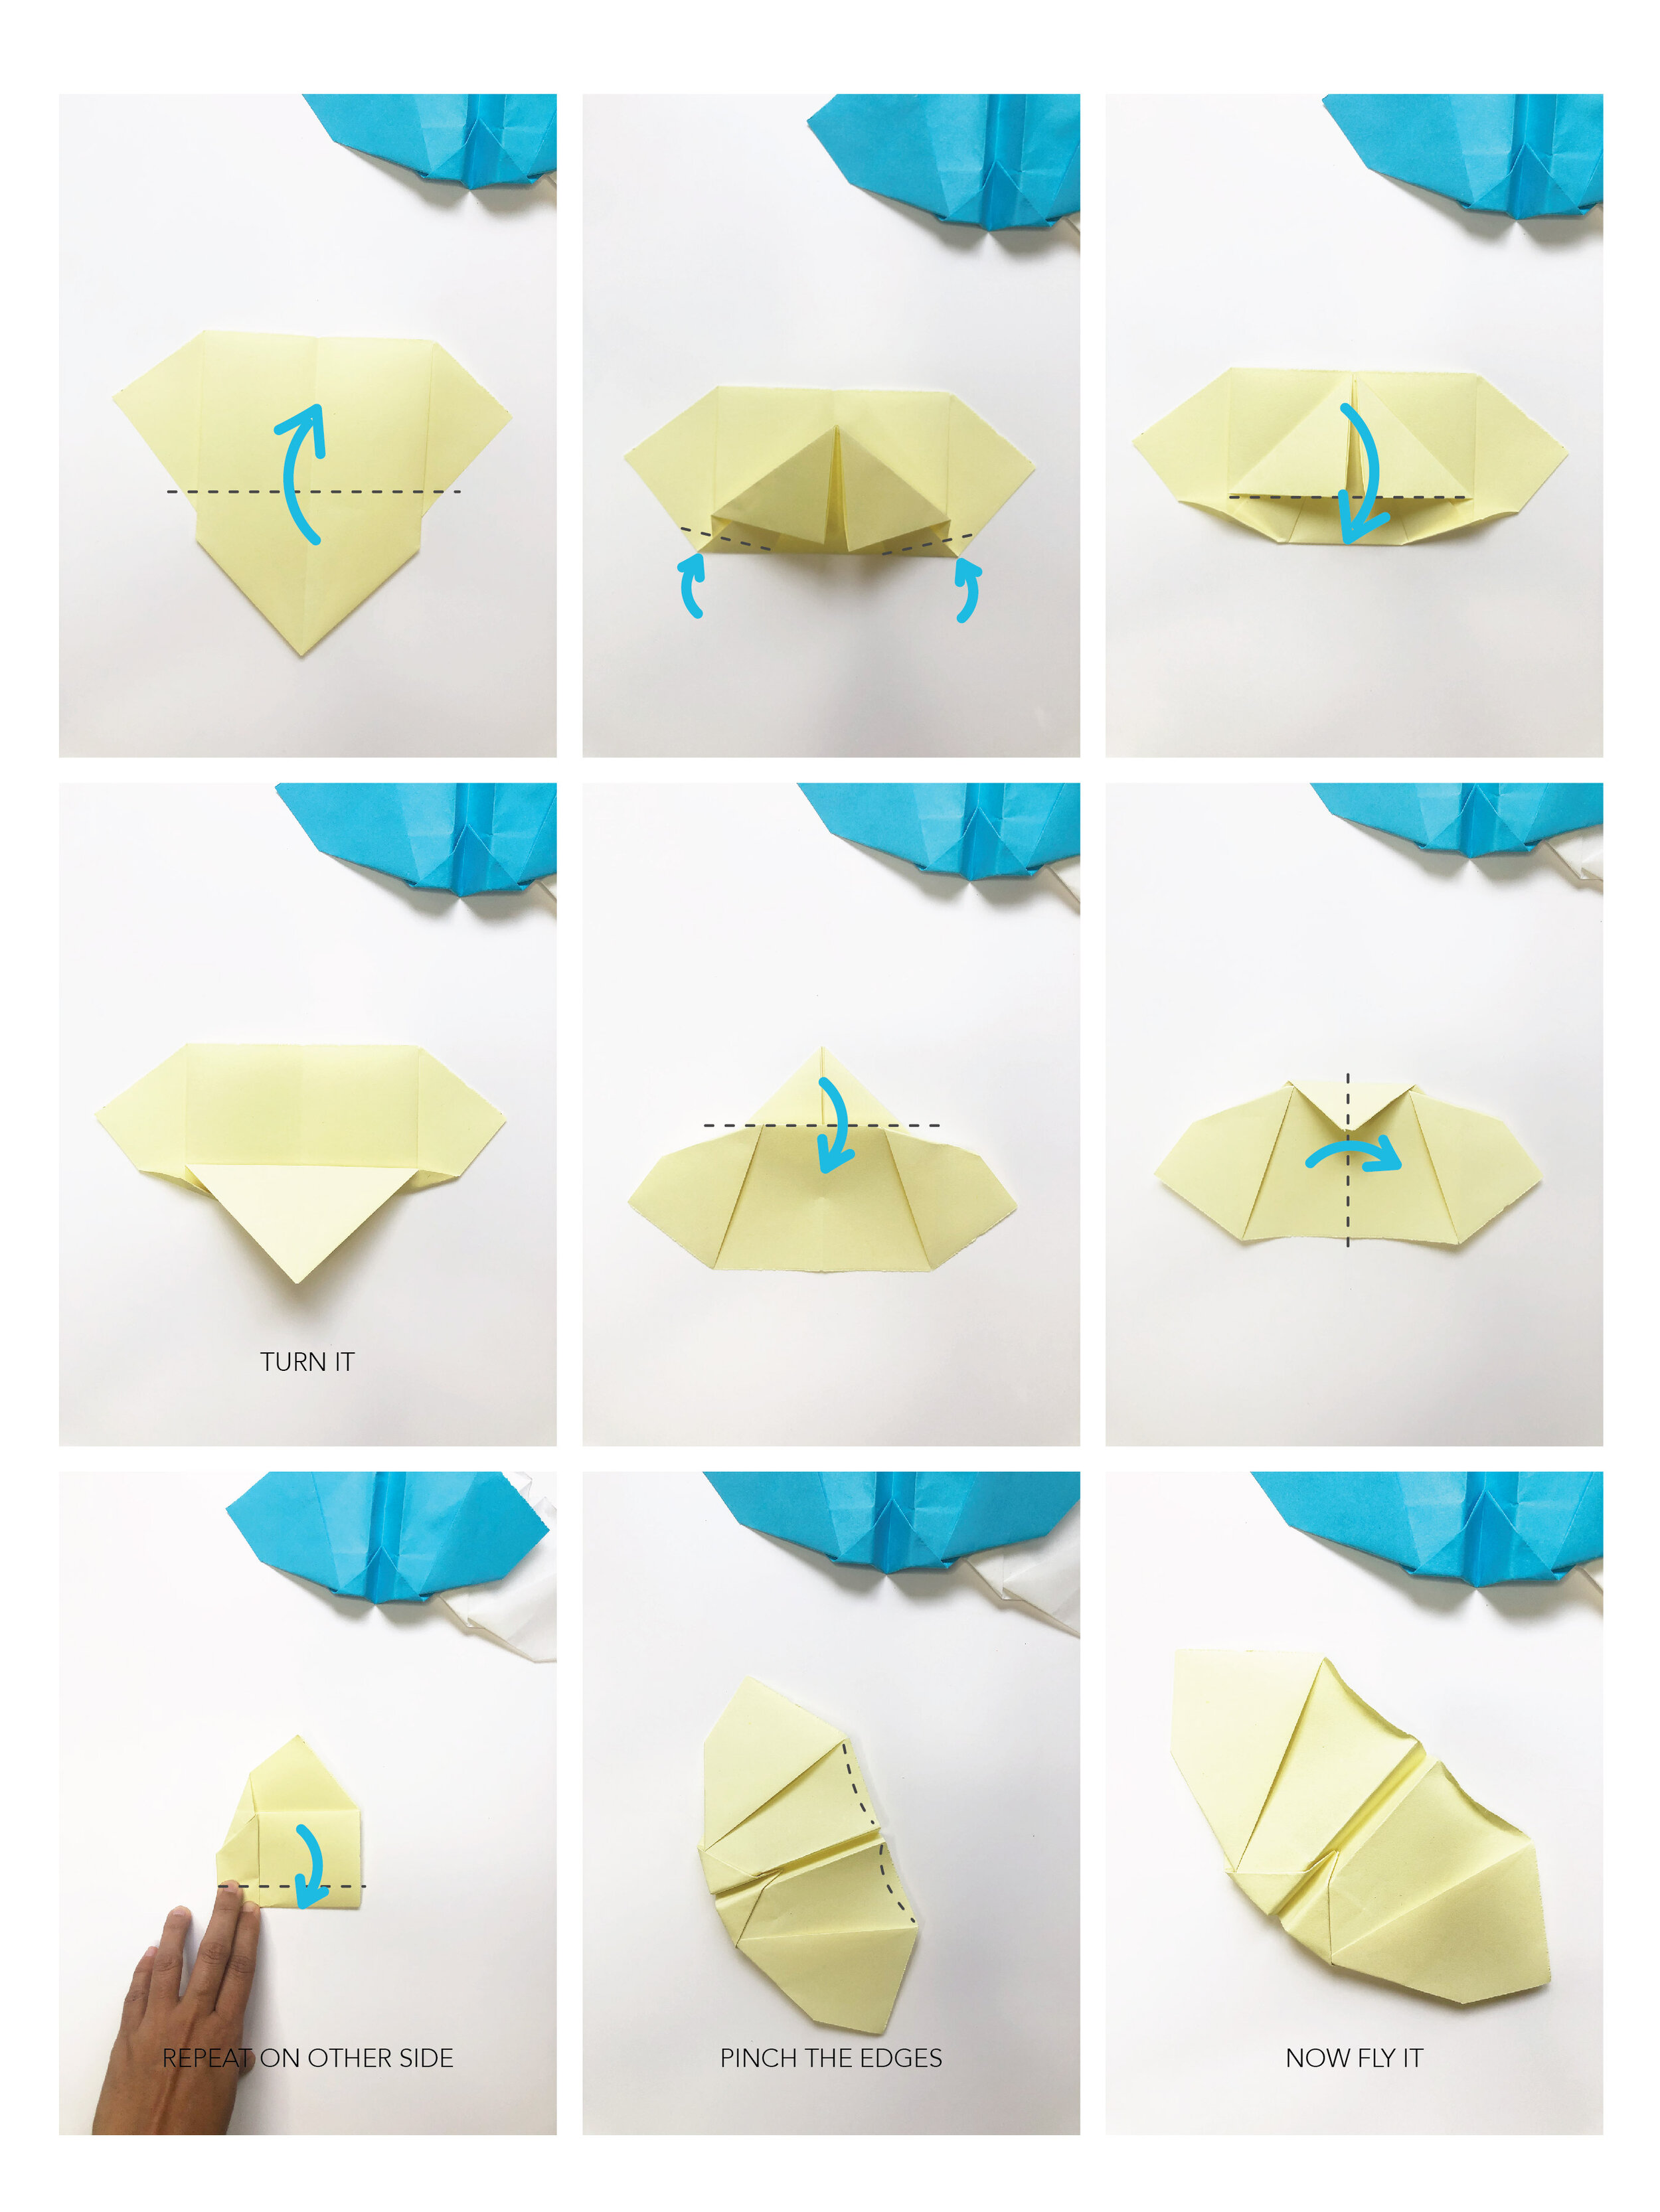
Like any origami, make sure your folds are neat and crisp. Make a couple bats for practice first; by the third one you will make it look like you have been doing this for years. Instead of writing down the instructions I am sharing Step-by-Step image and a video too. Try it out and comment below if you have questions.
I bet you are going to be making a lot of these this Halloween!
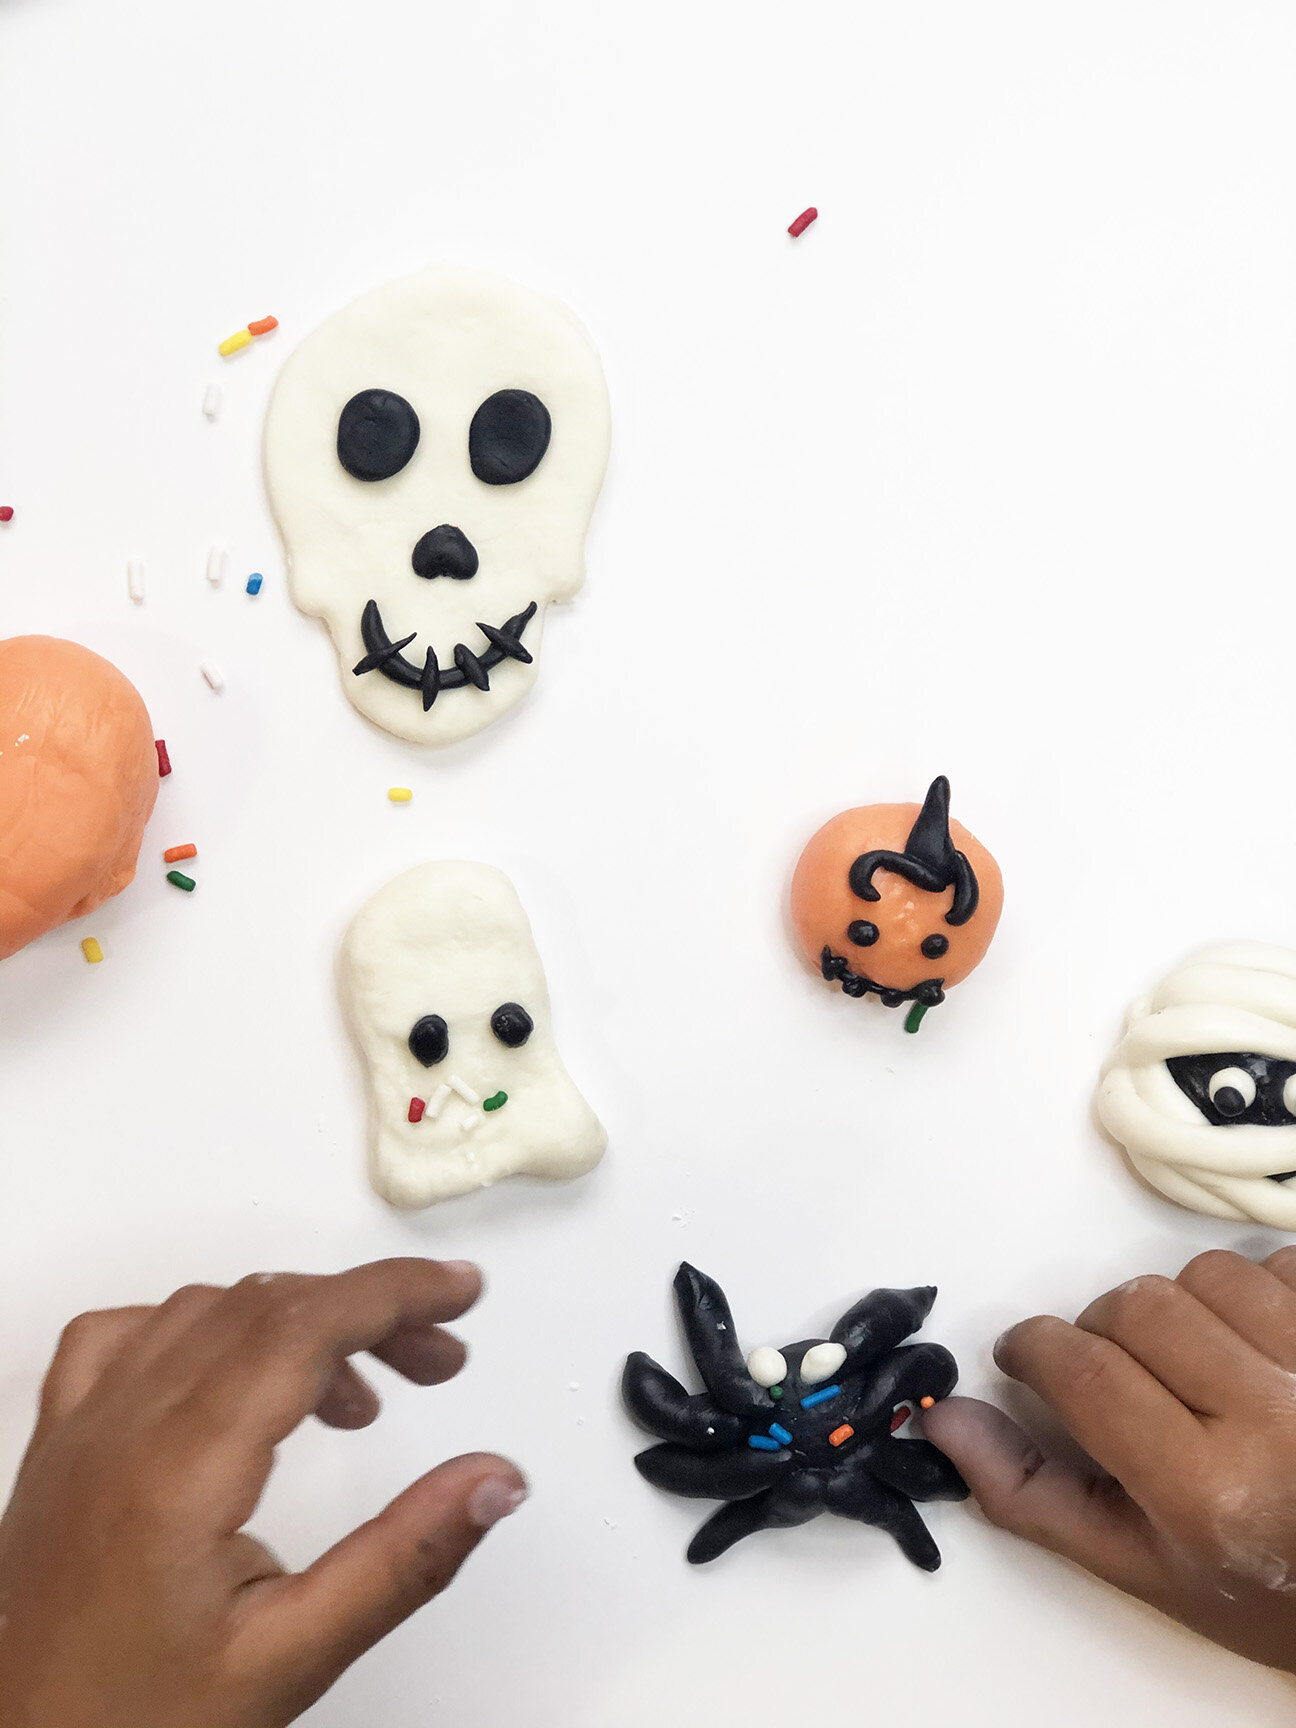
ACTIVITY 2: Edible Play-dough Monsters!
Best for (1 year and up) creativity, pretend play, fine motor skills, halloween activity
Material Needed: Large Marshmallows(Vegan Marshmallows work too), Corn Starch, Vegetable Oil, Gel Food Color (optional), Cookie Cutters (optional)
Kids love playdough and they will love it even more if they can create their master pieces then gobble them down. Edible playdough is safe to eat; it’s made with Marshmallows, coconut oil, cornstarch and natural food coloring. Oops, I gave it all away, didn’t I?
This is a wonderful activity to do with your little one for Halloween. Make all the cute spooky monsters from this delicious edible playdough and watch them disappear into those tiny tummies.


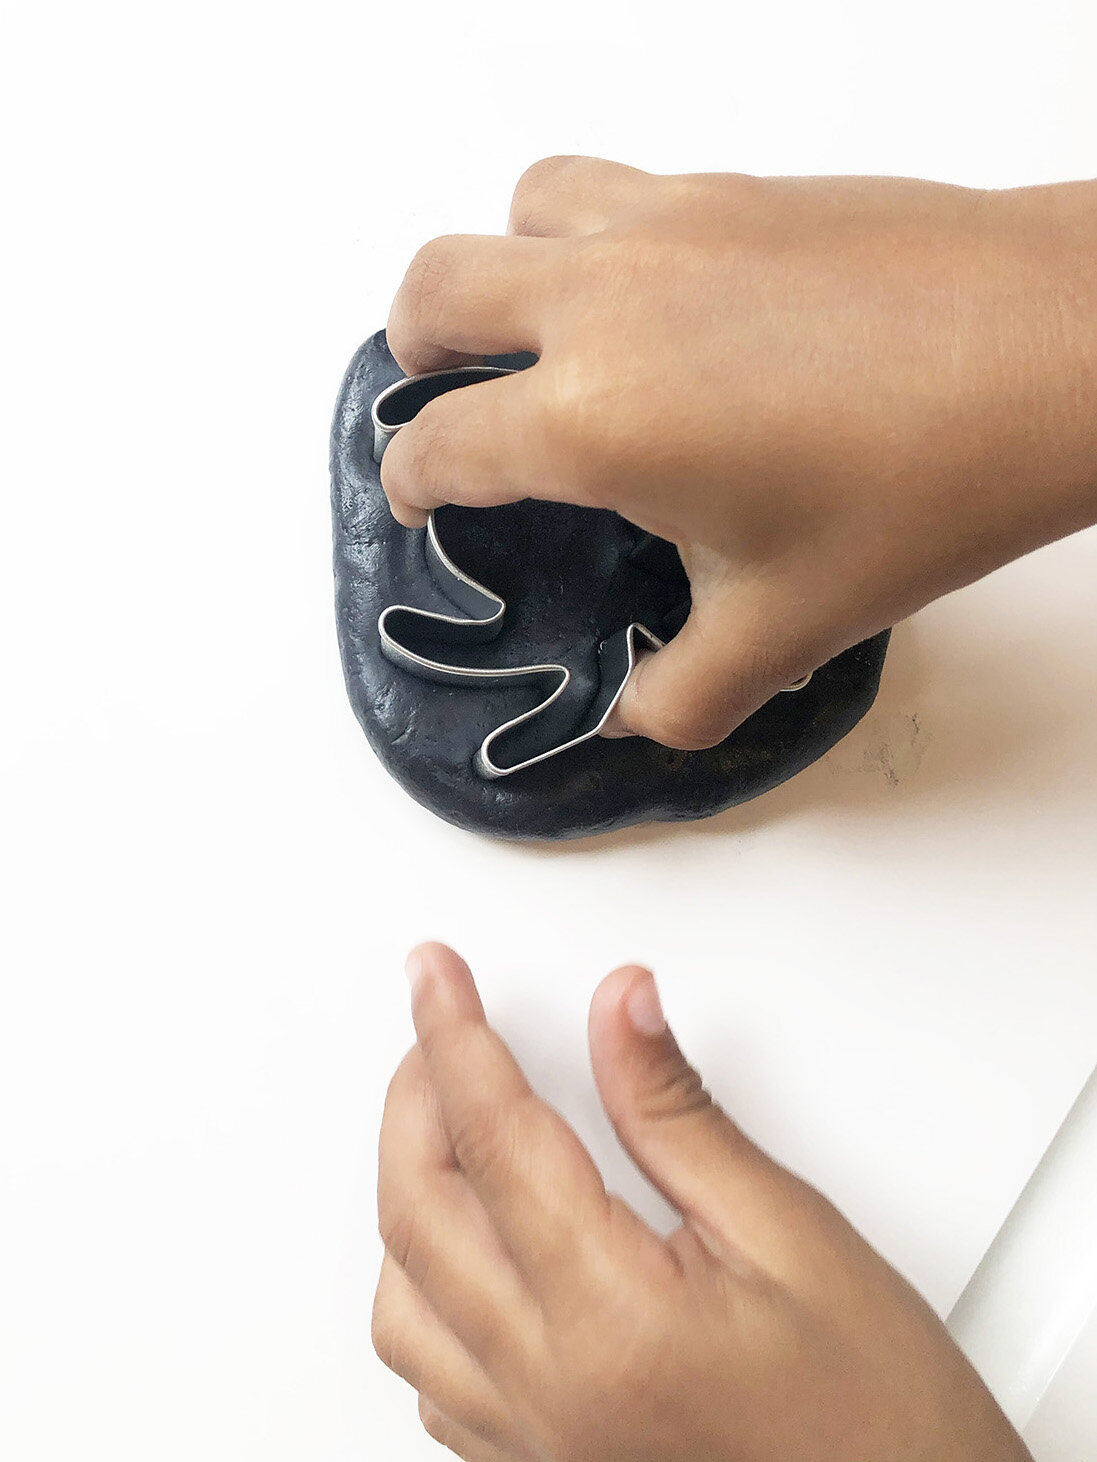
Take 15 large marshmallows in a bowl; add 6 tbsp corn starch and 5 tsp vegetable or coconut oil. Stir the mixture well and microwave this for 30 secs. Take it out from the microwave and stir again. Let it cool slightly before removing it from the bowl.
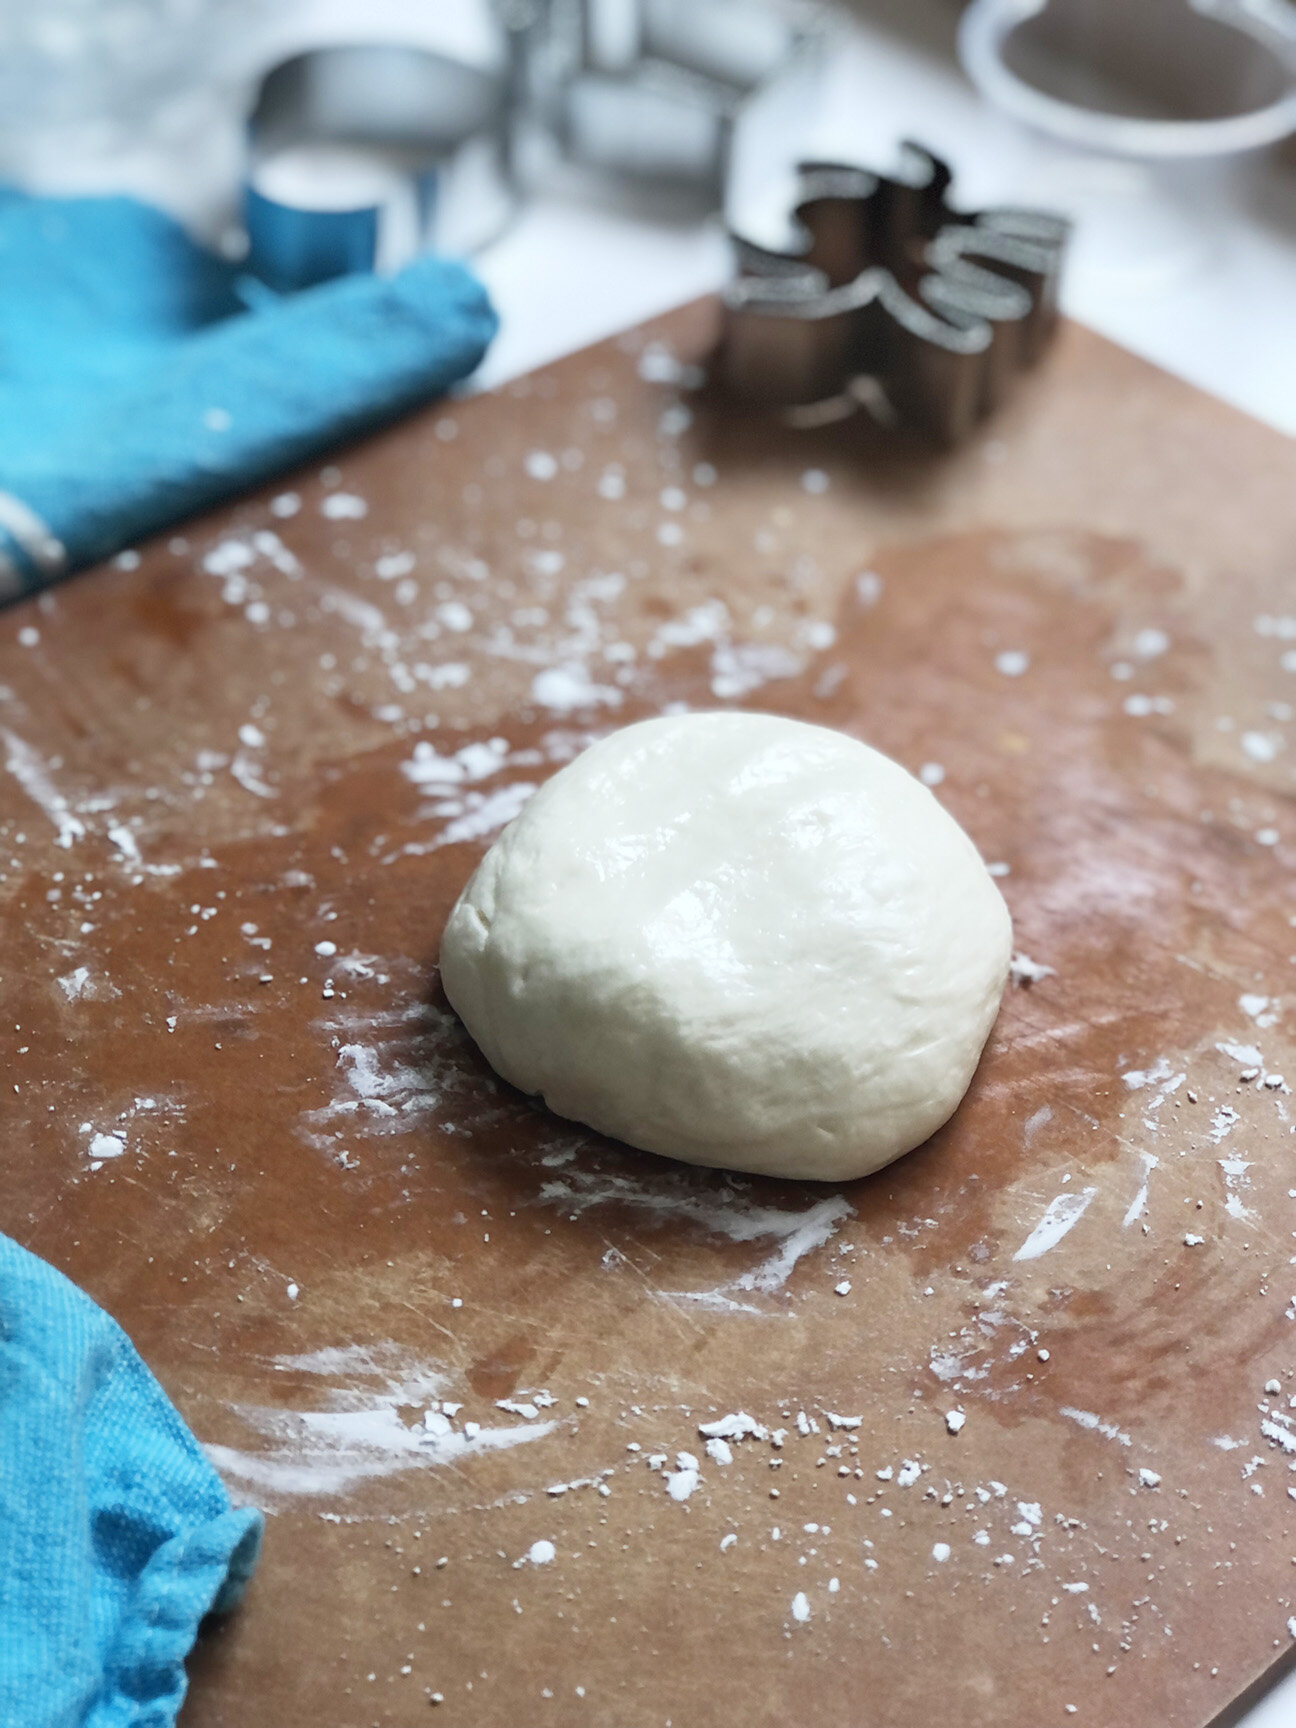
Sprinkle a little cornstarch on a clean working space. Remove your sticky dough from the bowl onto this working space and knead knead knead. Oil your hands to make sure the dough doesn’t stick while kneading. This dough should be a little bigger than a tennis ball.
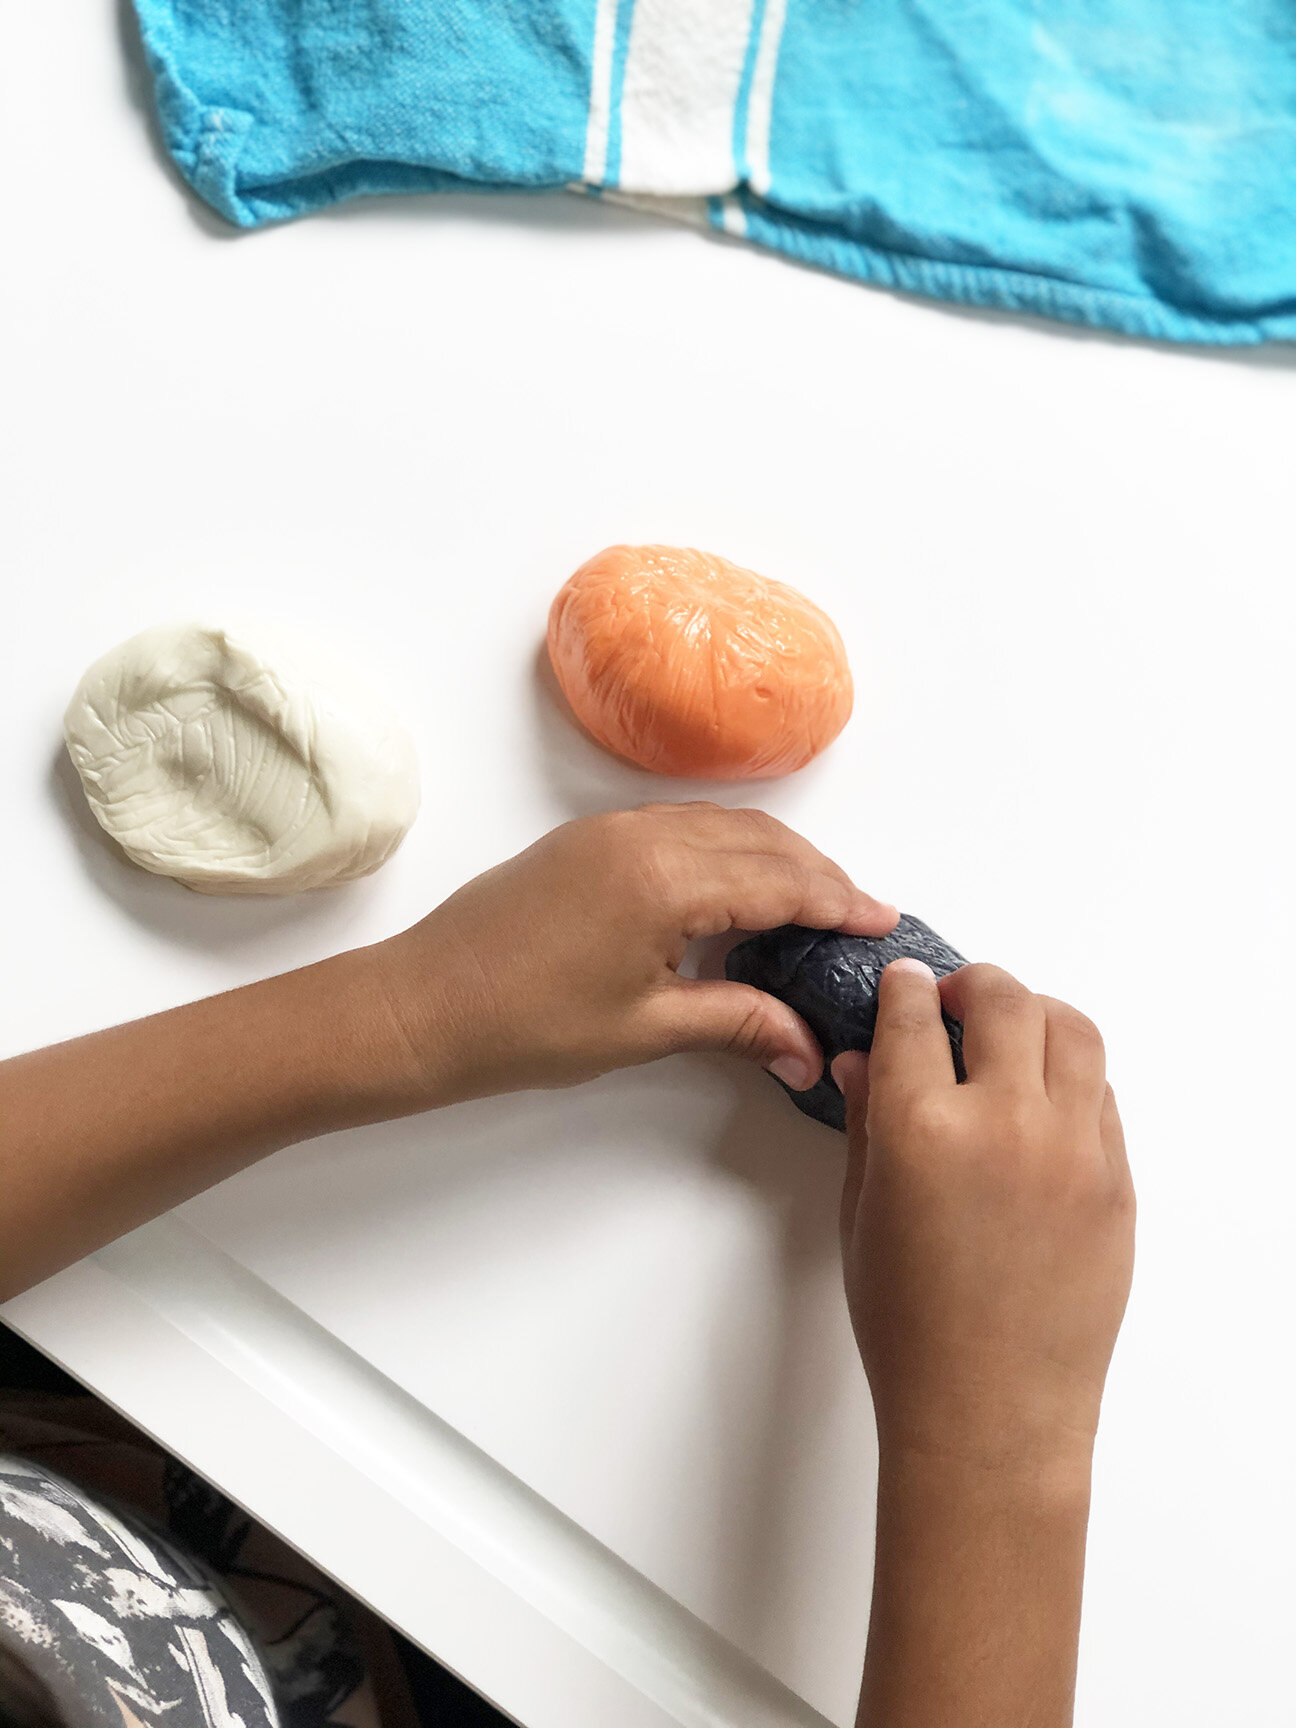
If the dough feels sticky, add a few pinches of corn starch. Your delicious playdough is ready! It’s that simple! You can add food color to this to make it more fun. Add food coloring to each ball and knead it with lightly oiled hands until evenly colored. Once the dough reaches the desired color, PLAY! We made three such playdough balls; black orange and white (halloween colors).
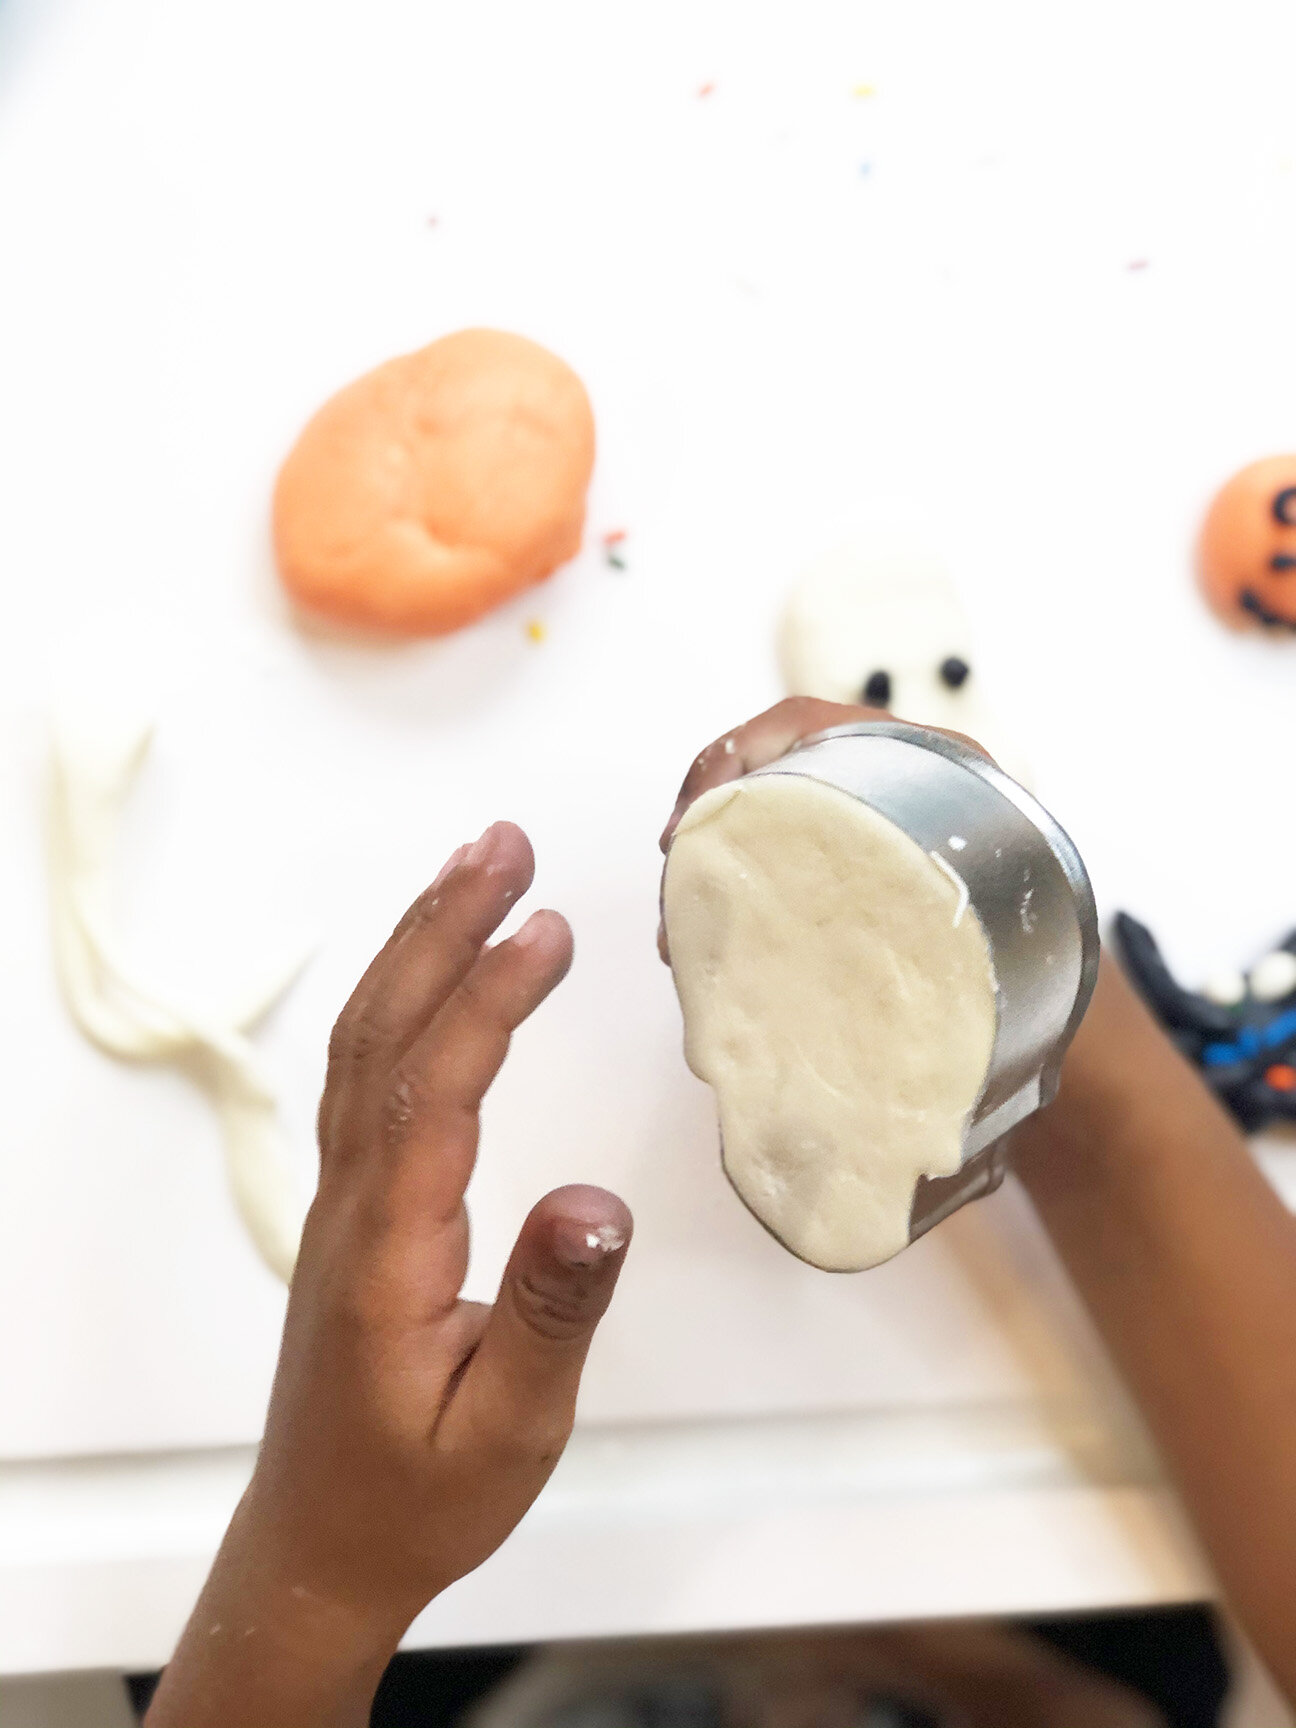
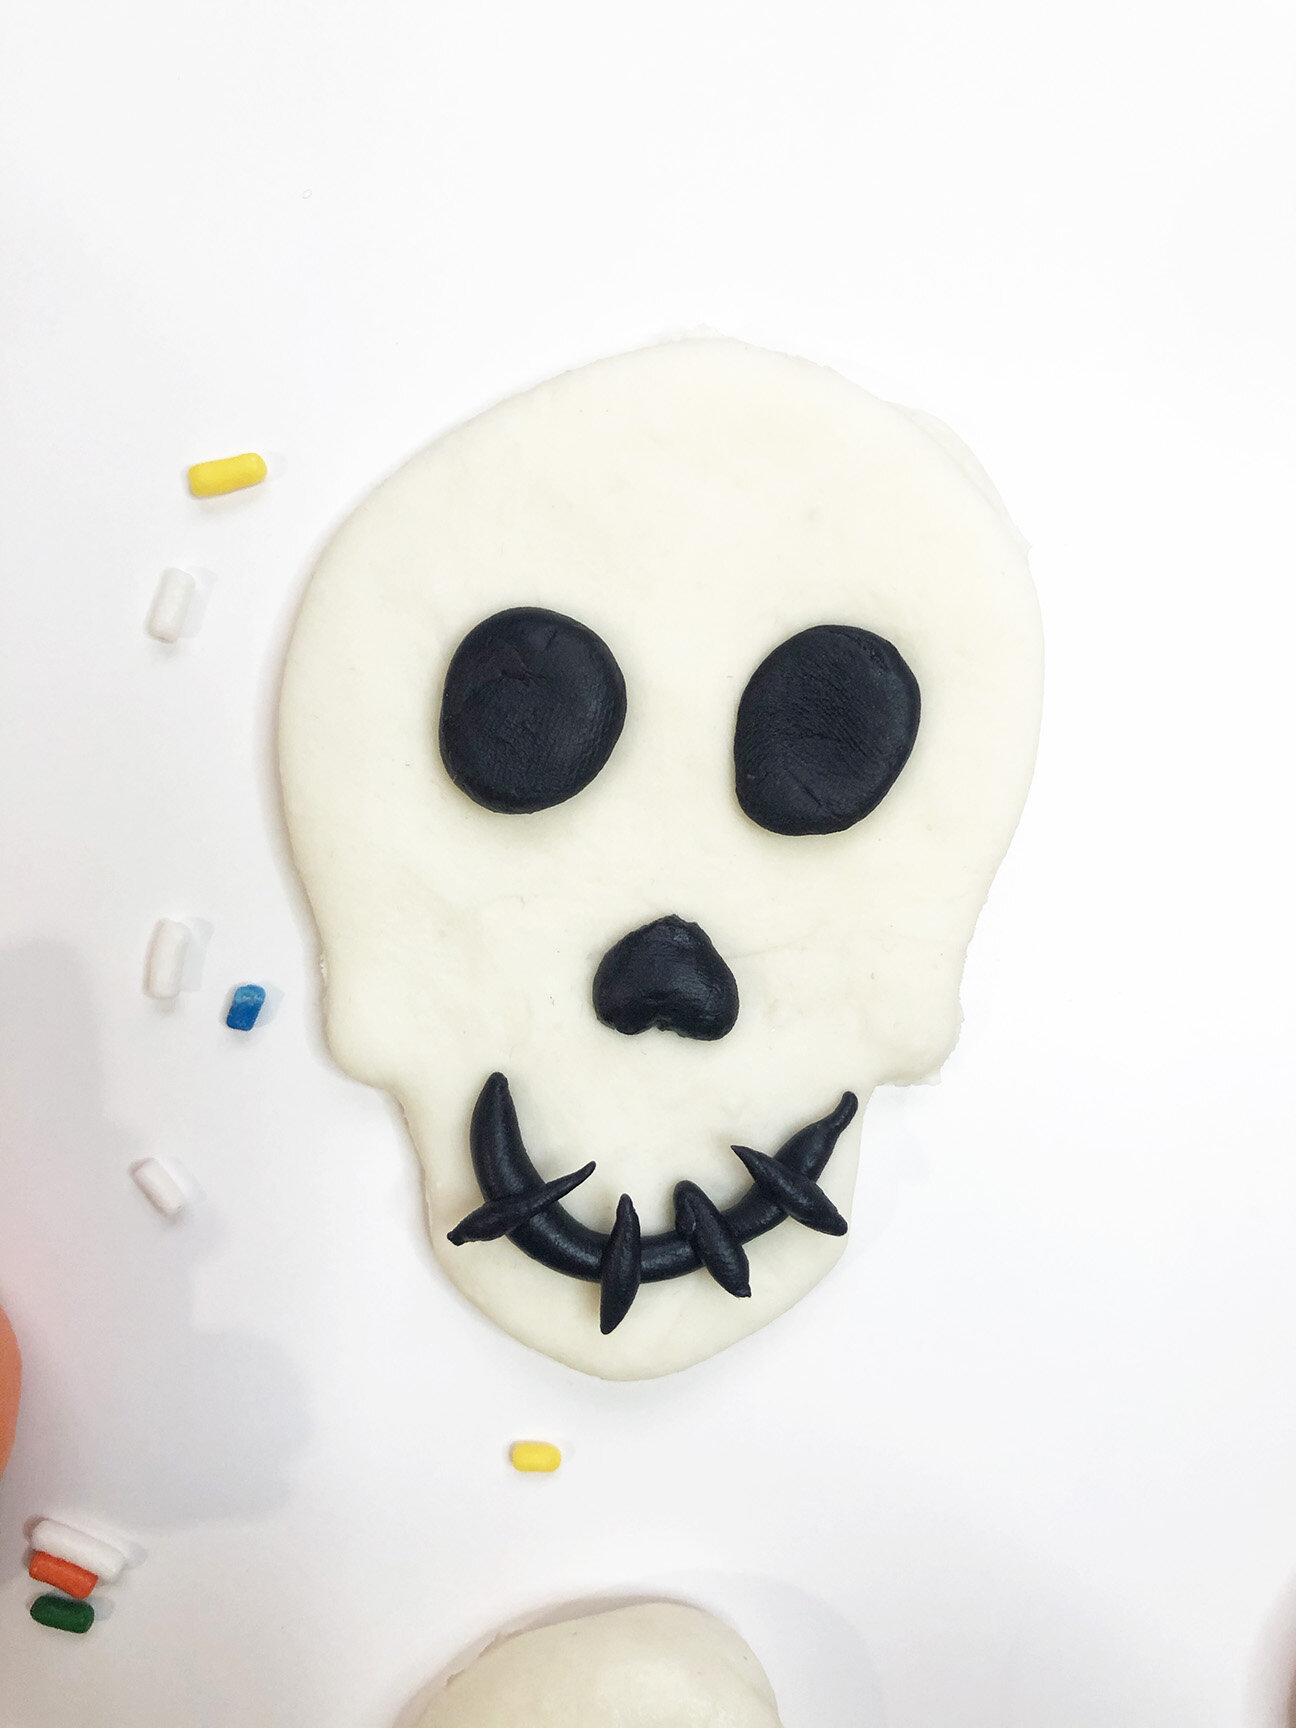
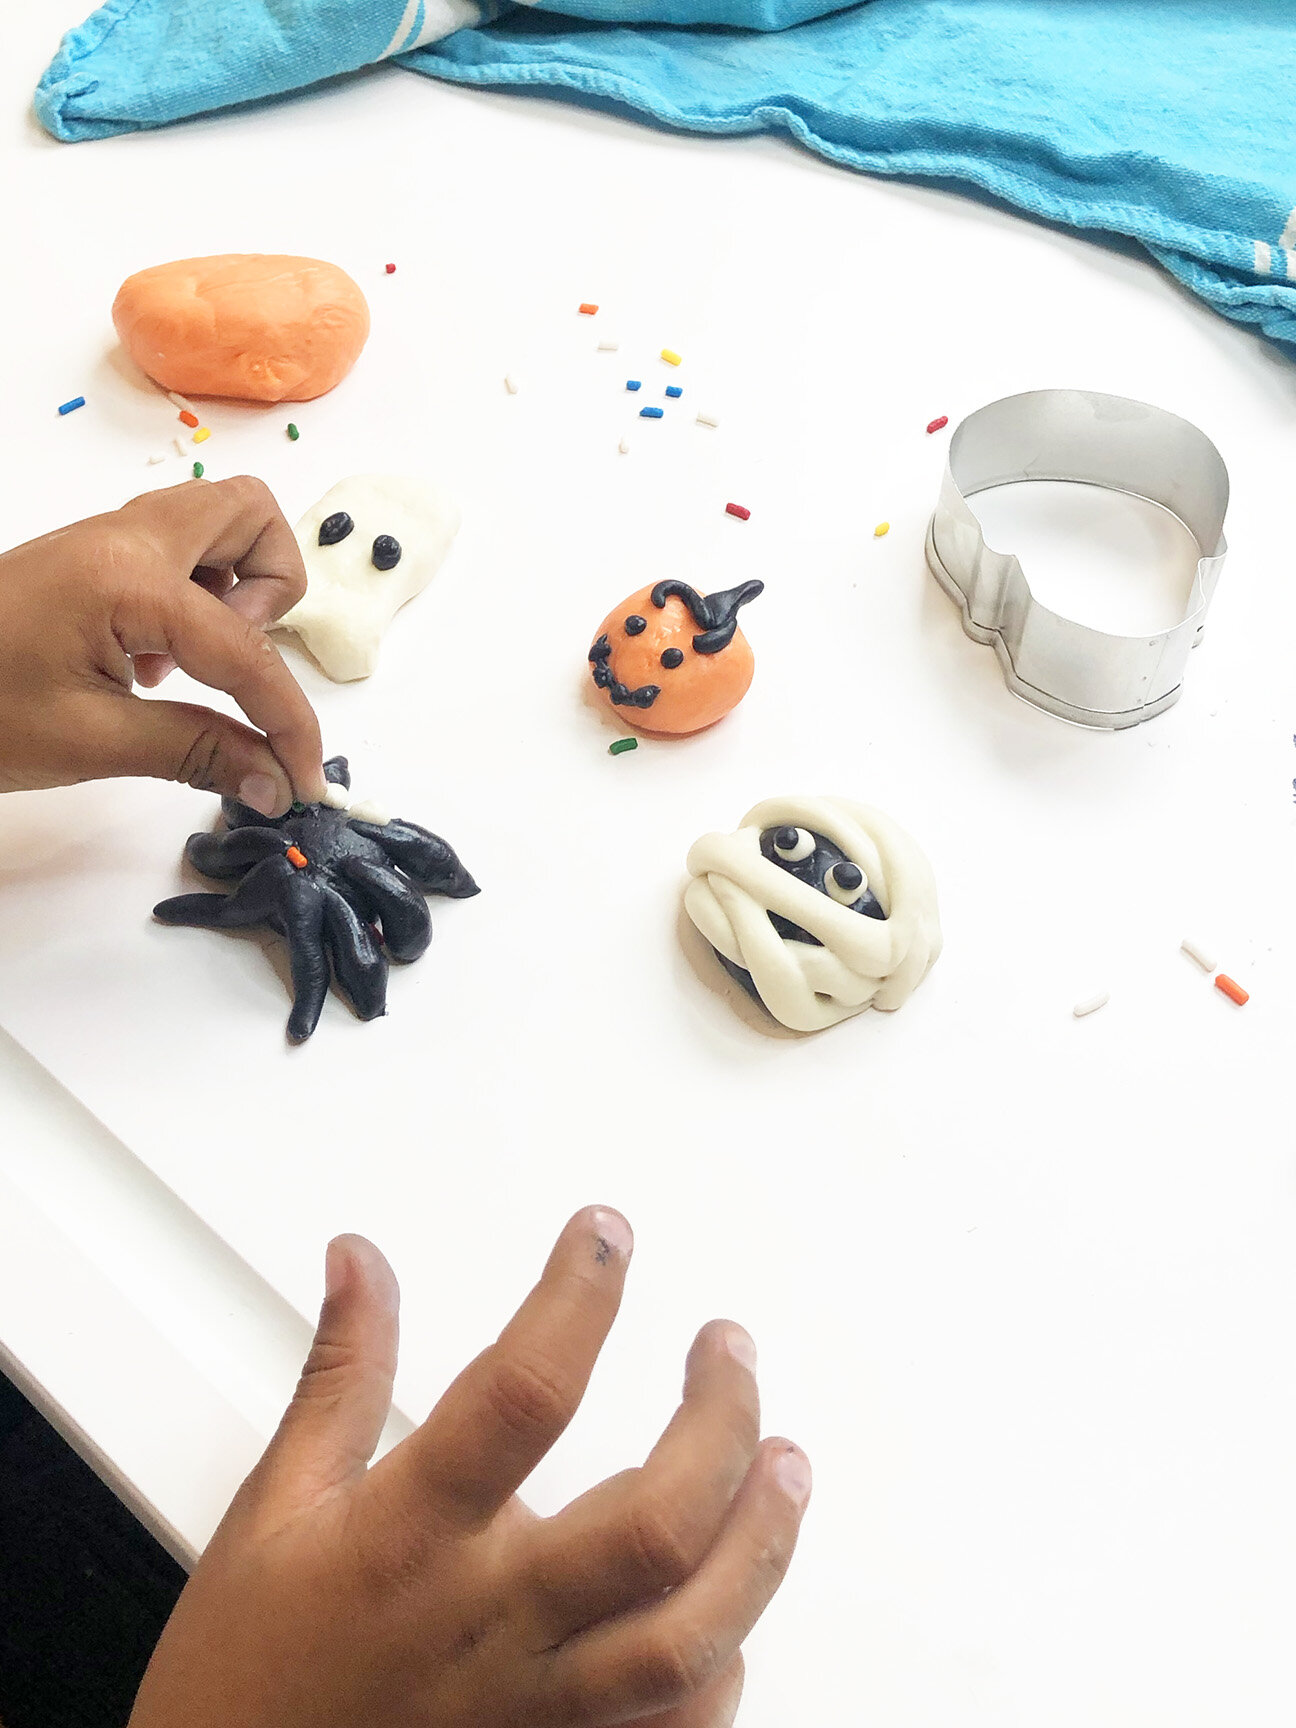
Go ahead and make some friendly ghosts, mummies, skeletons, witch hats, pumpkins, spiders and many more. You can add in some sprinkles, edible glitter, chocolate chips too (like I said its deliciously edible, not healthy). My son nibbled on some monsters first and gobbled up an Egyptian Mummy. My son loved it! He couldn’t believe he could eat this playdough. The dough can be stored in airtight containers in the fridge for up to 1 week.
ACTIVITY 2: Weave a Spider Web
Best for (3 years and up) fine motor skills, hand eye co-ordination, cognitive and hand dexterity, craft
Material Needed: Sticks, Glue, Yarn, Pipe cleaners and Wiggle eyes
This craft is inspired from God’s eye craft. Weaving is a great craft for kids (even adults) as it helps sharpen their fine motor skills and improves hand eye co-ordination. I initially thought this is a little advanced for a 3 year old; but my son who is 3.5 year old totally changed my mind. I showed him only once how to do it and he said ‘ I can do this on my own, please don’t hold my hand’. He started off slow, made mistakes and corrected them himself. As a parent, we always try to jump in to help when they are stuck or make a wrong move. But may be we need to give them space and time to figure it out themselves and only help when they ask us. You will be pleasantly surprised how independent they can be.
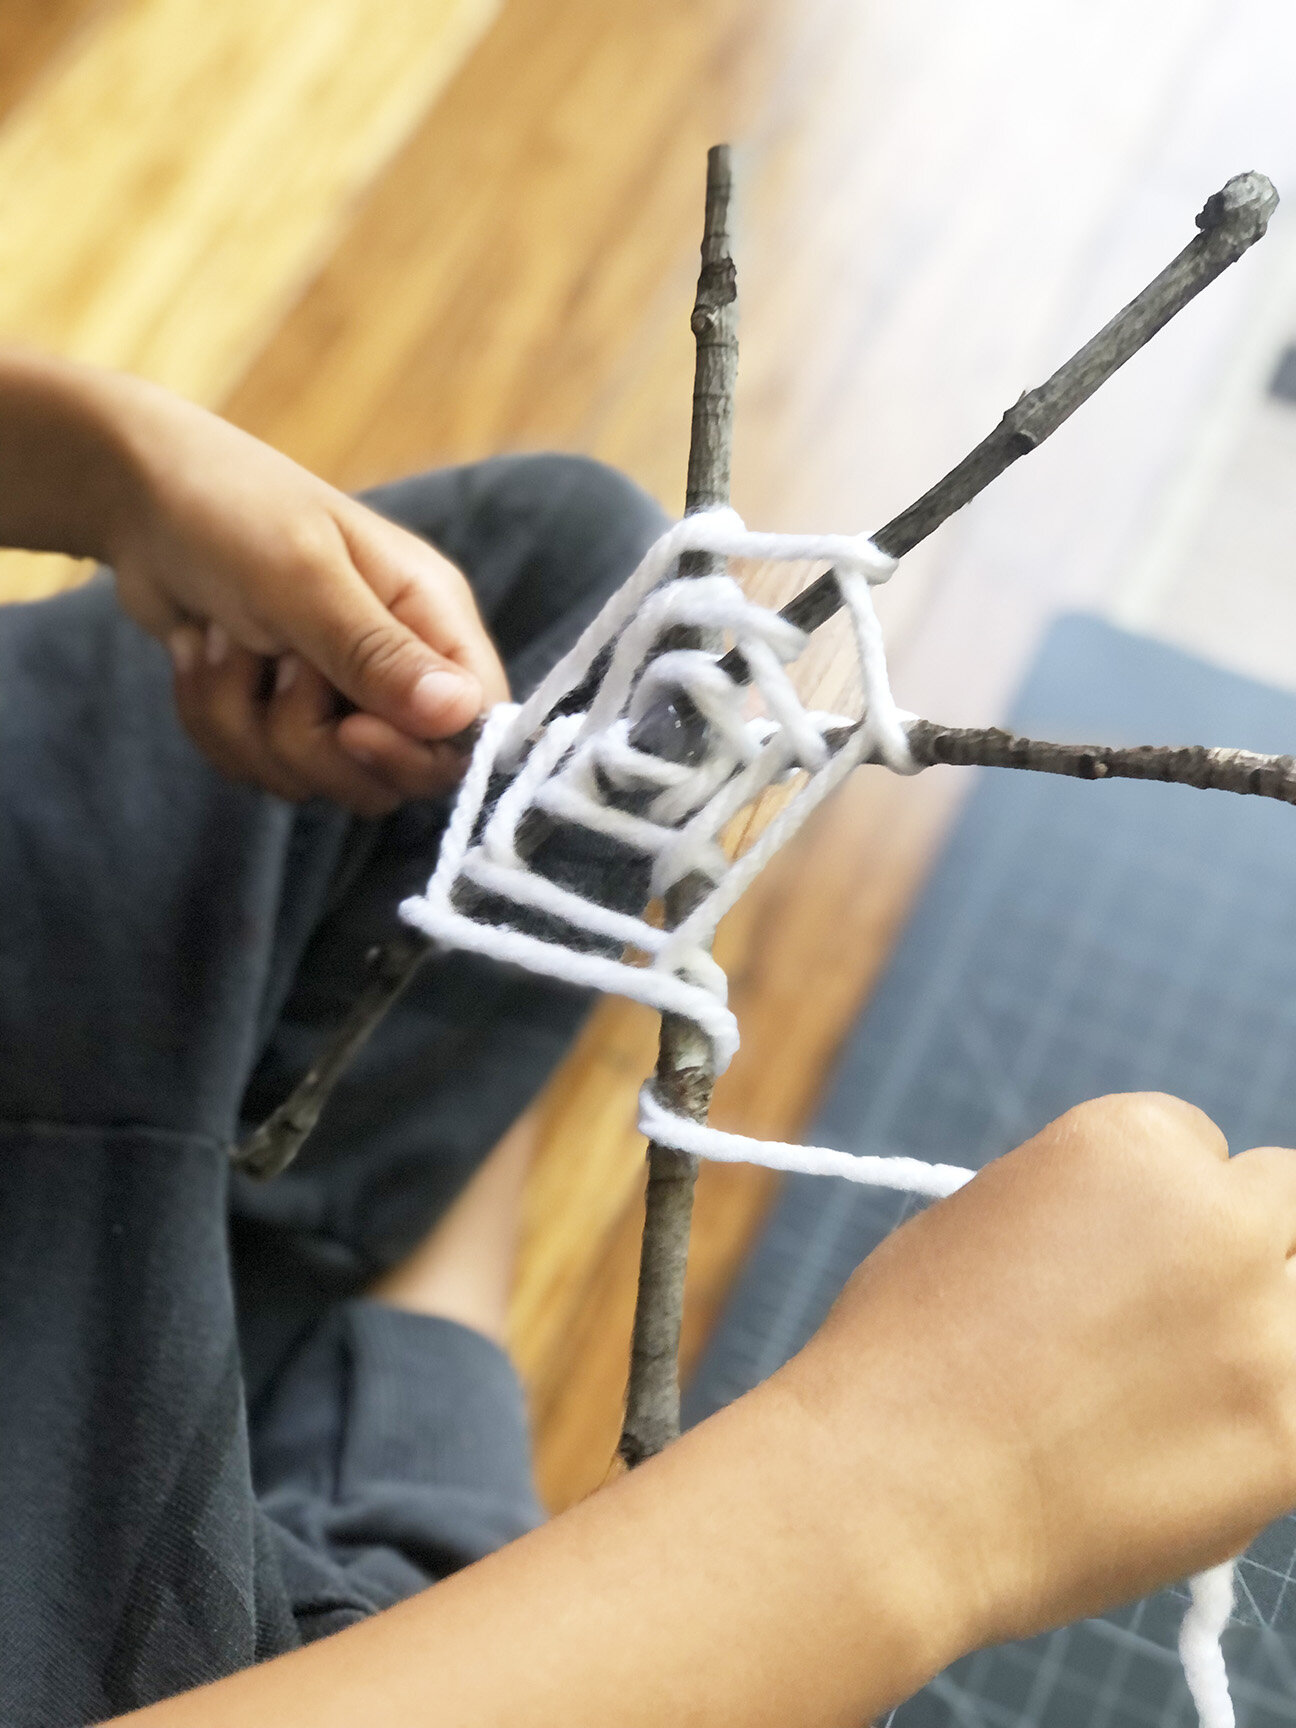
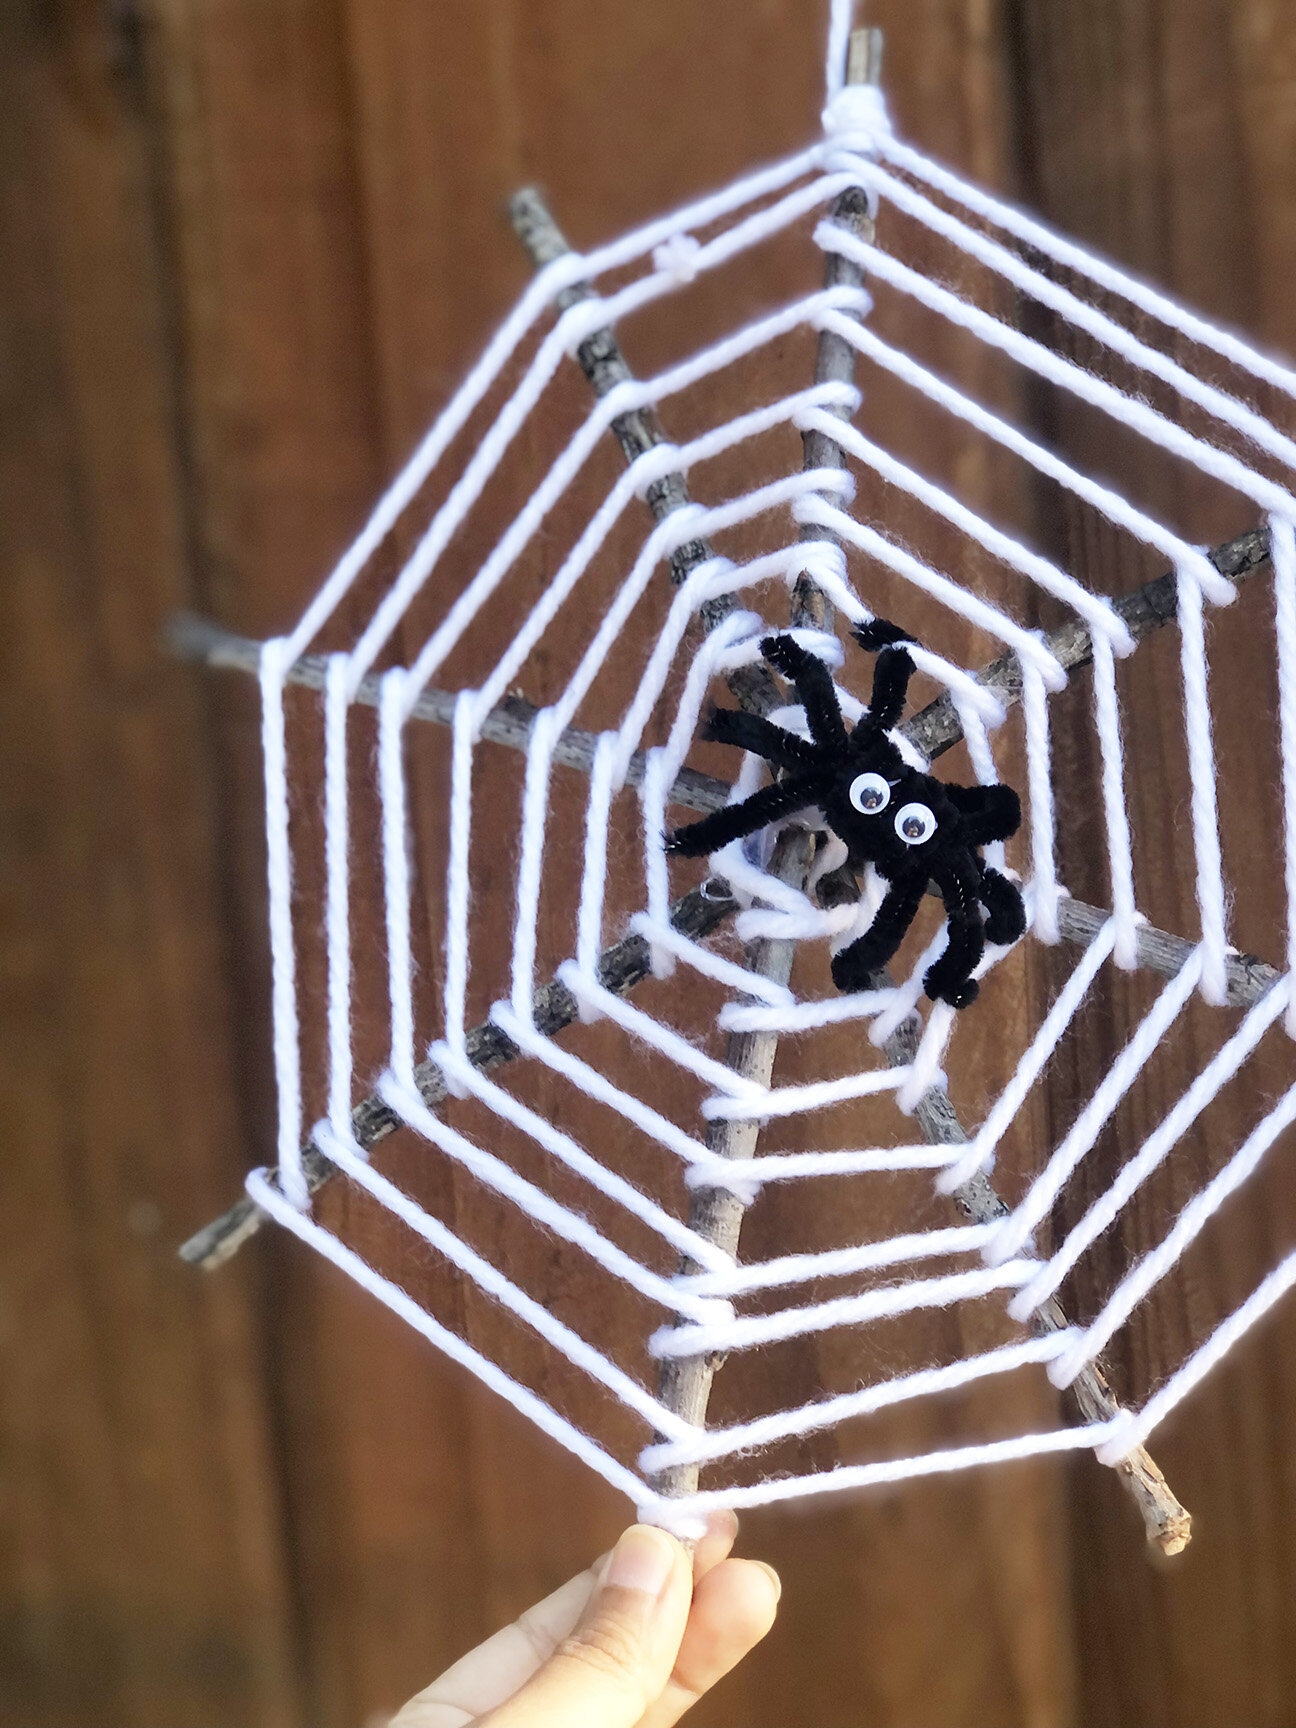
SPIDER WEB: Take a trip to a park or your backyard for some to collect sticks. If they are not equal in size, please cut them approximately the same size (also make sure you wash and dry them and get rid of any sharp edges). If you are not a nature person, you can use craft sticks and coffee stirrers. Now use hot glue in the center of each stick to join them. You can use 3 to 4 sticks (3 is ideal for younger kids).
Once the glue dries, use your yarn to tie a double knot on one stick. Use any color for the yarn for a colorful web. Thicker yarns are great for younger kids, while older kids who are up for a challenge could use thinner yarns. Now hold the yarn in one hand and the stick in the other. Wrap your yarn around one stick, close to the center of the web, and take it over to the next stick. Wrap it around that stick, and take it to the next stick. Continue wrapping and winding in that fashion, rotating your spider web craft as you work. Whether you wrap the yarn over the sticks or under doesn’t matter, as long as you are consistent.
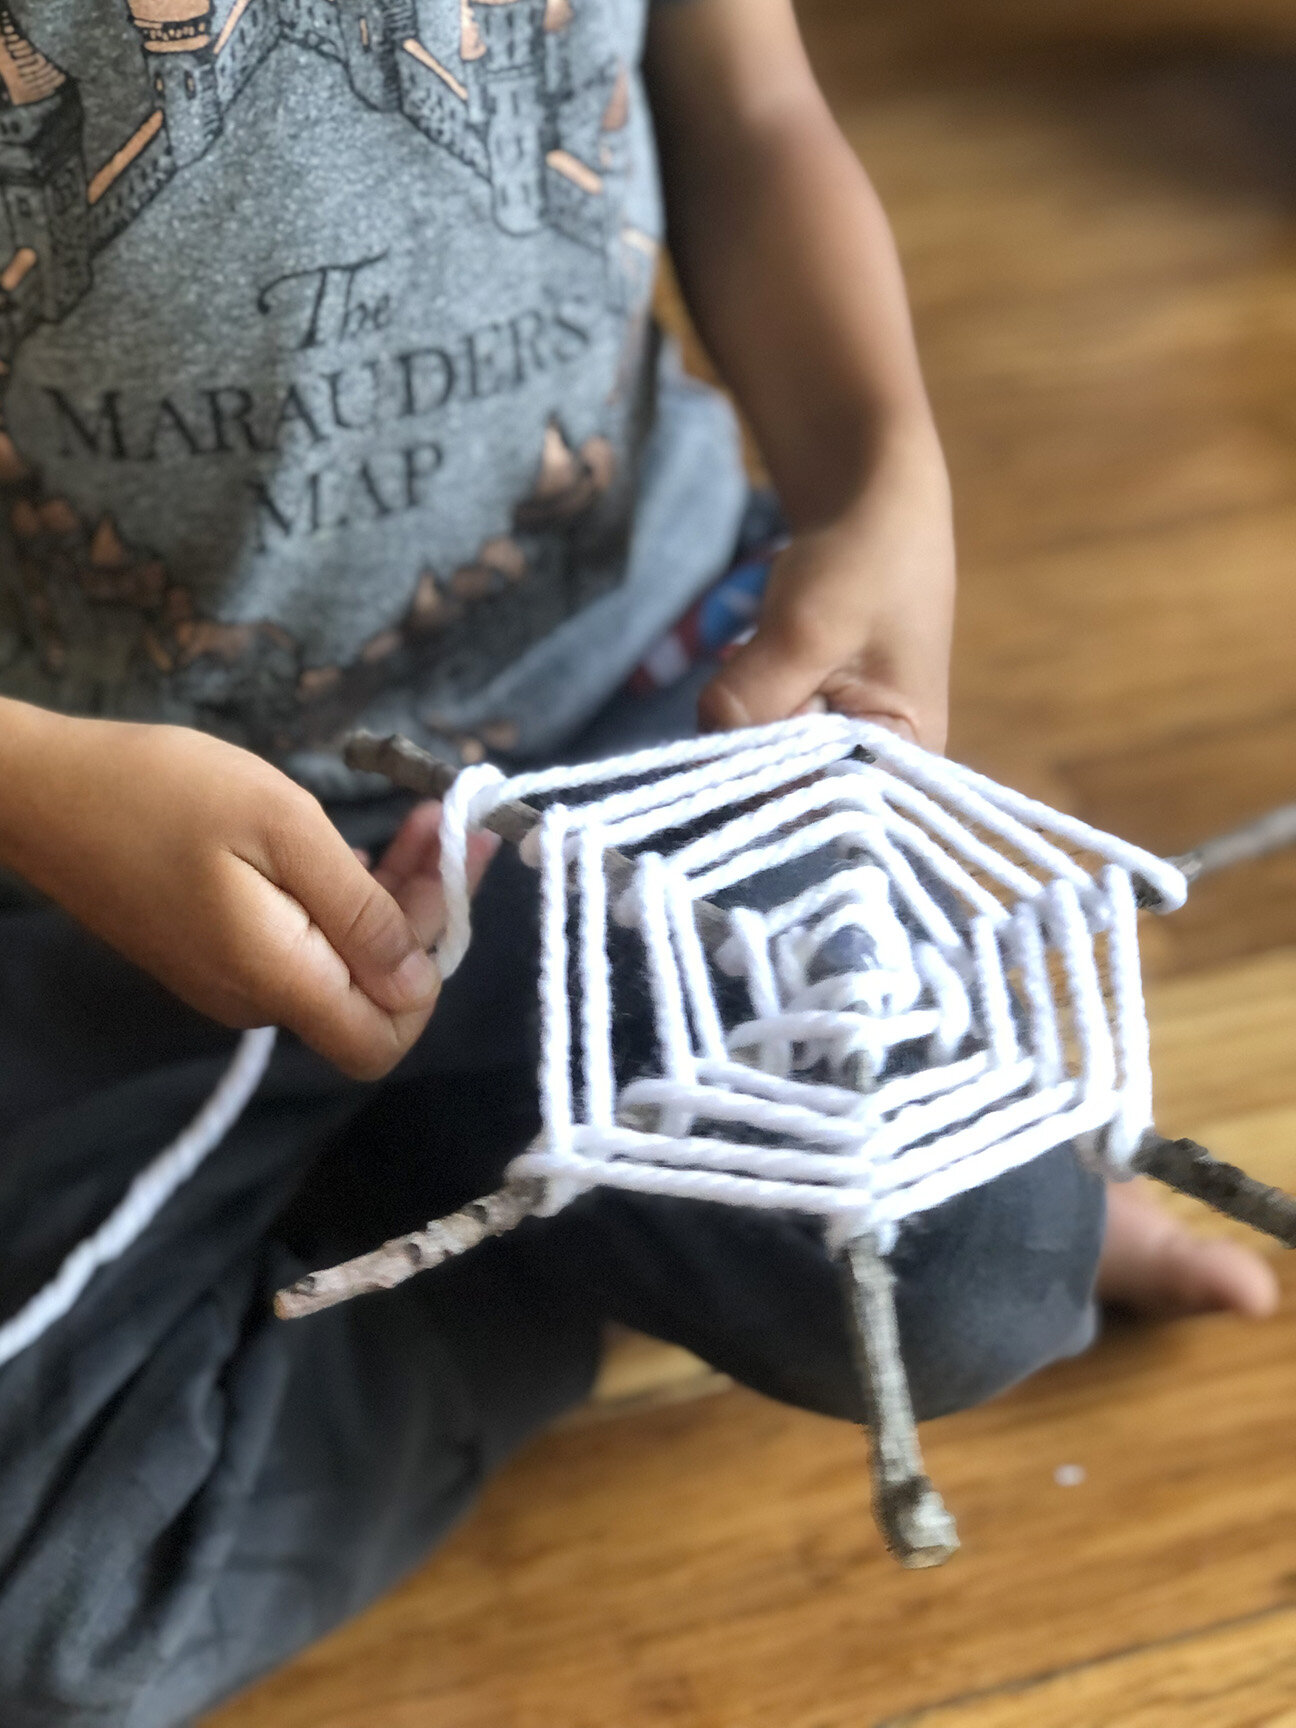
You can have the yarns close together or spaced out, depends on how tight or loose you want your spider web. It may take your child a few attempts to get the hang of the winding process. There’s quite a bit of co-ordination required.
When you’re nearing the ends of your sticks, stop weaving, and wrap your yarn around a stick one last time. Tie a knot or two here and cut your yarn, leaving a nice long tail for hanging your Spider Web.
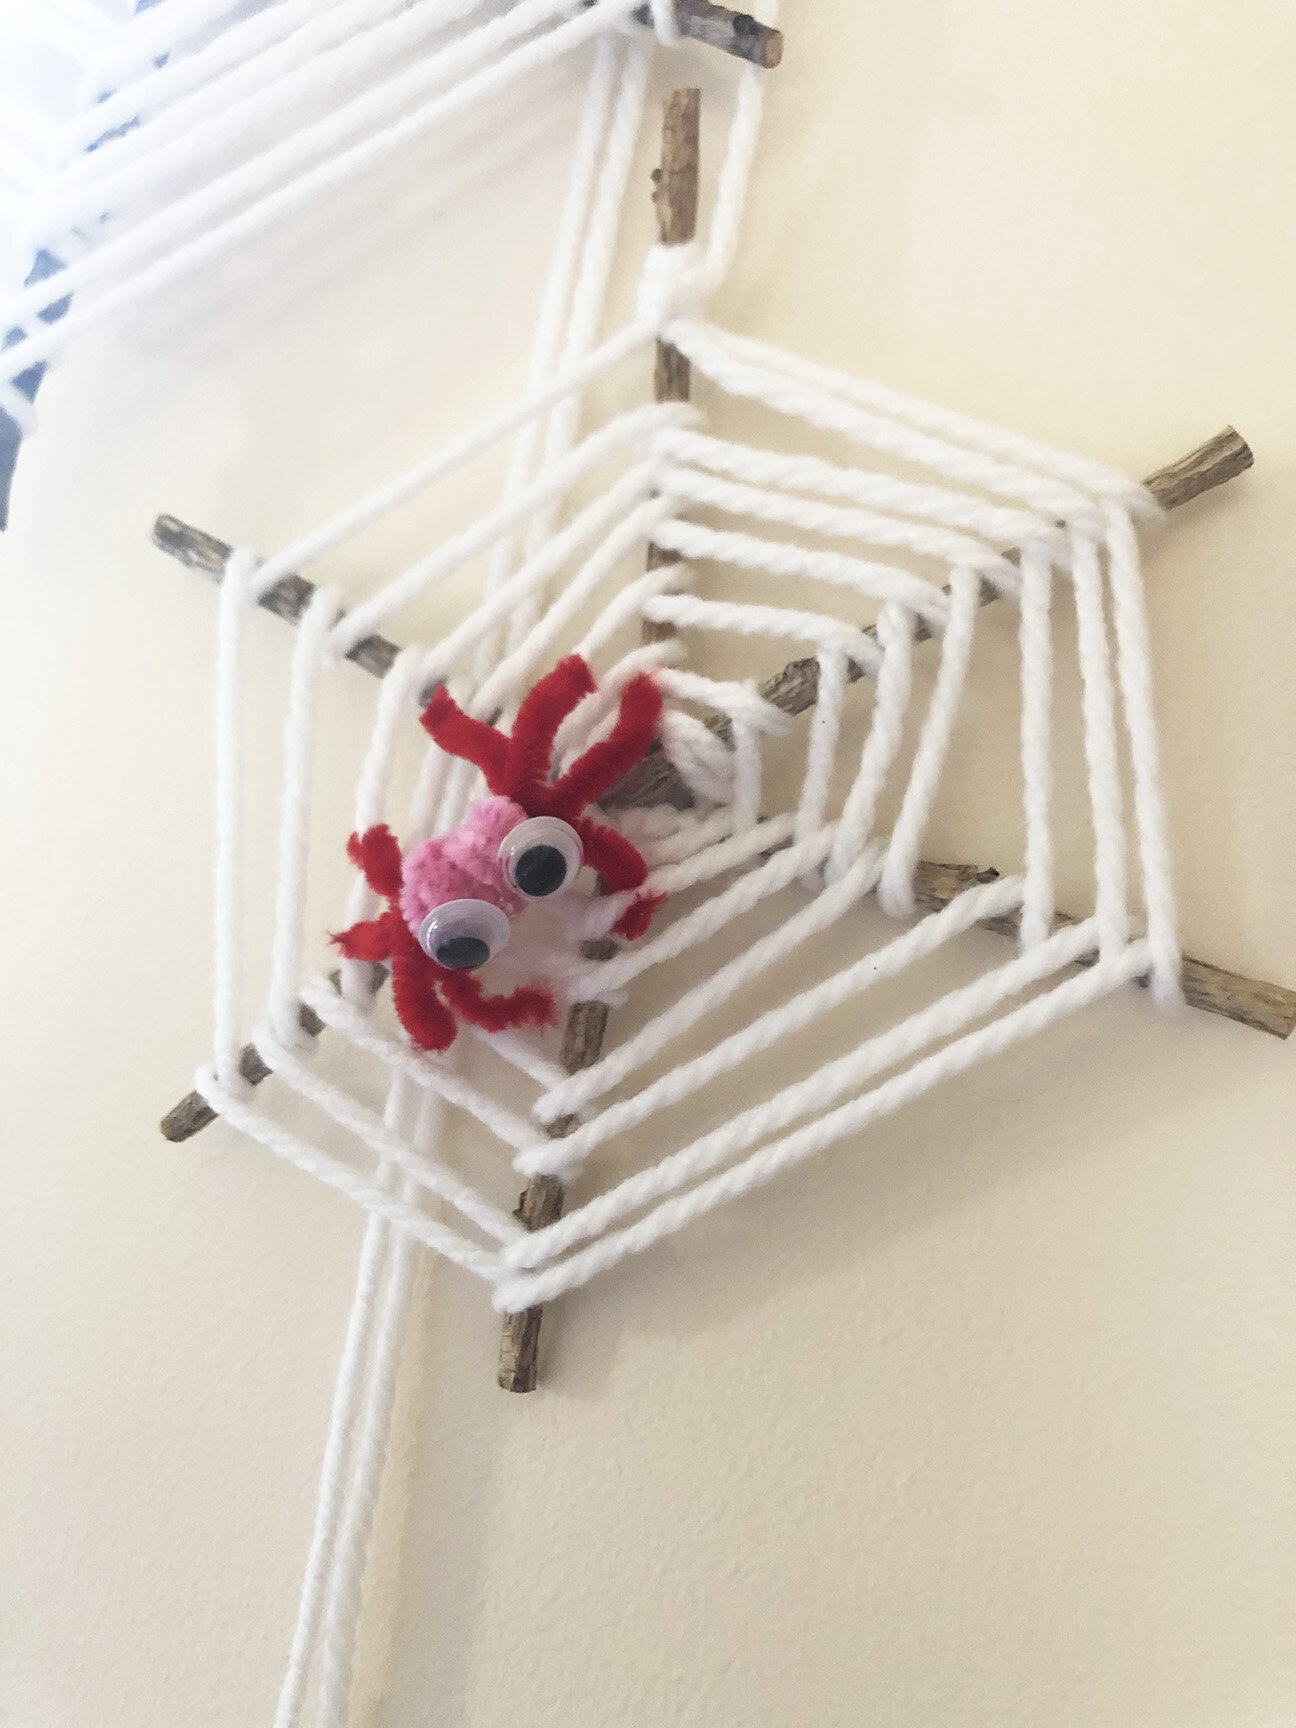

And if you’re like us, you’ll have found the process to be quite addictive, and you’ll likely make another… and another… and another!
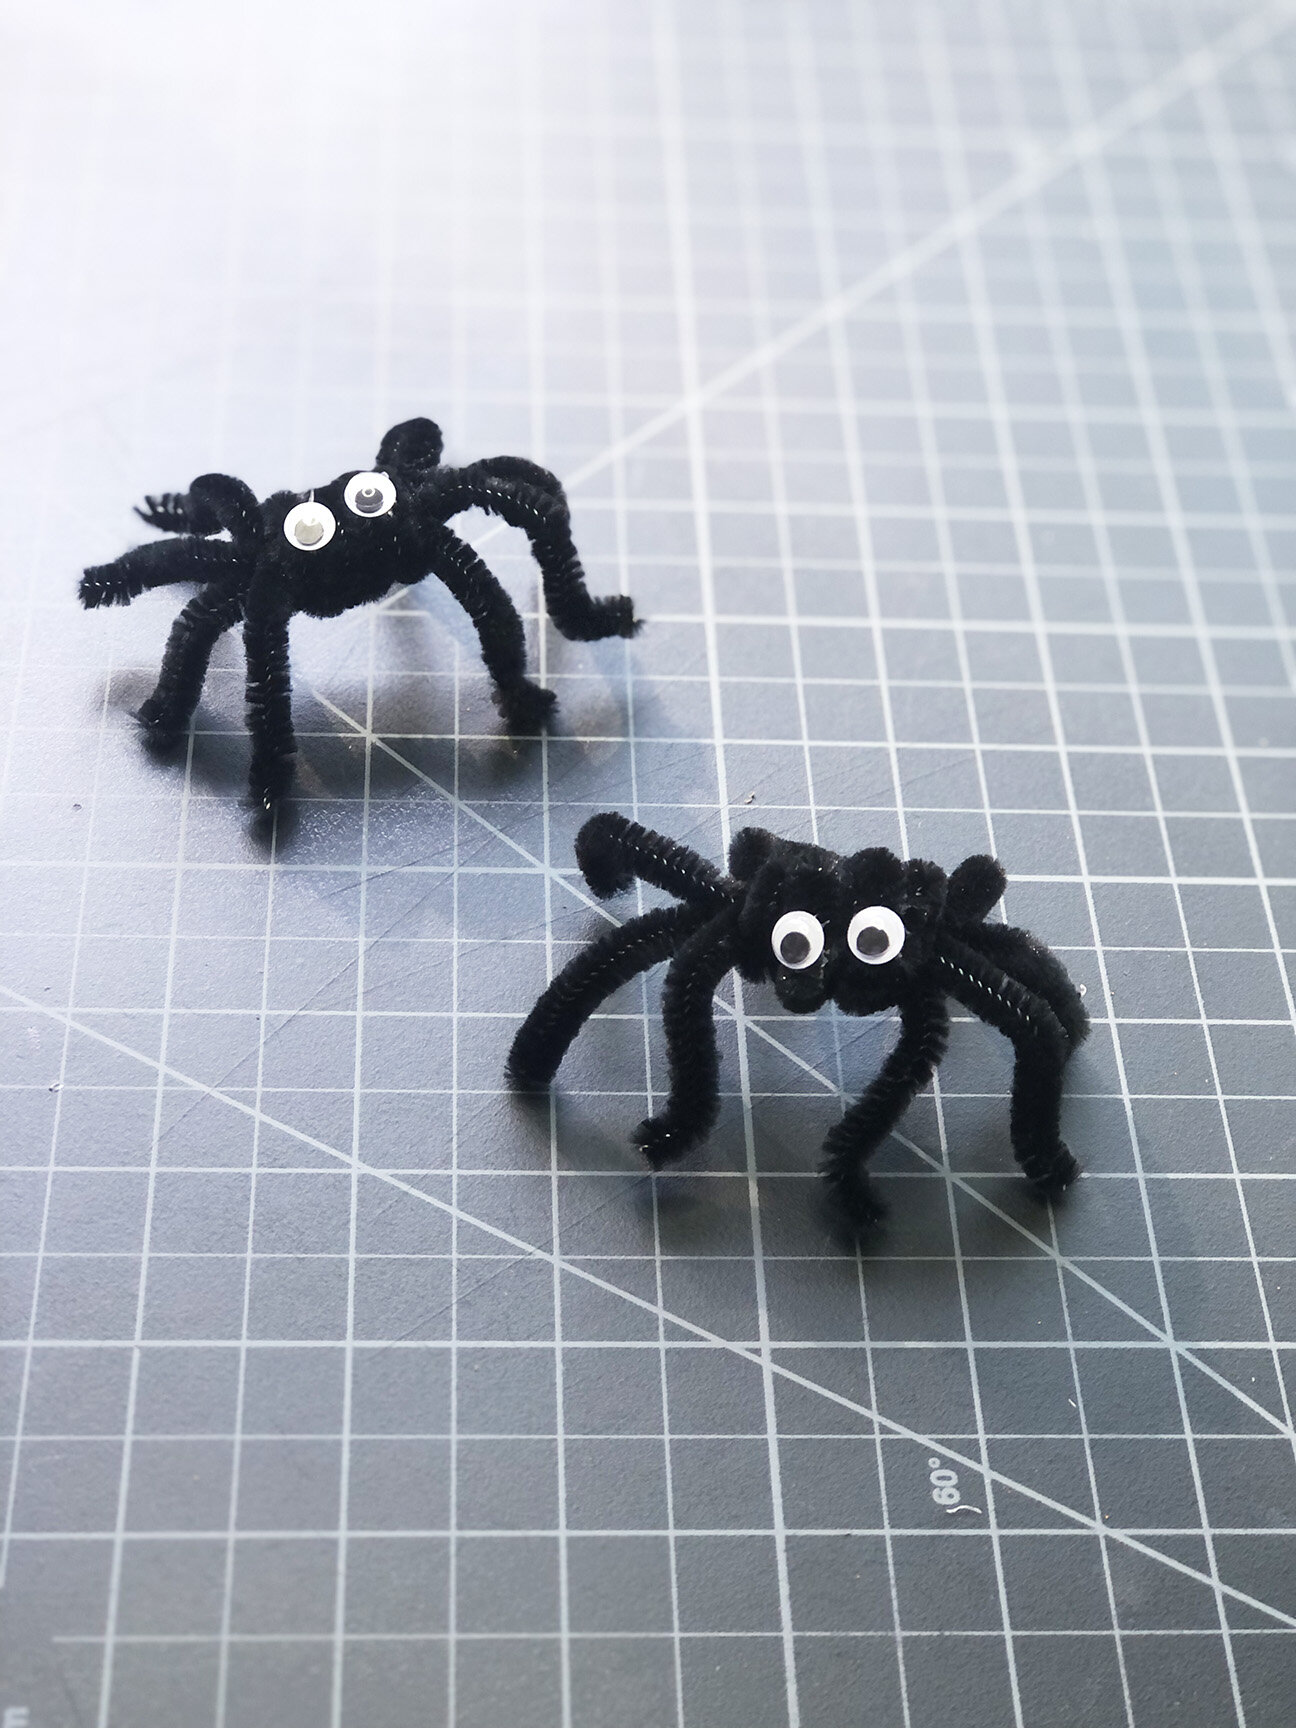
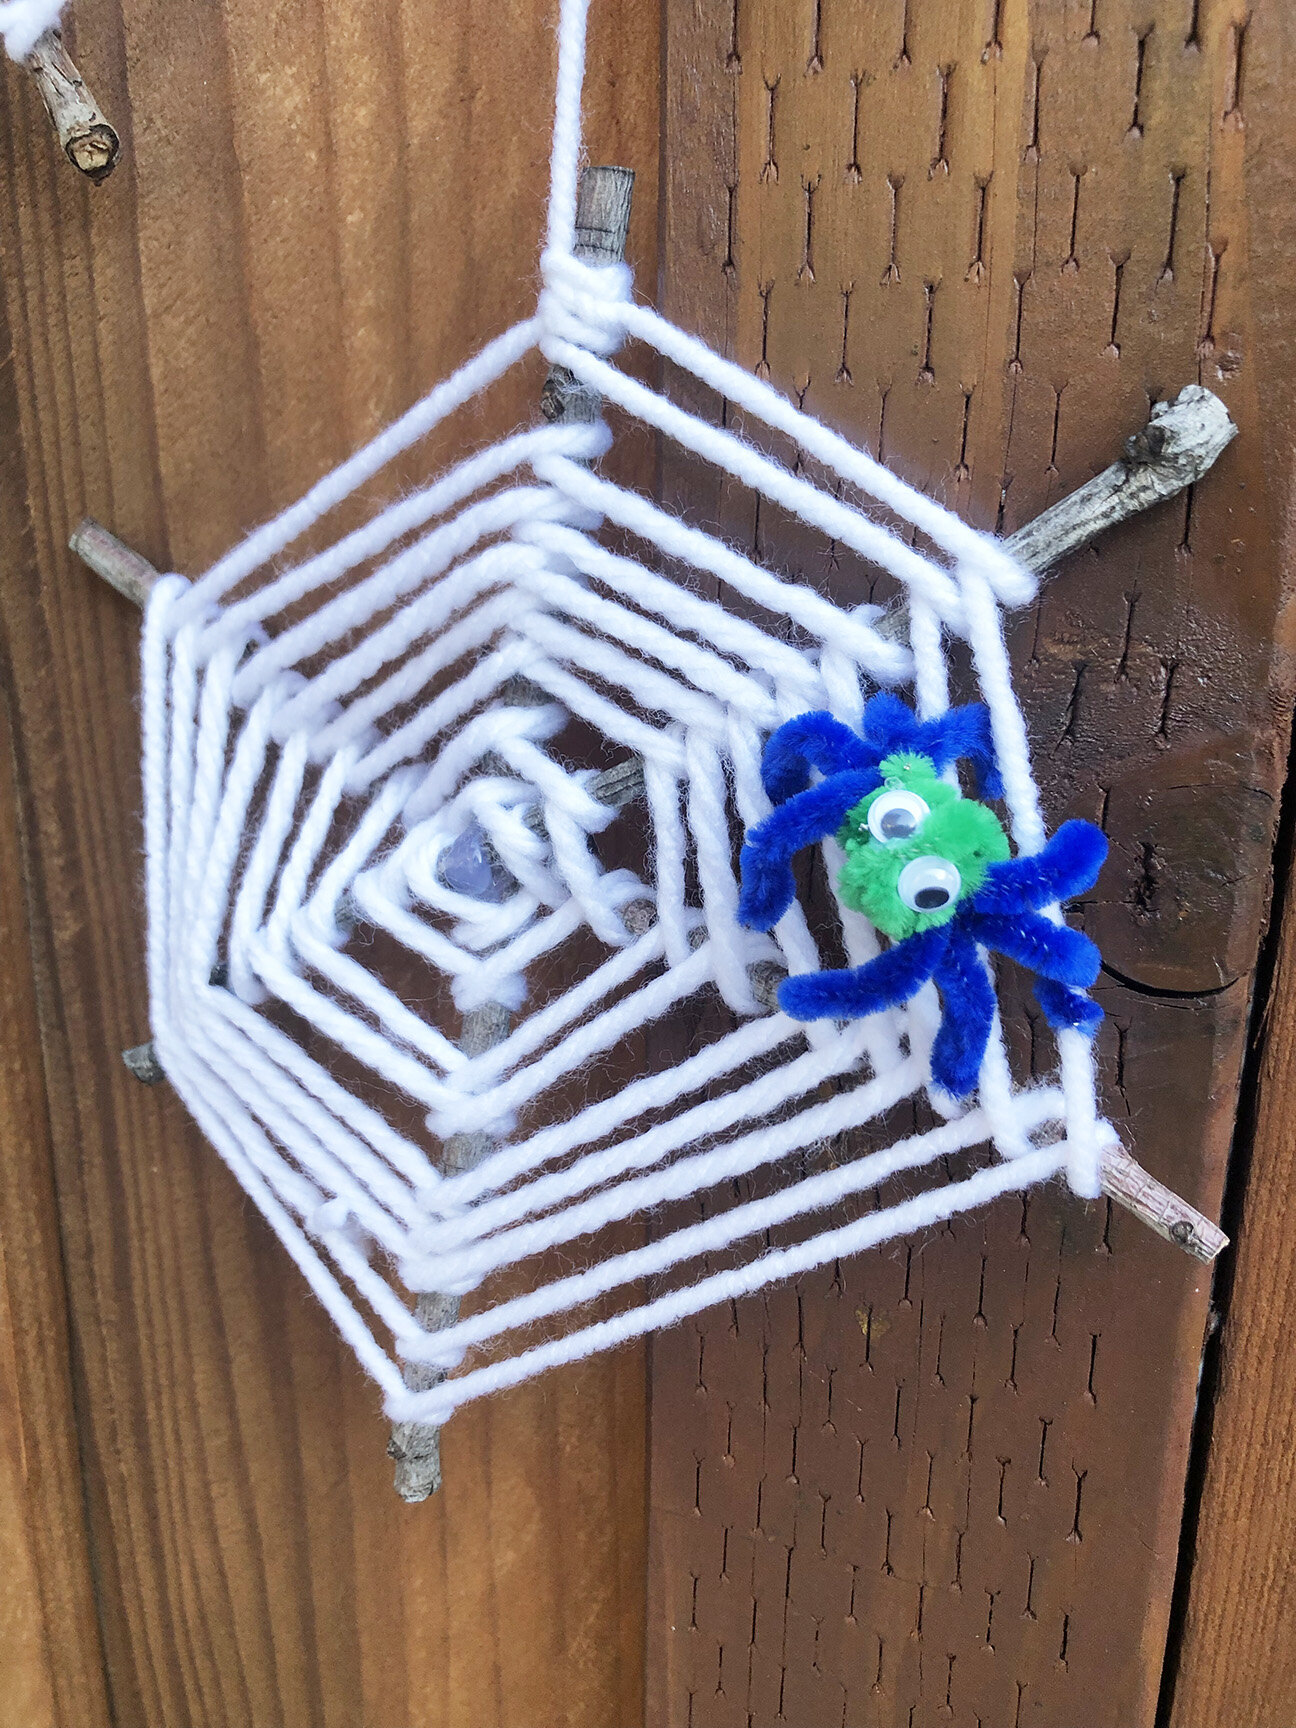
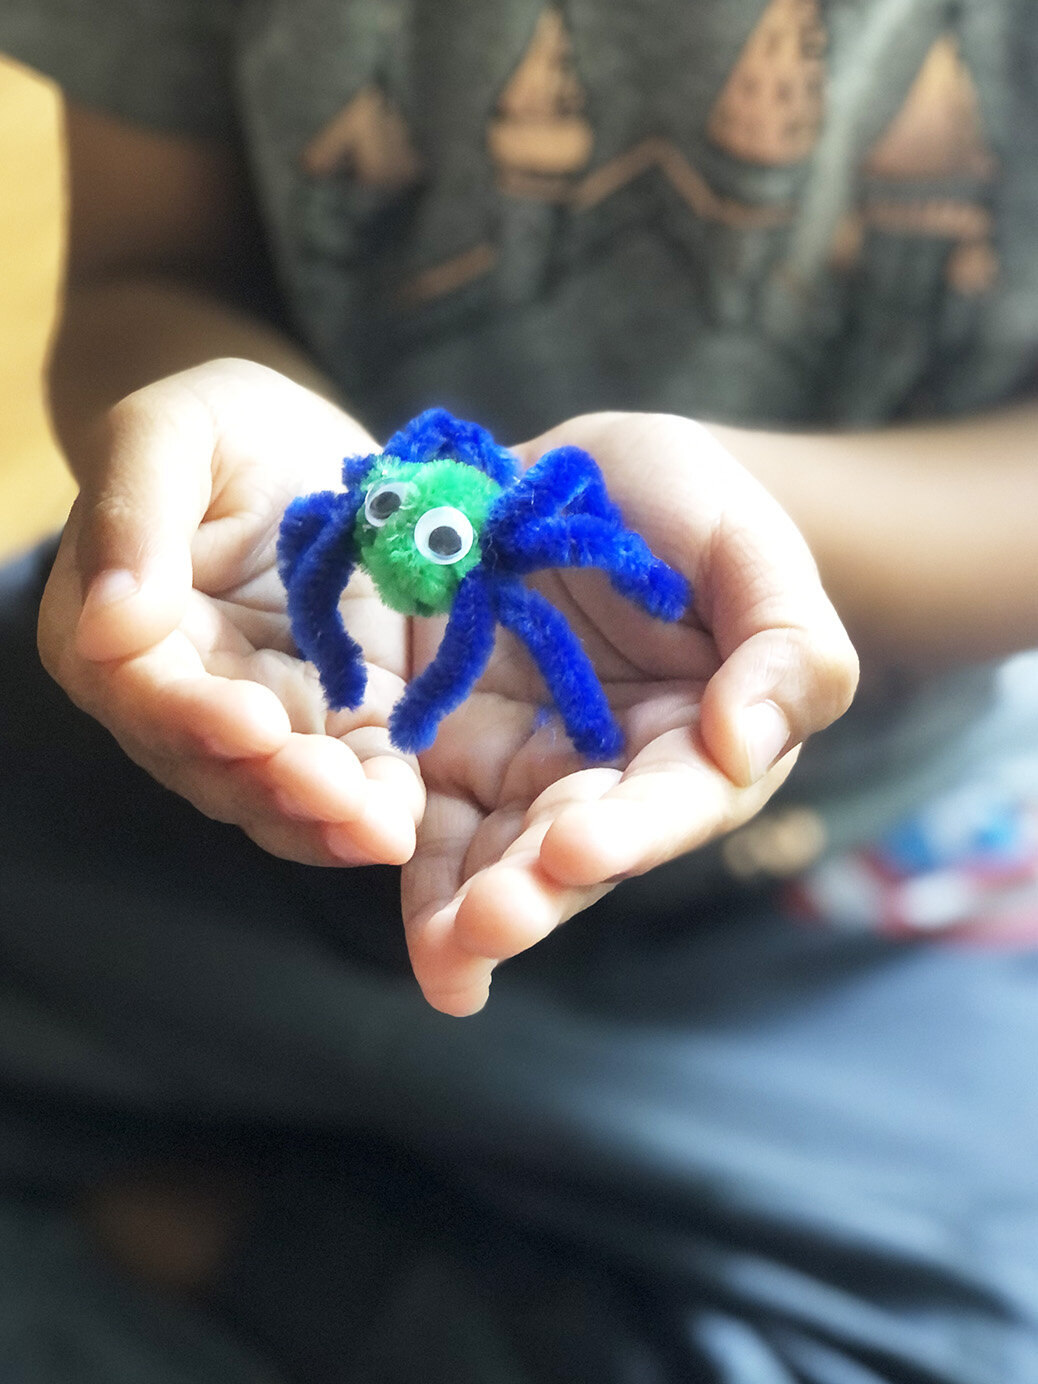
SPIDER: Craft pipe cleaners are fuzzy, which is why they make the perfect material for DIY spiders. These Pipe Cleaner Spiders are the cutest and spooky Halloween decorations.
You will need 3 pipe cleaners for medium size spiders. Use any color you wish your spider to be. Cut each pipe cleaner in 3 equal parts and gather 4 cut pipe cleaners. Then, carefully wrap the remaining three pipe cleaners around the center of the 4 pipe cleaners, one at a time. This will help form the “body/head” of the spider.
Give each leg a little fold to shape some “spider feet.” Don’t forget to add the wiggle eyes to your spider!

If you want smaller spiders, cut each pipe cleaner into 4 equal parts. Now add these spiders to the spider web you just made. You don’t have to glue them. Just twist the pipe cleaner legs around the yarn and you are done! It’s time to get your Halloween decor up!